


Note: I am not responsible for any damages to your car as a result of trying to do this swap. These are my thoughts about how to best go about doing this swap and some things may be different on your car. I will be uploading more pictures of the completed product and a few more things to this write-up
So while waiting for funds to finish my awd swap I decided to install the clutch Vac assist into my car for the heavier AWD clutch, and pushing the clutch in during rush hour traffic over and over sucks.
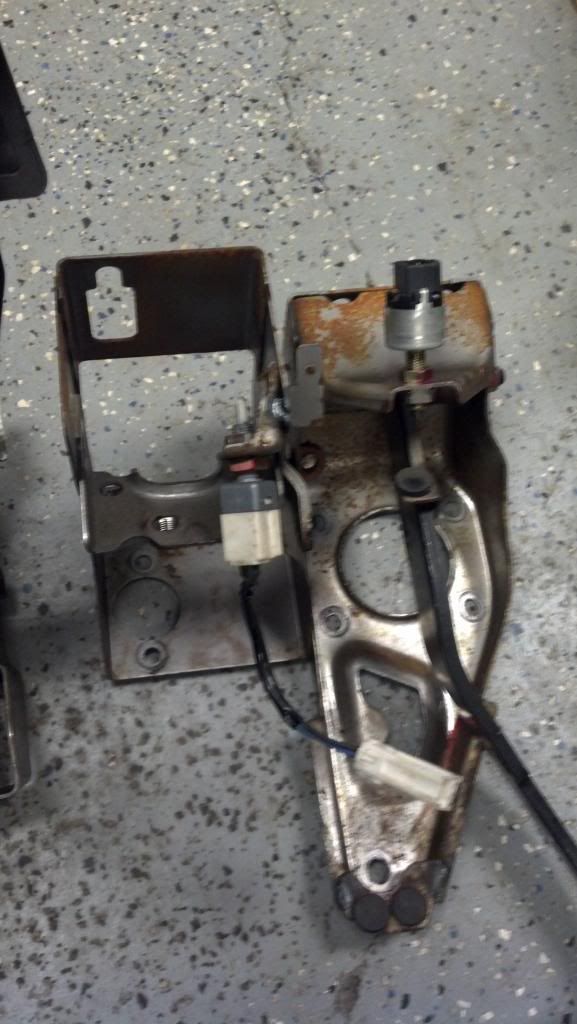
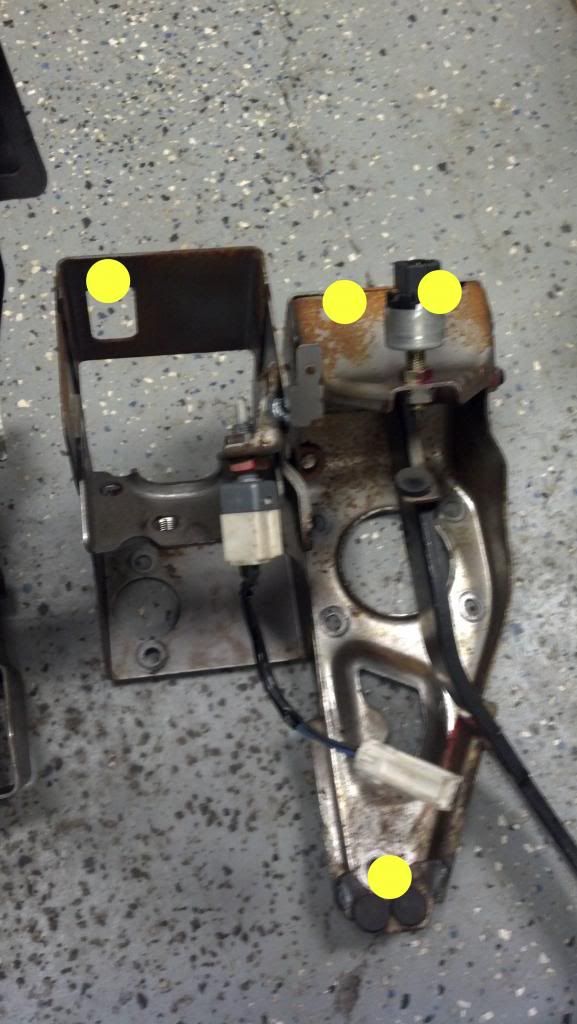
Here is what the pedal assembly looks like:
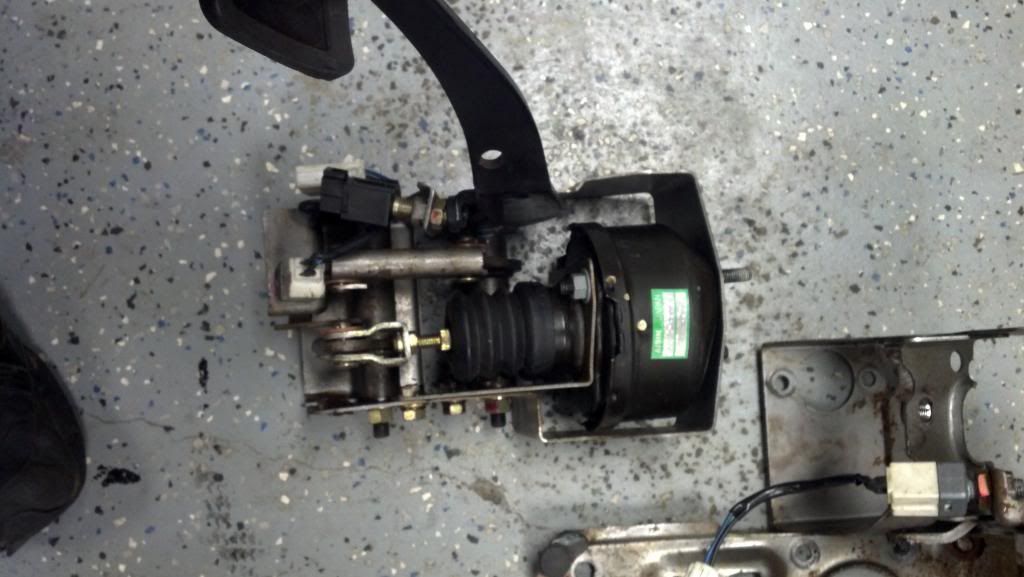
Here is what the stock N/a Assembly looks like :
Note how the studs for the master cylinder are different.
As you can see the clutch pedal is built into the brake pedal. So to do this swap you have 2 ways to go about doing this. First, you could get both pedal assemblies from a TT donor, or you could just cut the welds on the N/a assembly to remove the clutch portion of the pedal. I took the second route as the brake pedal was one of the 2 things I did not pull off my donor car.
Now to the car. You will have to remove the brake booster/master cylinder to get to the area the clutch mounts to in the engine bay.
1.So start by removing the 4 12mm nuts that hold the brake booster to the firewall from the inside of the car.
2.Once you have the nuts out of the booster, go ahead and pull out the pin that holds the pedal to the booster. Then remove the 2 12mm nuts that hold the clutch master cylinder to the firewall followed by pulling out the pin connecting the master cylinder to the pedal.
3.Go into the engine bay disconnect the master cylinder lines, vacuum line, and finally the brake booster (if you have the STM abs delete kit you can get away with just removing the brake master cylinder from the booster like I did)
4.After removing the brake booster disconnect the clutch master cylinder line and remove the master cylinder.
5.Head back under the dash and now it’s time to get the pedal assembly out. There is a total of 4 bolts holding the assembly in at this point. There is 1 bolt above the clutch pedal and 2 above the brake pedal. The last one is at the bottom of the brake pedal assembly on the firewall:
6.After the pedal assembly is free, there are 3 switches that need to be disconnected then boom! This is where the modification begins.
I kind of turned my clutch area of the firewall into Swiss cheese because I tried to measure where the holes SHOULD have been but I was quite wrong. So to save people who follow in my footsteps time and firewall integrity
7. you are going to need to make the hole where the master cylinder goes through the firewall bigger.
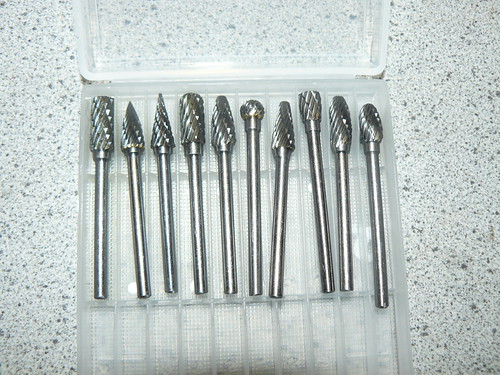
The easiest way to accomplish this is with one of these :
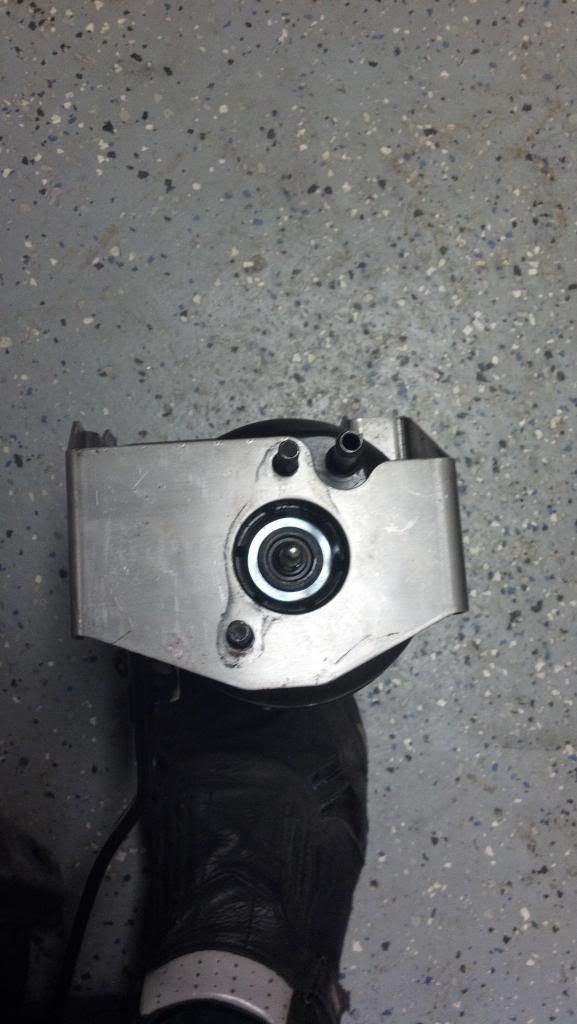
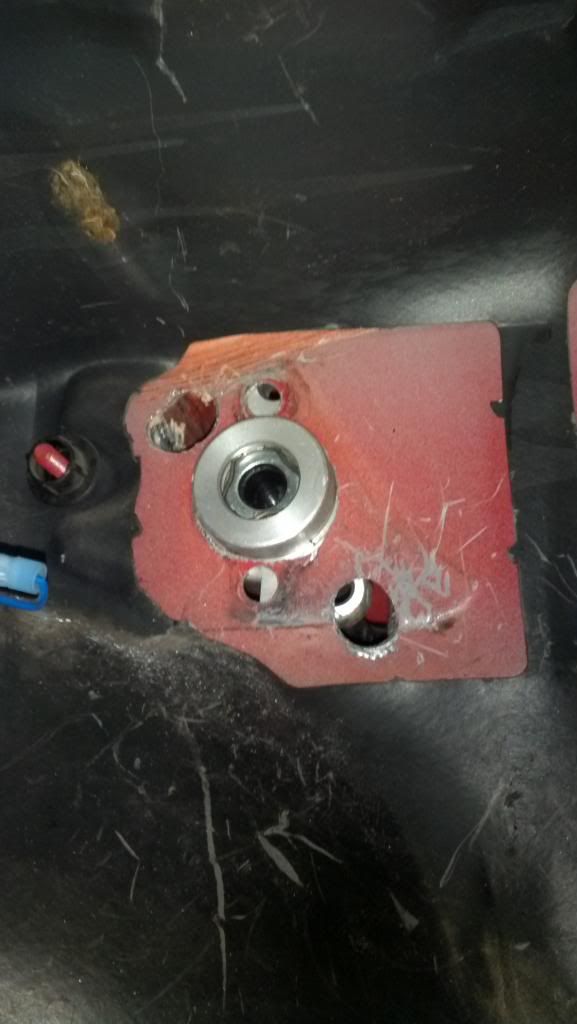
8.After making the hole bigger go into the engine bay and put the master cylinder in your work of art hole and position it so the reservoir sits correctly.
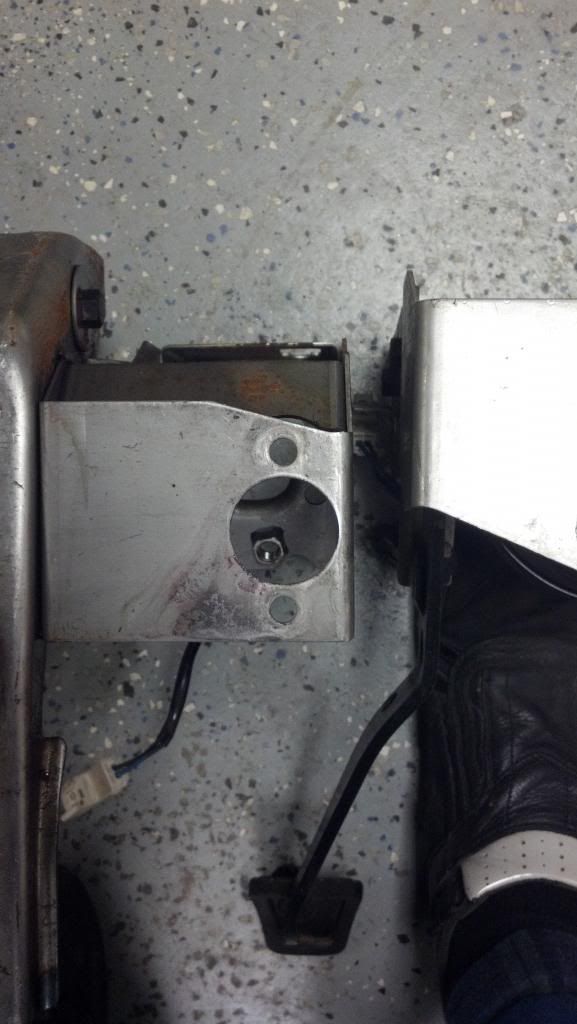
Like this minus the horrifying (just act like they are not there) holes:
9.Now mark the holes for the studs that mount the cylinder to the firewall with a sharpie from the engine bay side. Use a punch and make a very small dent in the firewall where the holes should go then go to the inside and reverse this dent so you can drill from the inside into the engine bay.
10.Now the last hole you need to drill will feed the Vac to the clutch booster. Measure the distance from the vac nipple on the booster from the stud and mark + drill the hole.
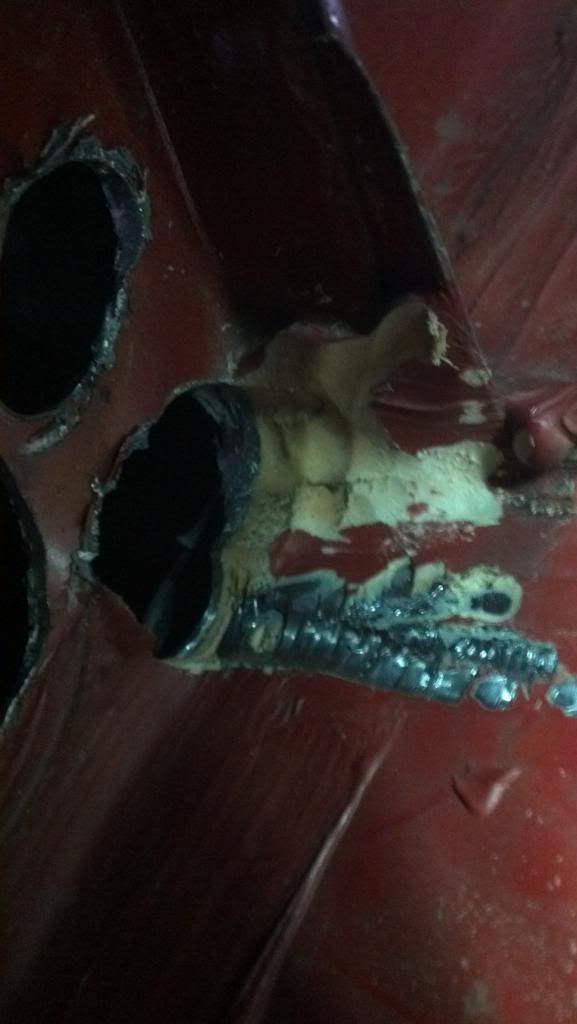
Note: there may be an excess of seam sealer where your vac line comes out that needs to be ground out for the hose to fit over the nipple like this :
11. To get the pedal assembly mounted with the master cylinder it really takes 2 people to get it together. Have 1 person push the assembly from the inside of the car up to the firewall and then the other person in the engine bay push the master cylinder onto the studs then the 2 12mm nuts onto said studs and leave them loose enough to wiggle the whole pedal around. (DO NOT FORGET YOUR TO CONNECT YOUR SWITCHES) If you were lucky like me and your booster assembly lines up with the hole for the 12mm bolt in the top of the assembly put that in and tighten everything up and connect your clutch line and The Vac line to the booster. If it does not line up, the only thing i can think of is to get a few self tapping screws and trying to mount the assembly that way.
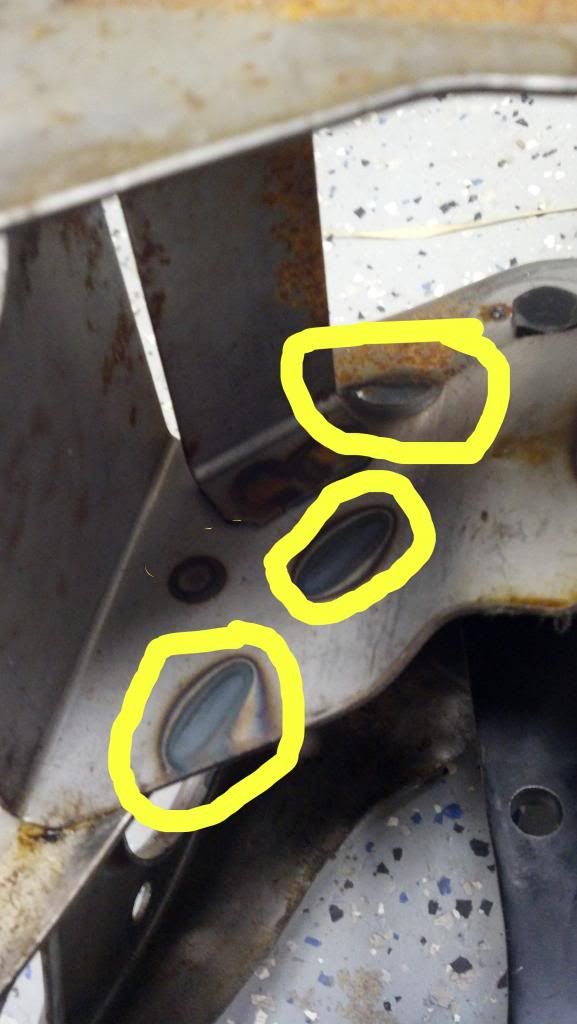
12. At this point you will either have a TT brake pedal assembly or have to modify yours to fit. I had to modify mine and it was very easy with and angle grinder and a thicker metal cutting blade. There are 3 seam welds and 1 spot weld on the N/a assembly holding the clutch pedal to the brake pedal:
Note: this is the wrong side to cut the 2 bottom welds but correct side up to cut the top weld.
Cut the 3 seam welds and separate the sheet metal with a screwdriver or metal chisel if you have one. All you have to do to get the spot weld is hold the brake petal bracket and twist the clutch portion. Vola now you are ready to wrap this project up for the most part.
13. Move the brake pedal assembly up into position but not quite all the way up, there is the brake light switch that needs to be connected. The connector in my car was way too short to connect it while the assembly was down, but there was no room once it was all the way mounted. Soo I was able to fit my hand over the steering column to connect the switch when the assembly was not connected to the firewall yet (being 19 and relatively skinny has its ups haha).
14. once you have the brake pedal in start the 2 12mm bolts at the top of the assembly then push the brake booster in and mount up the 4 12mm bolts.
15. at this point it is pretty straightforward on re-installing everything else. Im not completely done with my swap yet as i just need to bleed my clutch and im making a hard-line to feed the brake and clutch boosters.
** While I was finishing up my install and bleeding the system I noticed that the clutch would not engage until the pedal was at the floor, it seems that my plunger in the clutch booster needed to be adjusted out to give the proper clearance between the master cylinder and booster plunger. You may have to do this also when installing the assembly.
I will be adding more pictures and such when i get the pictures from my dads camera (phone died half way through)


 Reply With Quote


 .
.
Bookmarks