Results 1 to 4 of 4

Thread: How-To: Convert 180km/h speedo to 280km/h

  1. #1
    Twin Turbo verified
    Join Date
    Sep 2010
    Owner Since
    2007

    Location
    Melbourne, Australia
    Posts
    2,123
    Thanks
    76
    Thanked 91 Times in 75 Posts

    How-To: Convert 180km/h speedo to 280km/h

    Hi All,

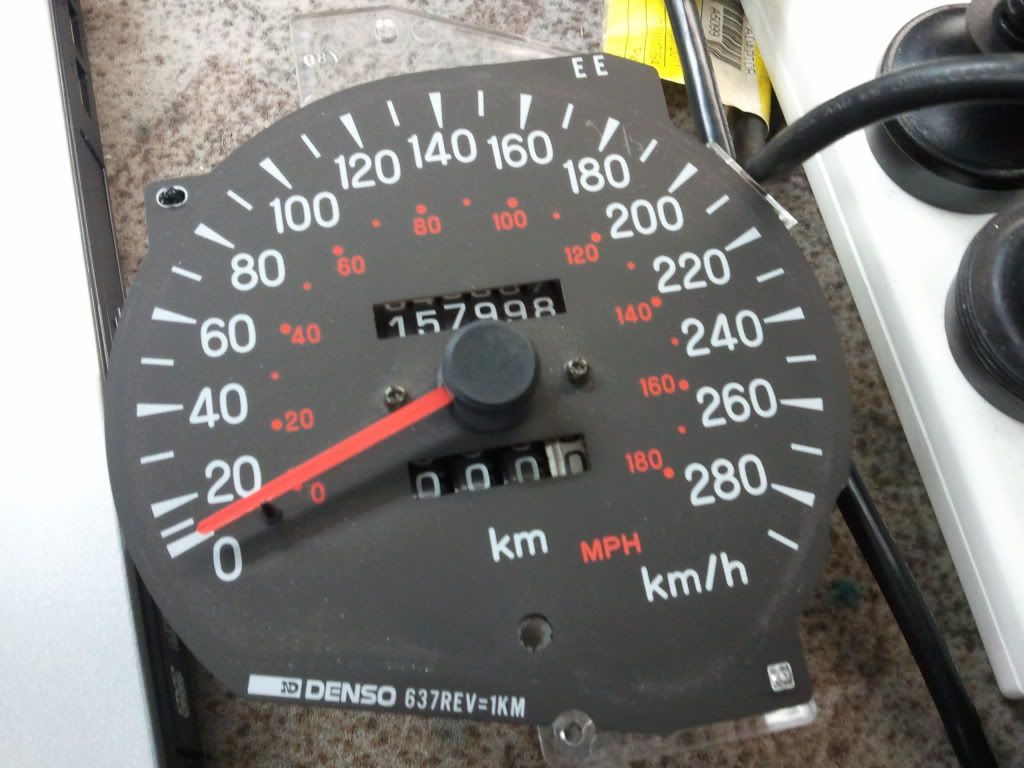
    As many of you are aware I have devised a way to convert a JDM 180km/h speedo into a 280km/h speedo [this also works if converting a USDM 180mph unit to 280km/h]. For more info please look at the origional threads.

    3SGTO Thread

    3SI Thread

    GTOPerformance Thread


    This will show you the exact steps required to do this.

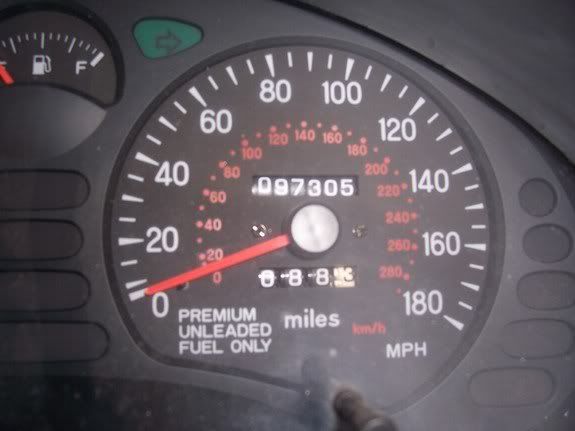
    Firstly you need to source a new speedo face. People who got on board the origional group buy from Lockwood have this part sorted. For anyone else there are a few options. You cna use a USDM speedo that has the mph on the outer ring and in smalled print on the inside it will have the km/h. Tis will probably be the cheapest method as you could simply buy a USDM speedo and modify the board and your done. Look on ebay for those. Just make sure it's from a VR-4/Twin-Turbo as the none turbo/SL models have the wrong type.

    USDM 180mph Speedo


    Alternatively you can source an aftermarket speedo face or have one custom made. There are a few vendors on ebay selling speedo faces for our cars but are all aimed at the USDM market. However I have seen a few of them statign that they can make any speedo and to contact them to discuss. There are also dedicated businesses that make speedo face. One of these is Lockwood in the UK which is who I used for the origional group buy.

    Mitsubishi GTO dials & gauges, Speedo meter clocks, KMH to MPH conversion. By Lockwood

    Also SpeedHut has a facility to design your own speedo via their website and it will give you a price. The site lists the mph speedo but I have previously contacted them and they did advise they are able to make new gauges with only the km/h on them. But obviously you would need to contact them before placing an order. Also the SpeedHut guages are glow guages not the standard OEM style so you would also need to wire them in.

    Mitsubishi Gauge Glow Dials and Custom Gauges by SpeedHut

    There are others around as well. Google is your friend.


    Now that you have sorted the replacement face we need to make the hardware work. Firstly you will need some basic soldering skills to complete this. Obviously you will need to remove the cluster from the car. To do this there is only 6 screws.

    2 screws along the top under side of the cluster sorround. Remove these then pull the it outwards carefully. Then once it has come loose you will need to unplug the 2 plugs. One on each side for the ECS switches etc. You will need to make sure your steering column is lowered as far as it will go. Slide the surround out the left side.
    There are 4 screws holding the cluster in place. Remove these then pull the cluster towards yourself. You might have to wiggle it a bit side to side etc. Once it's loose you need to lay it backwards away from your self then it will slide out the left side. Remember the angle it came out so you can get it back in again.

    Now that the cluster is out you need to remove the clear plastic screen buy pushing in the clips around the edges. You will also need to remove the ODO reset rod. To do this you need to place your fingers o nthe speedo face surface on either side of the rod the npull the rod out. Once this is off you need to do the same for the black plastic part.

    Be careful not to touch the dials too much etc.

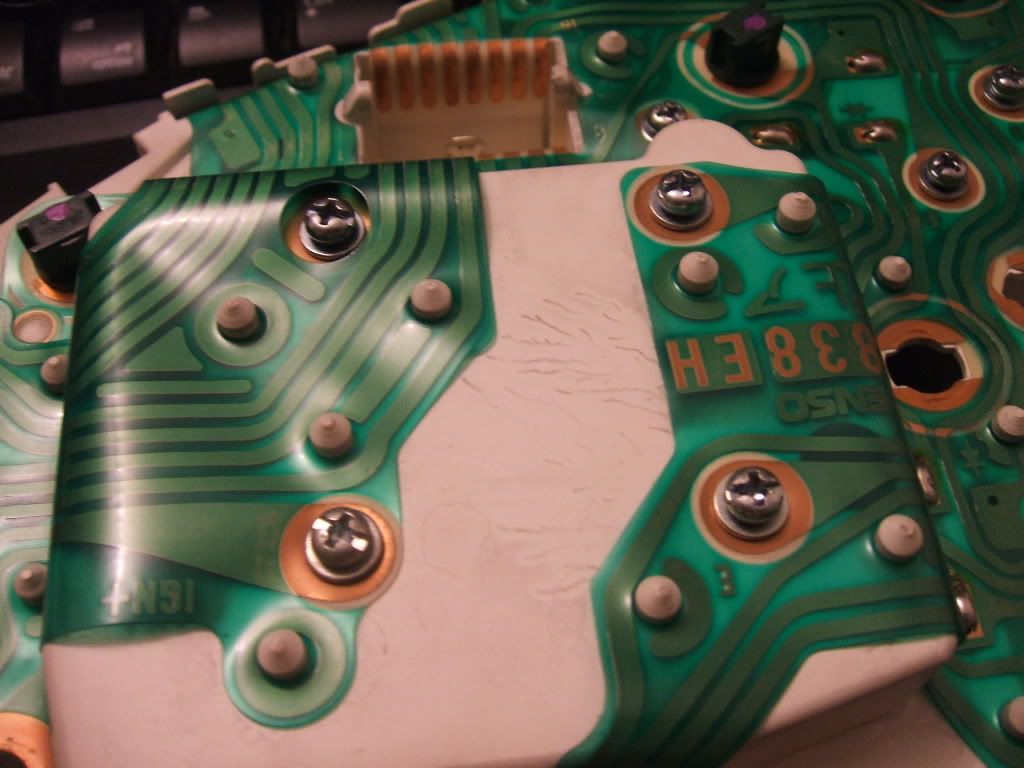
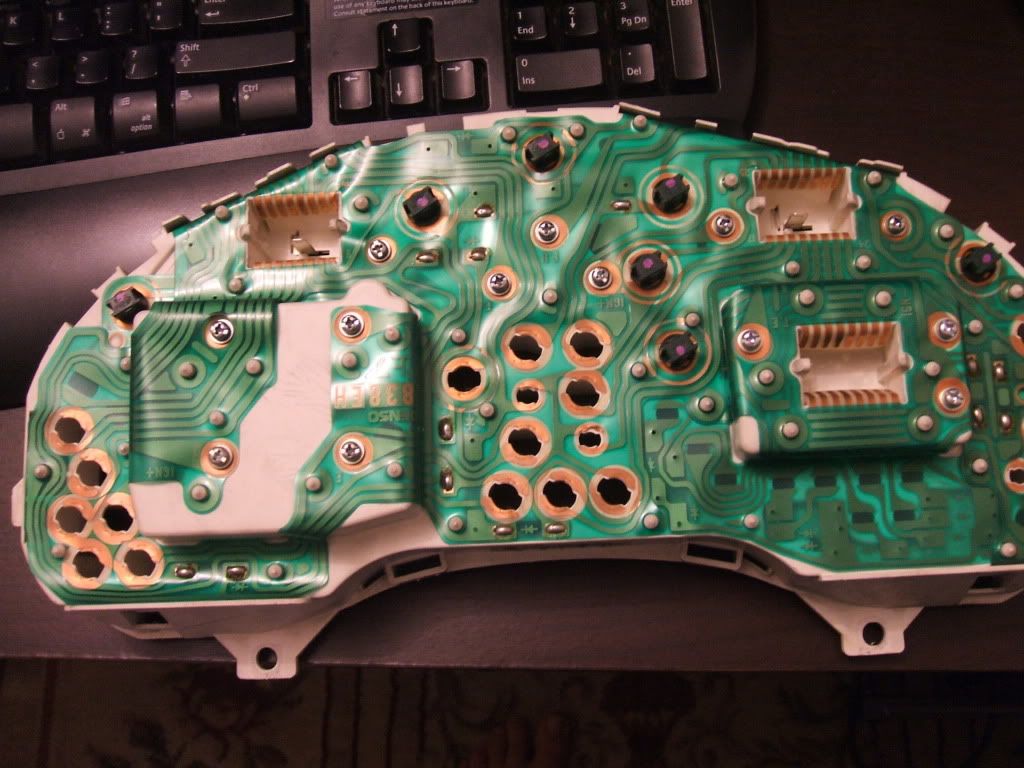
    Once the plastics are off turn it over and place it on a rag or similar. There are 4 screws on the back holding the speedo assembly in. Remove these.

    Last edited by GTOJOE; 01-19-2012 at 05:04 AM.
    1990 JDM GTO TT with Vi-PEC plug-in V44 EMS, TD04-13T's, 3SX Downpipe, MP Hi-flow cat, ARC SMIC's, Aeromotive Stealth 340LPH pump, Fuelab 515 FPR, Ninja Performance 75amp hotwire kit, oohnoo fuel loop & rail adapters, Nylon braided ethanol fuel line, NGK AFX Wideband, K&N FIPK, Iridium plugs, HKS Twin Power DLI, Turbo XS racing BOV, 3SX poly mounts, Custom 280km/h speedo.

    Waiting install
    Injector Dynamics 725cc Injectors.

    Build Thread

  2. #2
    Twin Turbo verified
    Join Date
    Sep 2010
    Owner Since
    2007

    Location
    Melbourne, Australia
    Posts
    2,123
    Thanks
    76
    Thanked 91 Times in 75 Posts
    The speedo will then come out as a complete unit.


    Flip it over and you will see the PCB. There are 4 tabs that are bent over to hold the speedo motor to the PCB.


    You need to straighten these with a screw driver.


    Once that is done you need to pull the PCB off the main assembly. The motor slides onto 4 pins [circled in blue in one of the photos later on] on the PCB and the ODO motor has multiple pins [also circled]. I would suggest you place the unit back down on a hard surface/desk so that the bent tabs are touching the desk. Then push the PCB towards the desk to break the seal between the PCB and motors then wiggle the PCB off completely


    Now that the PCB has been removed we need to modify it so that the components match the Euro spec PCB. If you are starting with a USDM speedo then this will take 5 seconds.

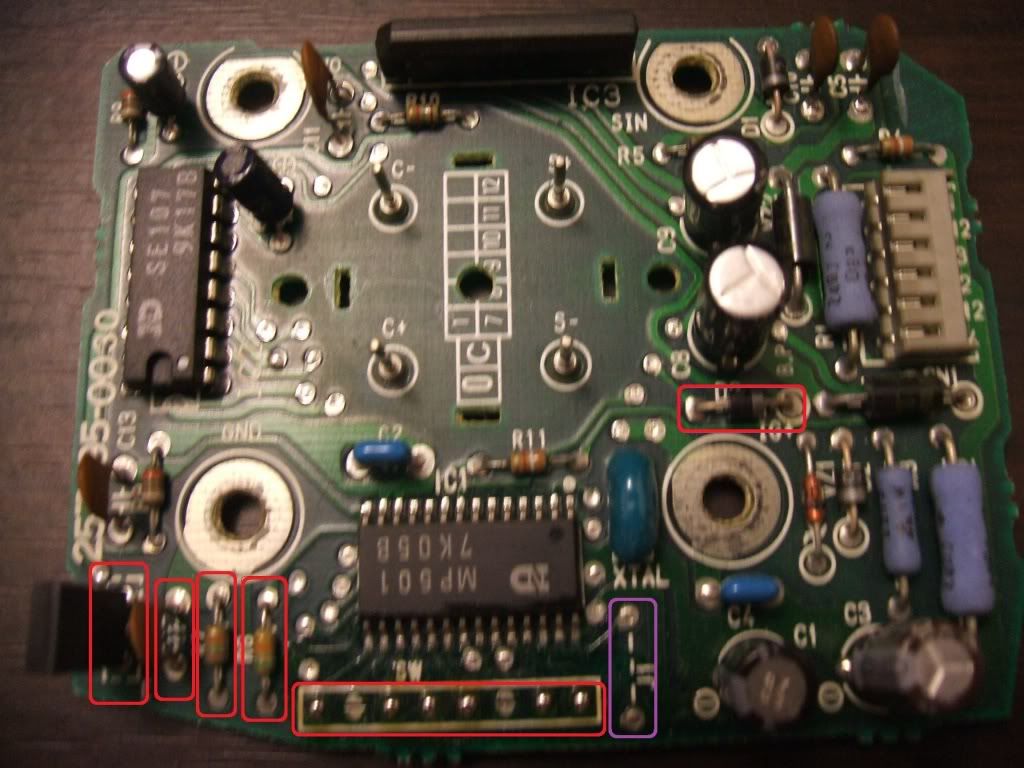
    If you have a USDM 180mph speedo all you need to do is cut the jump across J1

    Circled in purple on this picture. Near the bottom of the board next to the main chip and the solder points.


    If you are starting with a JDM speedo you will need to either de-solder or use some sidecutters to cut some components off. I used the de-solder method so it was easily reversible. However with sidecutters it would take very little time.

    There are 5 components circled in red that need to be removed. 4 components on the lower left hand side and one diode near the middle right hand side. Directly between the 2 large capacitors and the screw hole. The JDM speedo does not have the jumper across J1 so it does not need to be touched.


    The last step is setting the switches. These are the 8 contact points on the lower edge. You will need to re-solder the points on your speedo to match those on the 280km/h unit.

    From this [JDM 180km/h unit].


    To this


    Now all of that has been completed you can reverse the process. Push the PCB back onto the speedo assembly and bend the tabs back down. Make sure the assembly and the PCB are flush and all 4 screw points there is no gap between the 2 and that the ODO motor is also sitting correctly.

  3. #3
    Twin Turbo verified
    Join Date
    Sep 2010
    Owner Since
    2007

    Location
    Melbourne, Australia
    Posts
    2,123
    Thanks
    76
    Thanked 91 Times in 75 Posts
    Saved for later.

  4. #4
    Twin Turbo verified
    Join Date
    Sep 2010
    Owner Since
    2007

    Location
    Melbourne, Australia
    Posts
    2,123
    Thanks
    76
    Thanked 91 Times in 75 Posts
    also saved for later.

Bookmarks

Posting Permissions

  • You may not post new threads
  • You may not post replies
  • You may not post attachments
  • You may not edit your posts
  •  
The 3000GT/Stealth/GTO Web History Project
3000gt.com
3000GT / Stealth International WWWboard Archive
Jim's (RED3KGT) Reststop
3000GT/Stealth/GTO Information and Resources
Team 3S
3000GT / Stealth / GTO Information
daveblack.net
3000GT/Stealth/GTO Clubs and Groups
Michigan 3S
MInnesota 3S
Wisconsin 3S
Iowa, Nebraska, Kansas 3S
North California 3000GT/Stealth
United Society of 3S Owners
3000GT/Stealth/GTO Forums
3000GT/Stealth International
3000GT/Stealth/GTO Event Pages
3S National Gathering
East Coast Gathering
Upper Mid-West Gathering
Blue Ridge Gathering