
Originally Posted by
anyonebutme

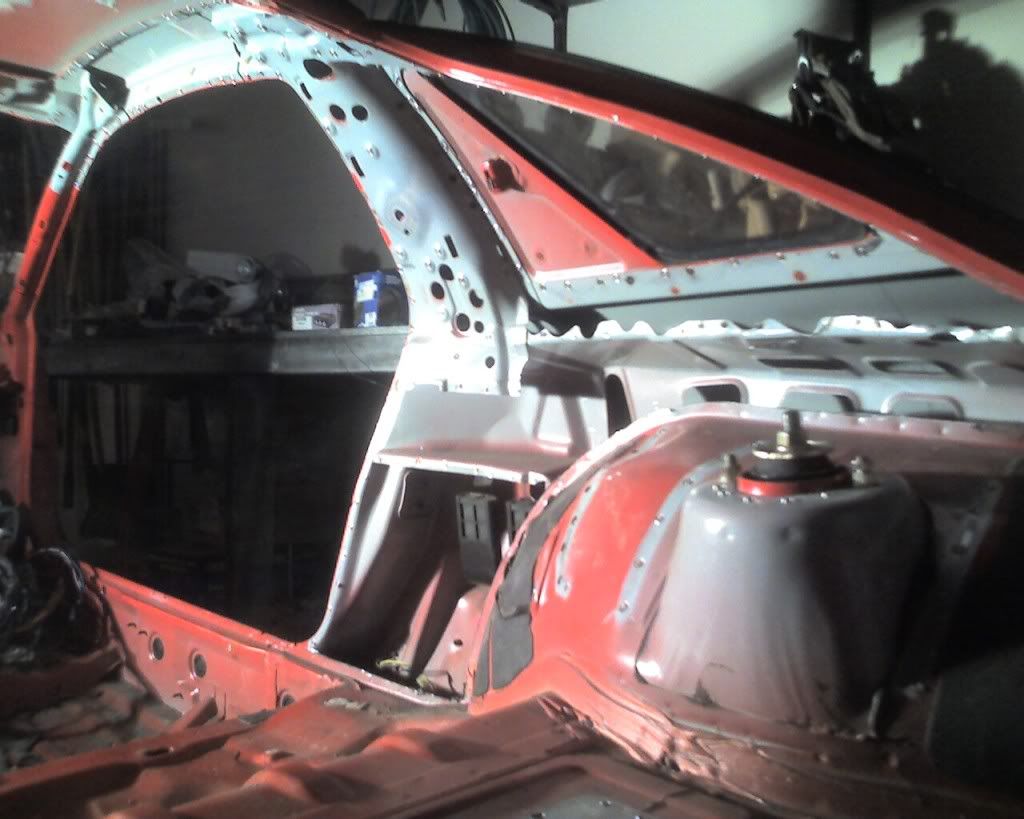
For frame warpage, theres like 60 reference points for our cars, though I don't have a frame manual that lists the dimensions. Maybe the factory service manual has them somewhere? A frame shop will have the book. Otherwise, I'd just take extensions to the mounting points of the suspension, as frame warpage that doesn't move the mount points in relation to it's sister will not effect the car. front and rear subframe mounts and front strut towers are possible locations. Rear tower location don't matter as the suspension does NOT rely on them for locationing, those just hold the tops of the rear dampers still. In reality unless this is a body-in-white, it's not going to be perfectly inline anyways. More than once I've seen shops straighten brand new cars from the showroom floor while building them, and then get beat by shops that built from preowned cars with thousands of miles on them.
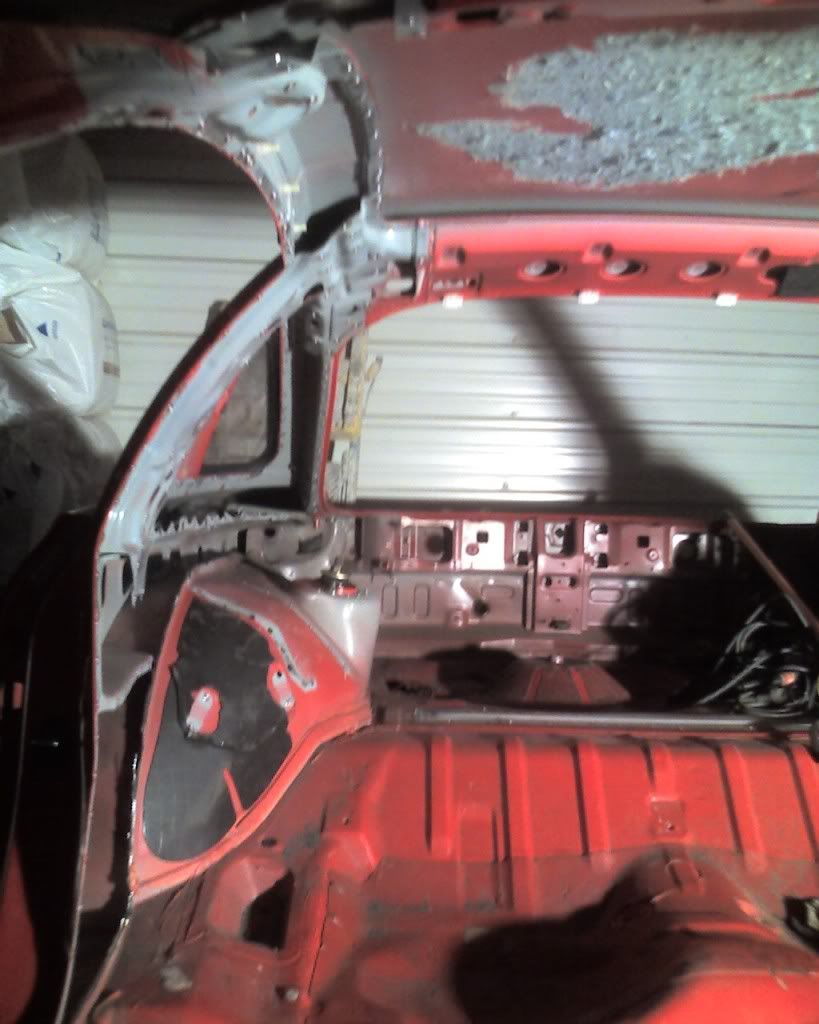
Seam welding: I've never worried about it, and just welded, putting out fires along the way, lol. I highly recommend building a rotisserie, it's pretty easy and will make your life SOOOO much easier doing this step. Can be made out of 2 cheapie engine stands from harbor freight and some steel tubing. Be sure to be careful and make it as adjustable as possible, as finding the balance point is hit or miss on an unfamiliar car. Having the car spin around on you will be more scary than running off a cliff edge at pikes peak, I guarentee.
I'll just hit the major points right now:
1. Get 6-point harnesses. Your family jewels will welcome you. Also, get one with swappable adjusters for pull up and pull down tightening, as sometimes only 1 method will work in a certain car. Also, 2" lap belts are the shit, I highly recommend. On similar topic: HNR's are a requirement. There's not many companies that make them these days due to everyone getting sued by HANS. If you use a HANS, use a HR seat! HANS does NOT provide side impact protection. For that matter get a good HR seat anyways. If you can, try before you buy. Some like the HANS, some like the DfendR (I'm one), some like the R3 hybrid, some like some other ones. SFI just started requiring recerts on HNR's every 5 years, FYI, so think about the ability of the company to do so before you buy, as some of the companies have been...eliminated...from competition and chose to just close their doors.
2. If you are as tall as me, you will have to modify the floorpan to drop the seat to get that 2" above helmet to main hoop height. Dimpling or cutting the roof subframe to raise the main hoop will help some. This means no more 3 piece driveshaft and no PST aluminum driveshaft, as you will no longer have a front carrier bearing mount. Welcome to my world.
3. Use an aftermarket steering wheel shaft bearing/support. Stock one is heavy, requires stock dashbar, and shaft length limits driver positioning. I like to move the drivers seat all the way back possible and use aftermarket pedal assembly, but requires more fabrication. Not a requirement, but while you're having to fabricate something here anyways, might as well do it all the way.
4. Add foot protection bars that go from front downtubes to firewall. They will hurt your feet in a wreck, but better to have aching feet than have none at all.
5. I recommend taco gusseting, gusseting is required throughout the "halo" by rules, but I'd also gusset the "window frame" and brace cage to A and B pillars if allowed. Tube gussets are fine, but tacos are lighter.
6. "dash bar" is required by rules that goes from downbar to downbar.
7. Pay attention to the mounting plate area rules on page 63. Vertical plates are counted and this can catch you up if you do the main hoop up against the subframe shelf. Speaking of this shelf, there's a semi-debate on whether it's a good idea to mount the cage on top of it or in front of it. As with all debates, nothing is a wrong answer unless proven otherwise, but some scruitineers frown upon that practice even if it is proven safer.
8. Adding a bar across the rear shock towers doesn't hurt, but it also doesn't help as much as some would think. SCCA prohibits this or adds "strut bar" points, so beware. Since the rear suspension doesn't care if the towers move other than affecting shock forces, don't take a penalty to add one. There's debate on whether to attach rear downbars to the towers to not, as the point is to hold the roof up, not the suspension down. If the tower collapes in a rollover, you just lost rear support, while the "floor" will not collapse.
9. Looks like an "upbend" is allowed to get the front downbar very close to roof, but check with the scruitineer before building. I guess a diagram would help be describe this. I'll draw something up later. You can even do this if doing a top halo, but you can't do it by the rules if doing a front roll hoop. Looks like additional A pillar support bars are allowed, like those popular in IMSA/FIA GT racing. Again, scruitineer is final word....redoing a cage sucks.
10. Door bars: 3 bar NASCAR style, 3 bar FIA (cross and "sill" bar), are both allowed, 2 bar NASCAR is NOT allowed in the racing class but allowed in the TT class. This is probably the most hotly debated thing in cage design by everyone. There are basically 2 NASCAR style and at least 4 FIA style bar designs to choose from, and each one has it's pros and cons. This will be tomorrow's discussion topic maybe. Note that in the PPHC TT rules, you can NOT completely "gut" the door inner structure like in most classes, but you can hack it up to clear the tubes as long as the stock inner door handle is in the STOCK location. Be sure to check this before you weld in your bars and close the door just to realize there's interferance with the stock door handle. NEVER "S" bend the door bars to clear the door frame. It flys in some rulebooks, but it's just a dumb idea strengthwise.
Hello, wall of text...


 Reply With Quote


Bookmarks