

First off I wanna say this was a true pita !!! I used the stealth 316 as a guide and I feel I can explain what other steps I did in these few pictures .. Between that guide and these photos I think you should be able to get through it much easier than I did .. Hit 316 up for the glovebox removal Stealth 316 - Instrument Panel Removal steps 3 and 4 and the airbag is really self explanatory .. Just a couple screws ..
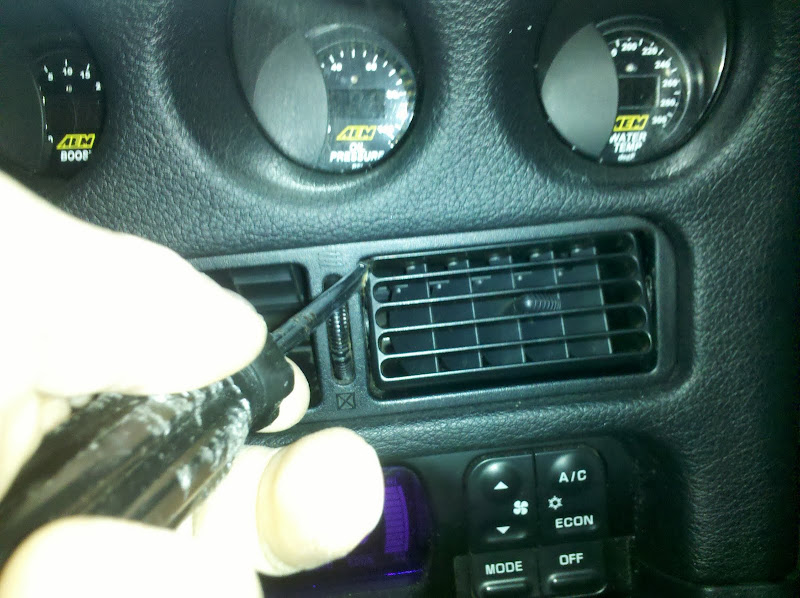
First to get the vents out .. Use a screwdriver on the left side of each vent to gently pop them out of their clipped position .. They will be fairly easy to remove
Then you will see two little clips sticking up in the vent .. Just use a pick, pull them straight up, and they will lock in place
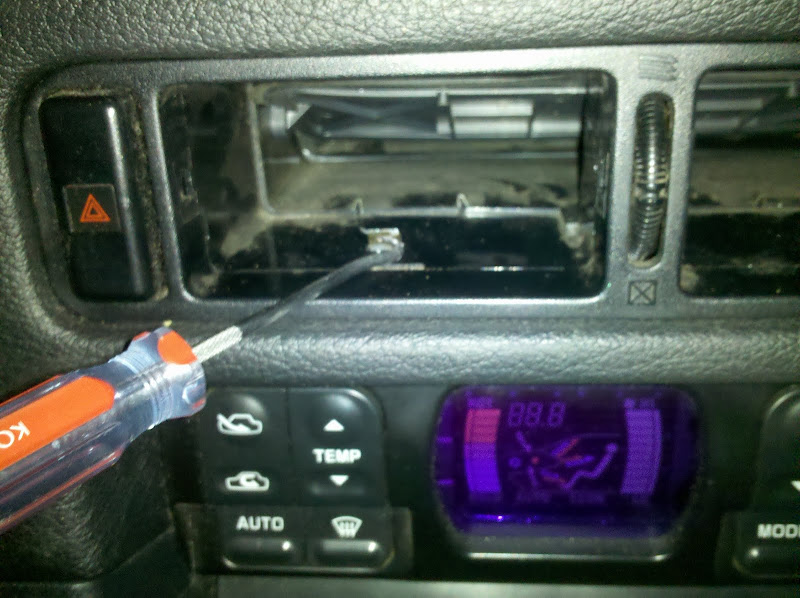
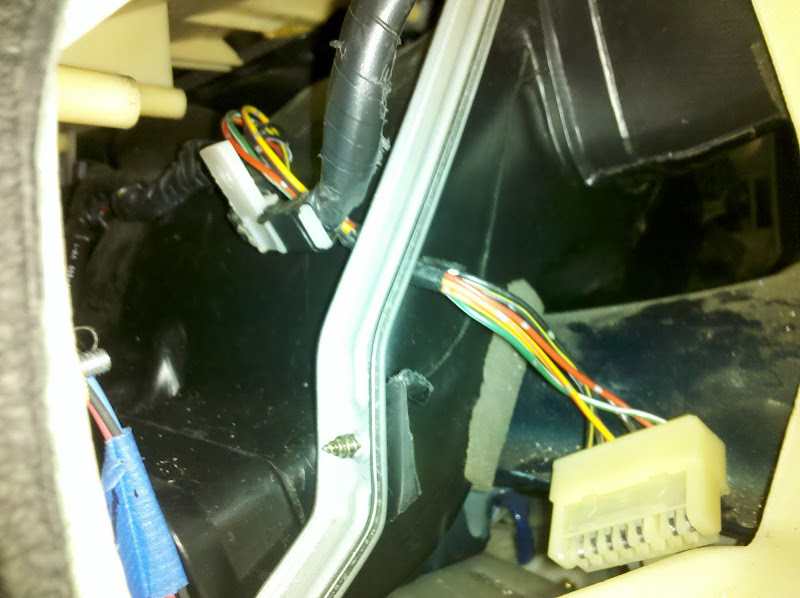
Now reach in and pull the vent housing out .. Disconnect your hazard light clip and set this aside ..
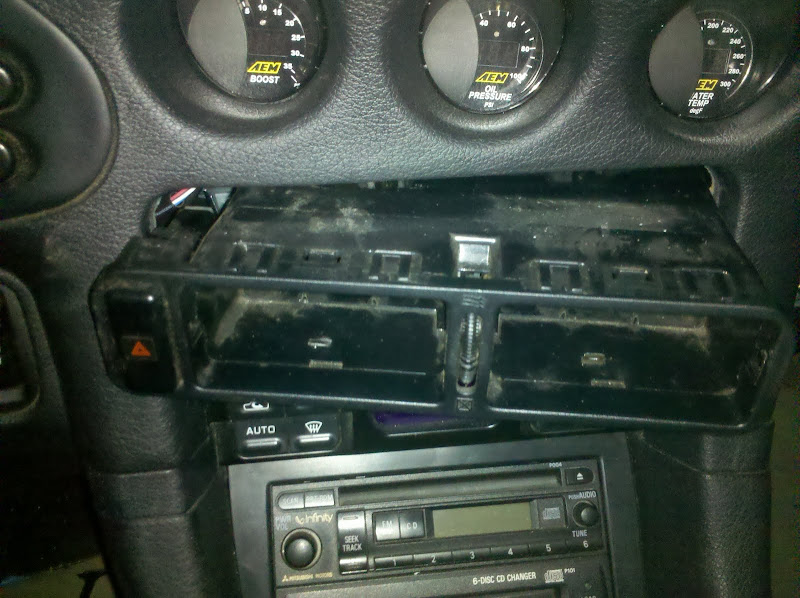
When you get to this point
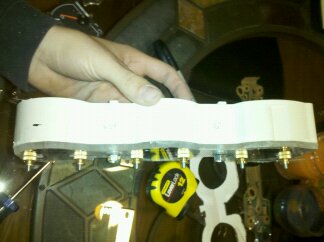
That is where this post will begin to help you !!!! Here is the gear wrench I used
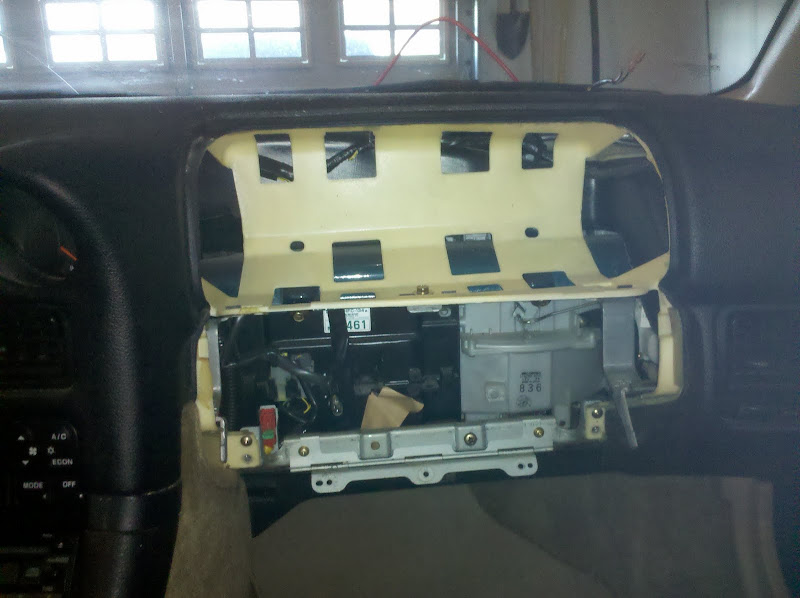
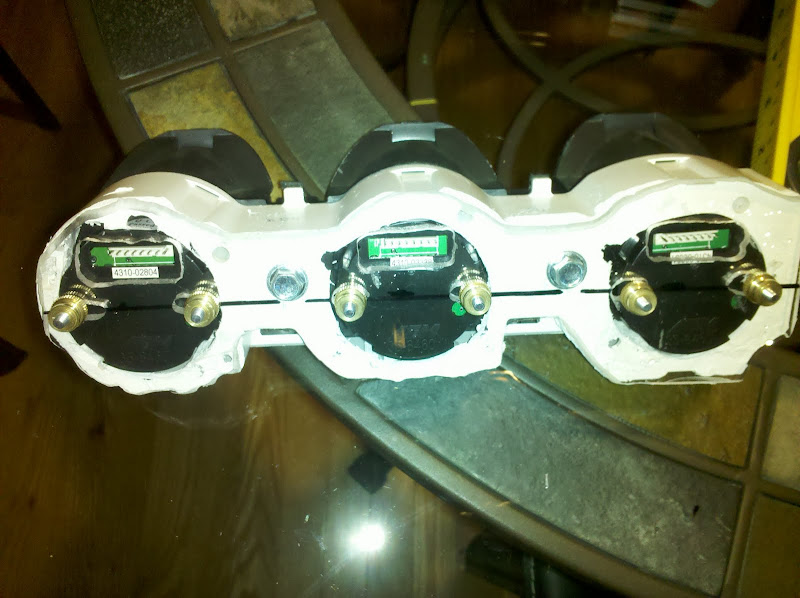
The small socket wrench we had here onscene wouldnt fit, as the head of it ended up way too far in the curve of the dash to be able to get at the screws .. The gear wrench was a one to two clicks at a time procedure that seemed to take forever .. This is the view from the passenger side where the airbag mounts
The four posts that protrude towards the windshield are what you need to deal with here .. The two you see with the screws in them .. And the two above them ..
First thing first you need to move the large metal bracket in the foreground ..
Disconnect it from the vent and from the interior side or the dash (radio side) and push it straight back out of the way .. It is very sharp and I suffered several nice nicks and cuts before it was disconnected .. And in the end I found it will have to be out of the way to get the gauges out through the airbag space .. Now the two largest posts will retain a screw with this tab


 Reply With Quote
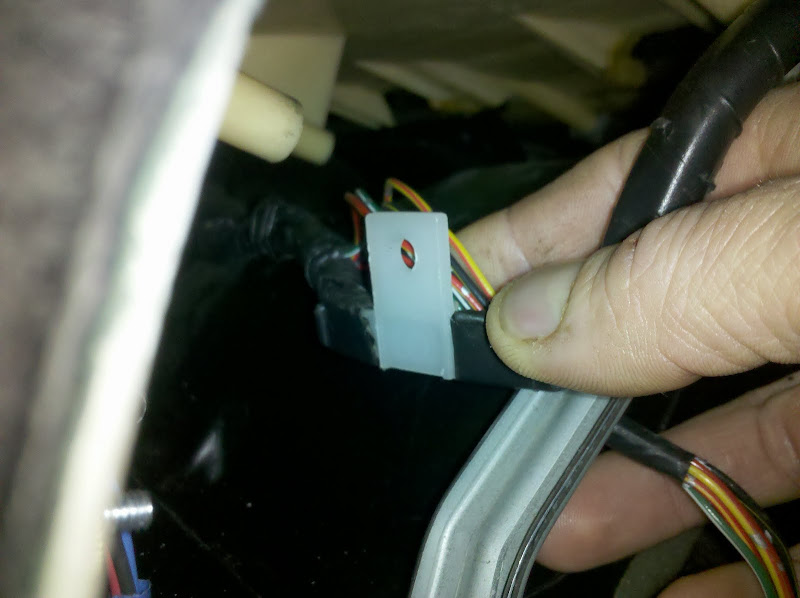


Bookmarks