Results 1 to 7 of 7

Thread: How to: Mount Aftermarket Cianci Side Skirts

  1. #1
    Forum User verified
    Join Date
    Sep 2010
    Owner Since

    Posts
    153
    Blog Entries
    1
    Thanks
    6
    Thanked 22 Times in 9 Posts

    How to: Mount Aftermarket Cianci Side Skirts

    Any after market product will need work to make it look OEM. With that in mind, I had my body shop attach my side skirts. The goal was to make the side skirts removable if needed.

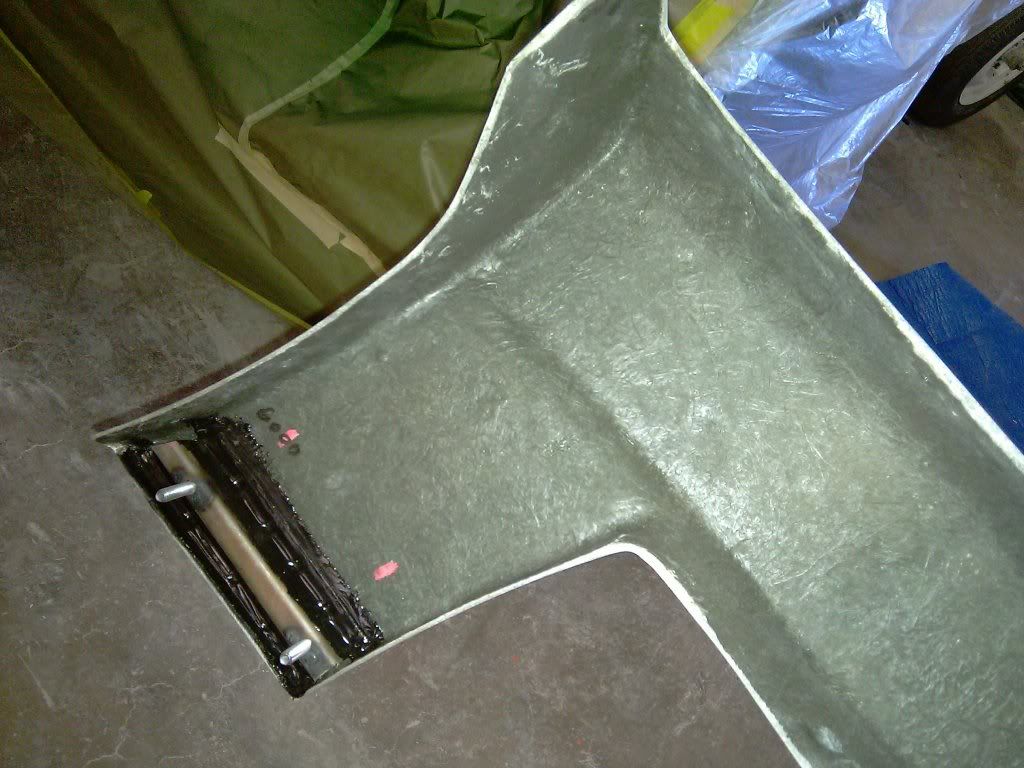
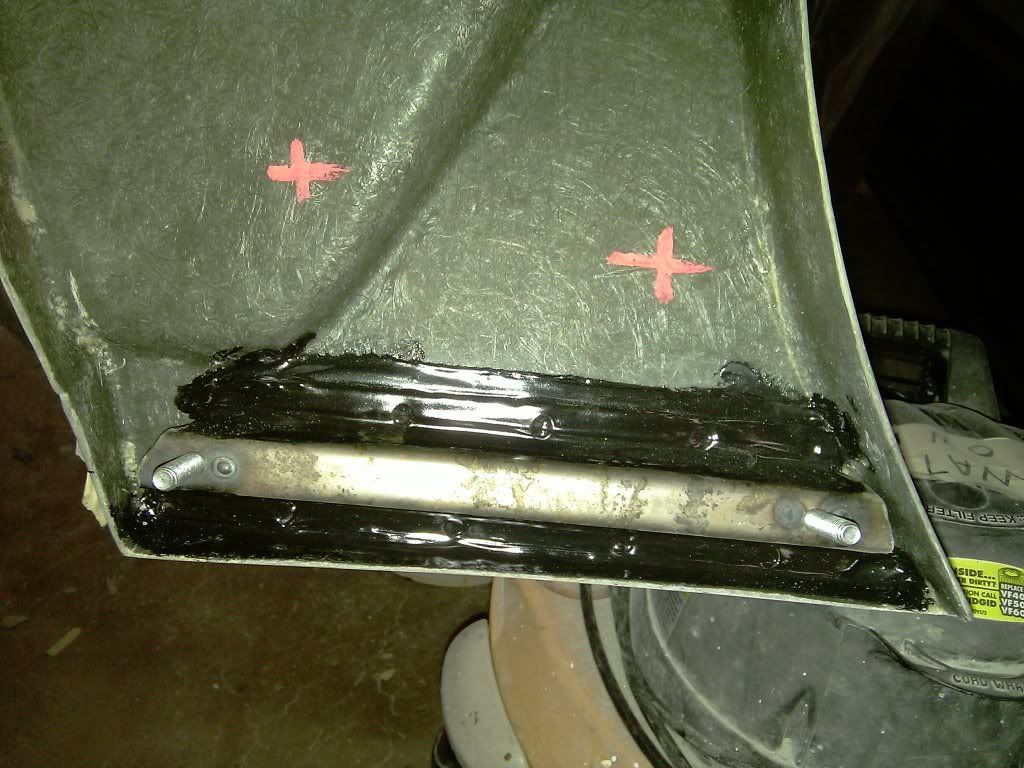
    1) Make a bracket that looks like this with 2 bolts.


    2) Epoxy the bracket onto the back of the side skirt.

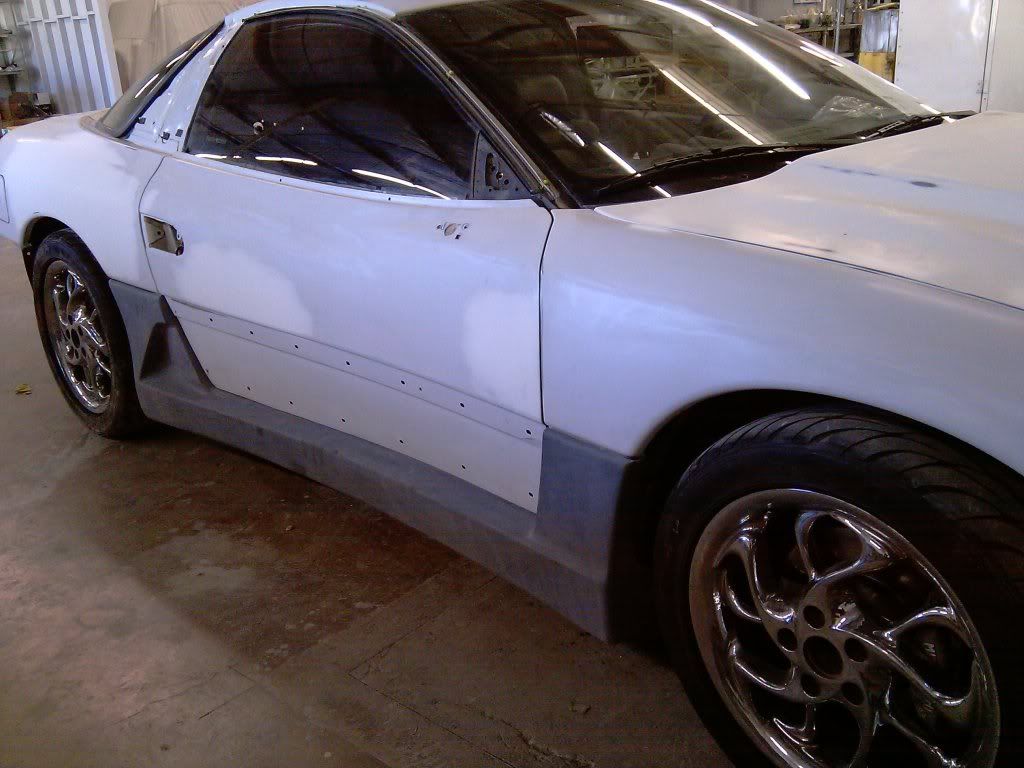
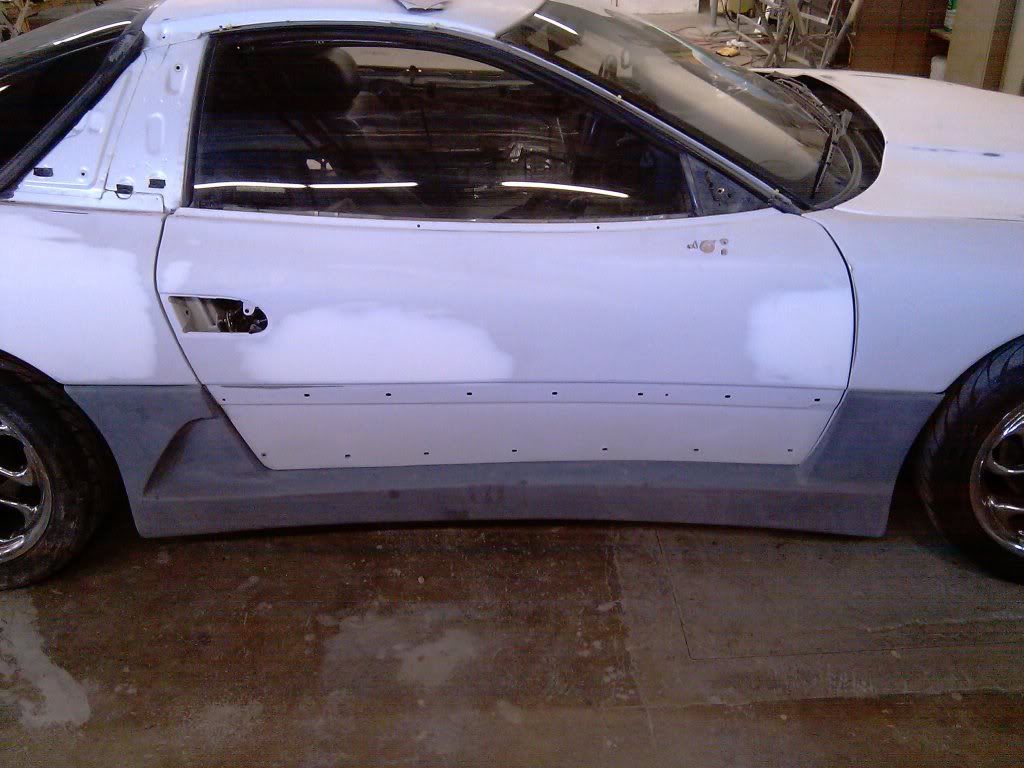
    3) Measure and drill the sides of the car to mount up. 2 bolts in the front, and 2 bolts in the back will make it line up perfect. Use some 3M double sided tape in places that feel loose.


    Hope that helps.

  2. The Following User Says Thank You to 3000GTCSULB For This Useful Post:


  3. #2
    Forum User
    Join Date
    Sep 2010
    Owner Since
    2009

    Location
    Lancaster/Reading PA
    Posts
    60
    Blog Entries
    2
    Thanks
    0
    Thanked 1 Time in 1 Post
    What kind of epoxy did you use? Did you bolt the underside at all?

  4. #3
    Forum User verified
    Join Date
    Sep 2010
    Owner Since

    Posts
    153
    Blog Entries
    1
    Thanks
    6
    Thanked 22 Times in 9 Posts
    http://www.homedepot.com/webapp/wcs/...tID=48#reviews

    I did not have to bolt the underside, I also decided not to use 3m tape, I used 3 screws instead on the inside jam. I'll take a picture tomorrow when I get my car back.

  5. #4
    Forum User
    Join Date
    Sep 2010
    Owner Since
    2009

    Location
    Lancaster/Reading PA
    Posts
    60
    Blog Entries
    2
    Thanks
    0
    Thanked 1 Time in 1 Post
    Cool, thanks. And I assume you can get to those bolts from inside the car. To put the nuts on the other side.

  6. #5
    Forum User verified
    Join Date
    Sep 2010
    Owner Since

    Posts
    153
    Blog Entries
    1
    Thanks
    6
    Thanked 22 Times in 9 Posts
    On the front you can access both bolts by removing the mud flaps. On the rear you can access 1 from the outside, and the other is from the inside (you have to remove the speaker rear panel).

  7. #6
    I'm Kind Of A Big Deal
    Join Date
    Sep 2010
    Owner Since
    2003

    Location
    Easton, Pennsylvania, United States
    Posts
    2,201
    Thanks
    208
    Thanked 102 Times in 86 Posts
    that looks great!
    Circa 2005... Oh my, how far I've come
    Quote Originally Posted by Emilie@GZP View Post
    gear wrenches = wrench with the spinny thing inside of the circle part?
    Current:
    2004 ML500 - Mommy Mobile
    1996 Ram 2500 V10 - Tow Vehicle
    1991 Stealth R/T Twin Turbo - Pink Parts, Billet GZP 747's
    1995 3000GT VR-4 - lawn gnome
    1999 3000GT SL - 7,436 miles
    1995 3000GT Spyder - garage ornament

    FOR SALE:
    1995 3000GT Spyder VR-4 Red, 80k miles

  8. #7
    Banned J. Fast's Avatar
    Join Date
    Sep 2010
    Owner Since
    - O - SIX -

    Location
    Colorado, USA
    Posts
    2,711
    Thanks
    405
    Thanked 200 Times in 140 Posts
    Thank you!

Tags for this Thread

Bookmarks

Posting Permissions

  • You may not post new threads
  • You may not post replies
  • You may not post attachments
  • You may not edit your posts
  •  
The 3000GT/Stealth/GTO Web History Project
3000gt.com
3000GT / Stealth International WWWboard Archive
Jim's (RED3KGT) Reststop
3000GT/Stealth/GTO Information and Resources
Team 3S
3000GT / Stealth / GTO Information
daveblack.net
3000GT/Stealth/GTO Clubs and Groups
Michigan 3S
MInnesota 3S
Wisconsin 3S
Iowa, Nebraska, Kansas 3S
North California 3000GT/Stealth
United Society of 3S Owners
3000GT/Stealth/GTO Forums
3000GT/Stealth International
3000GT/Stealth/GTO Event Pages
3S National Gathering
East Coast Gathering
Upper Mid-West Gathering
Blue Ridge Gathering