Results 1 to 10 of 10

Thread: The QX4 build thread

  1. #1
    Member Not Verified
    Join Date
    Nov 2010
    Owner Since
    2003

    Posts
    2,062
    Thanks
    112
    Thanked 272 Times in 206 Posts

    The QX4 build thread

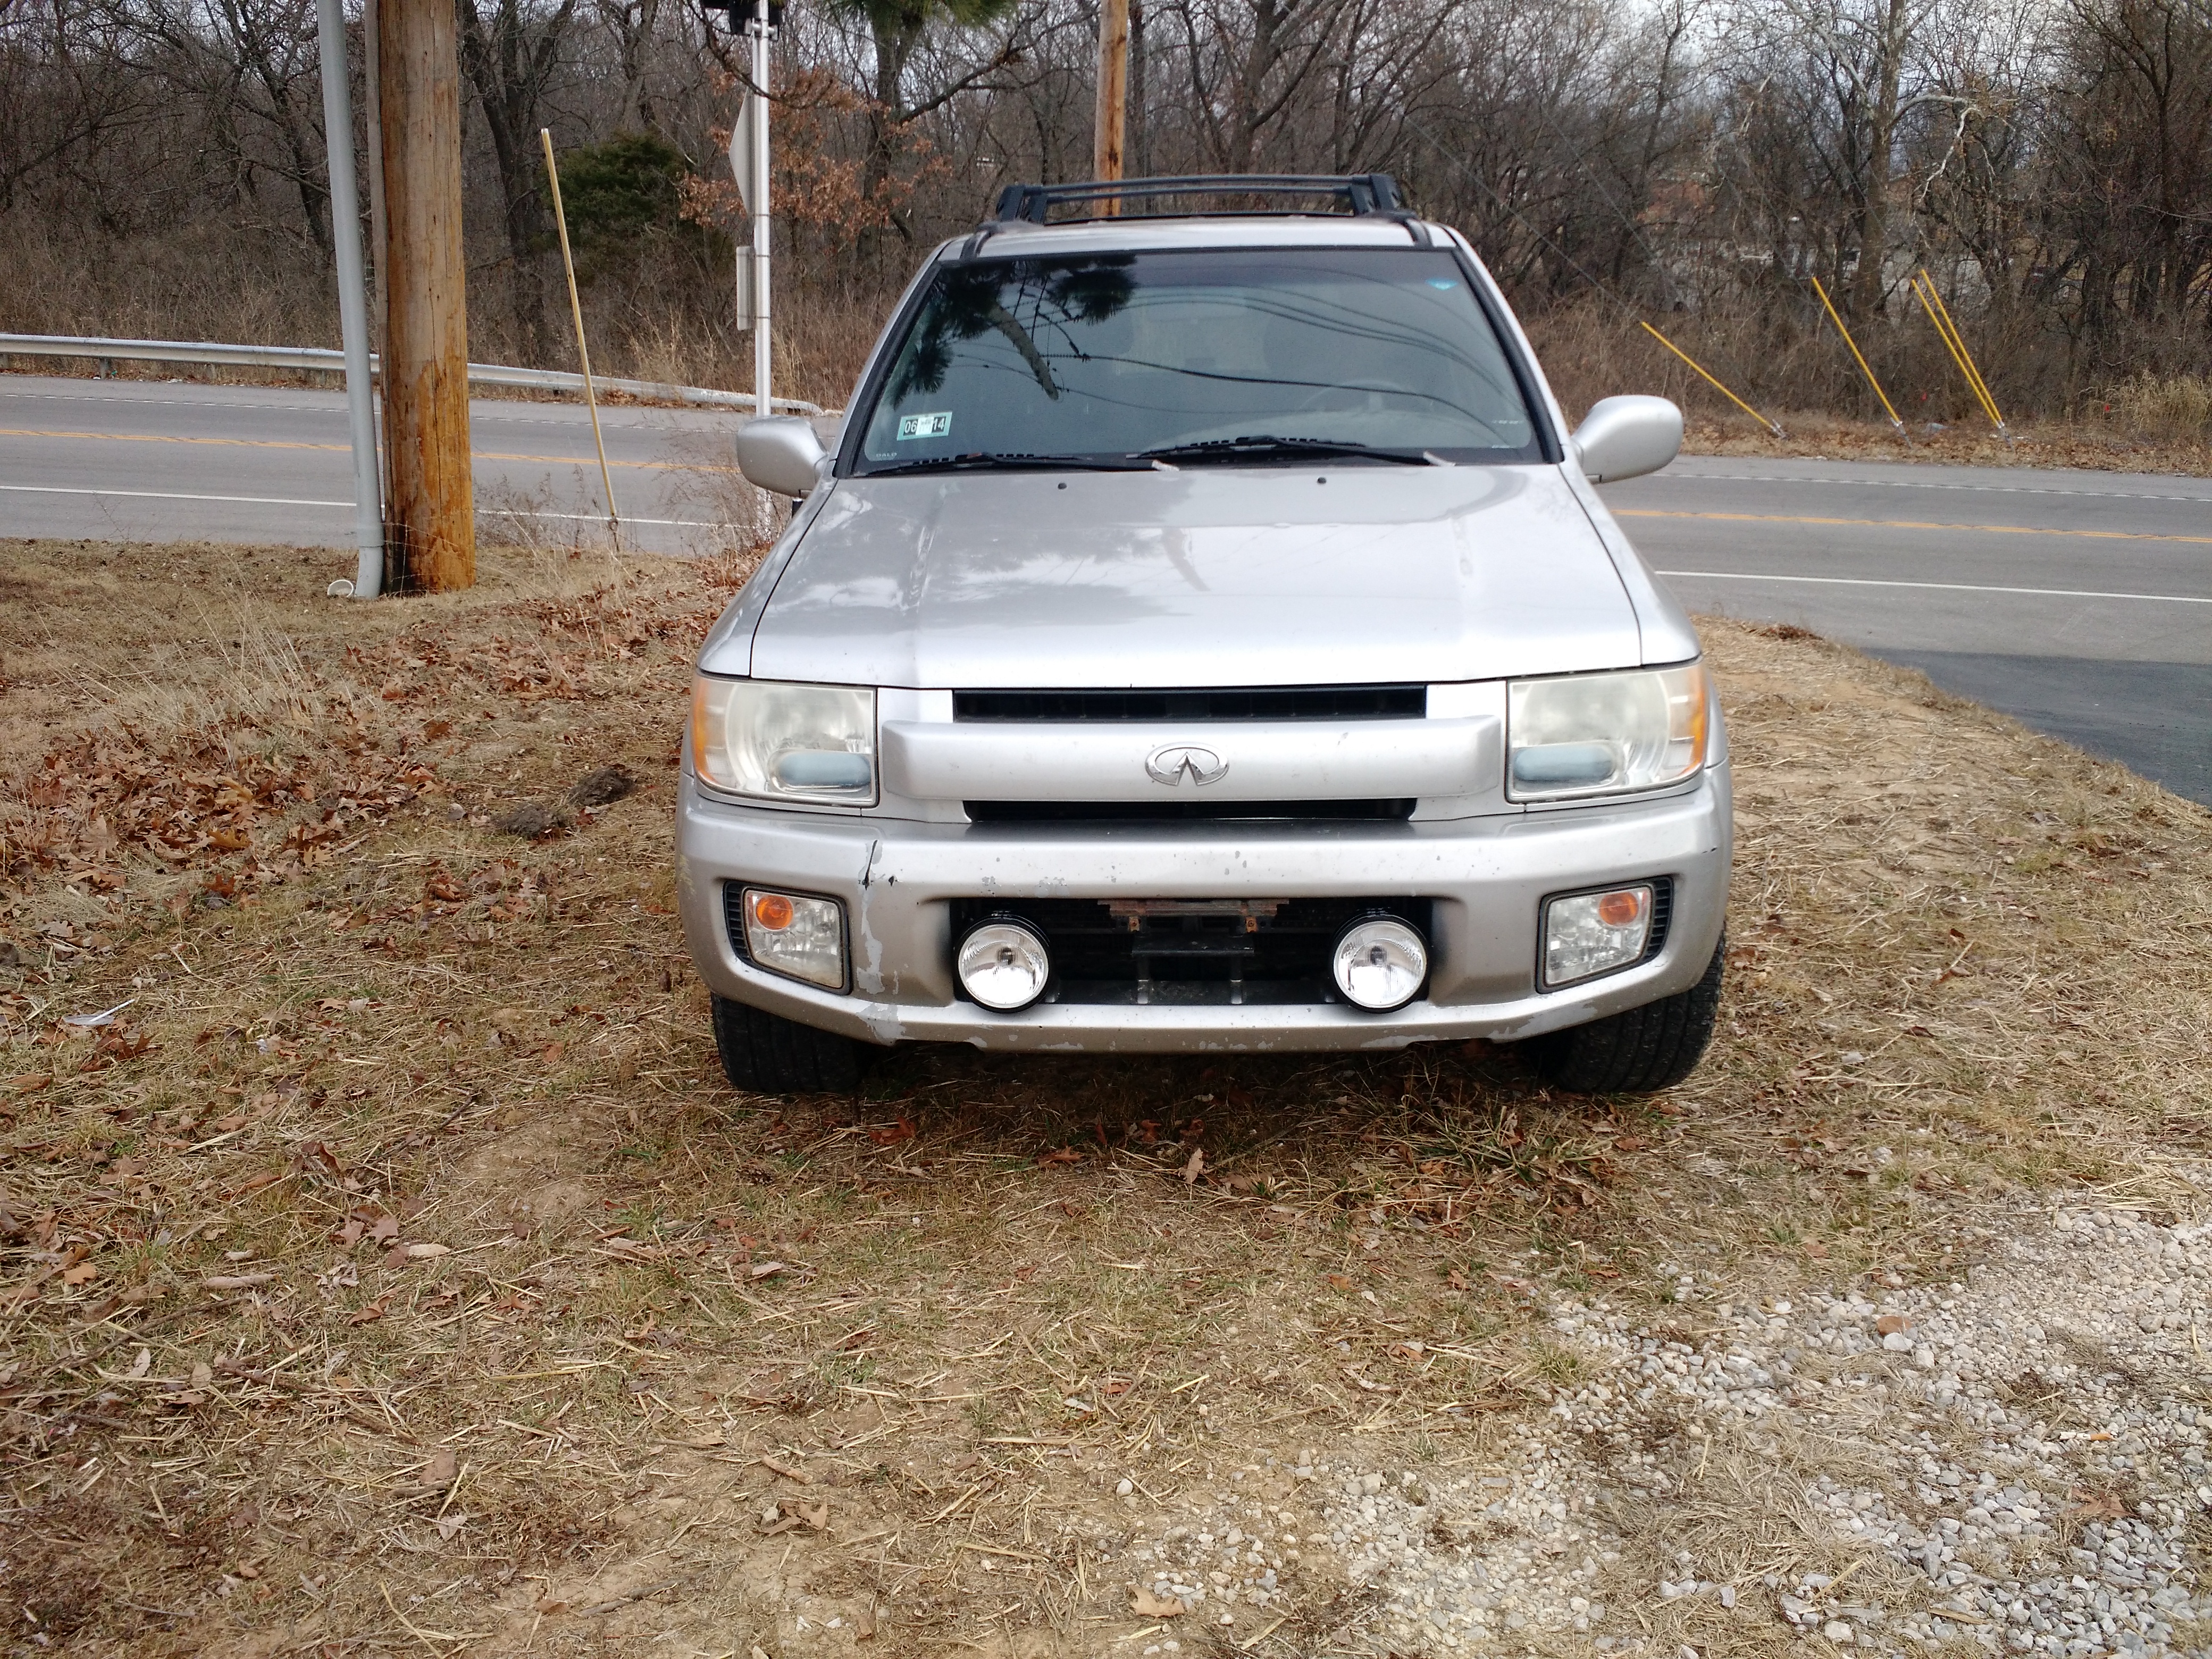
    Backstory is, I was shopping for a vehicle to use as a rally support truck. Needed to be AWD, have decent ground clearance, 4 seats, and a decent trunk space. My experience working on BMWs meant I was initially shopping X5's (or a 5 series wagon to build a drift taxi out of, that was plan B), and had passed on quite a few good deals but nothing super great. Was also randomly checking out things like the 4runner, xterra, and pathfinders but wasn't wanting a 4x4. All the reviews I read said the pathfinder rides much better than the 4runner on rough roads and higher speeds, which is exactly what I wanted. Initially didn't look for the QX4 because they were priced higher than I wanted to spend, but it did check all the boxes I wanted. The ATTESA ETS system has a big draw for me though. A random set of events though changed that as an X5 I was going to buy fell through, a local QX4 popped up was sent to me. It was decently clean enough, and more importantly it was a price I couldn't avoid. I went to look at it and verify it had some of the options I wanted it to have, mainly working HID lights, heated seats and rear LSD. The mission was on.

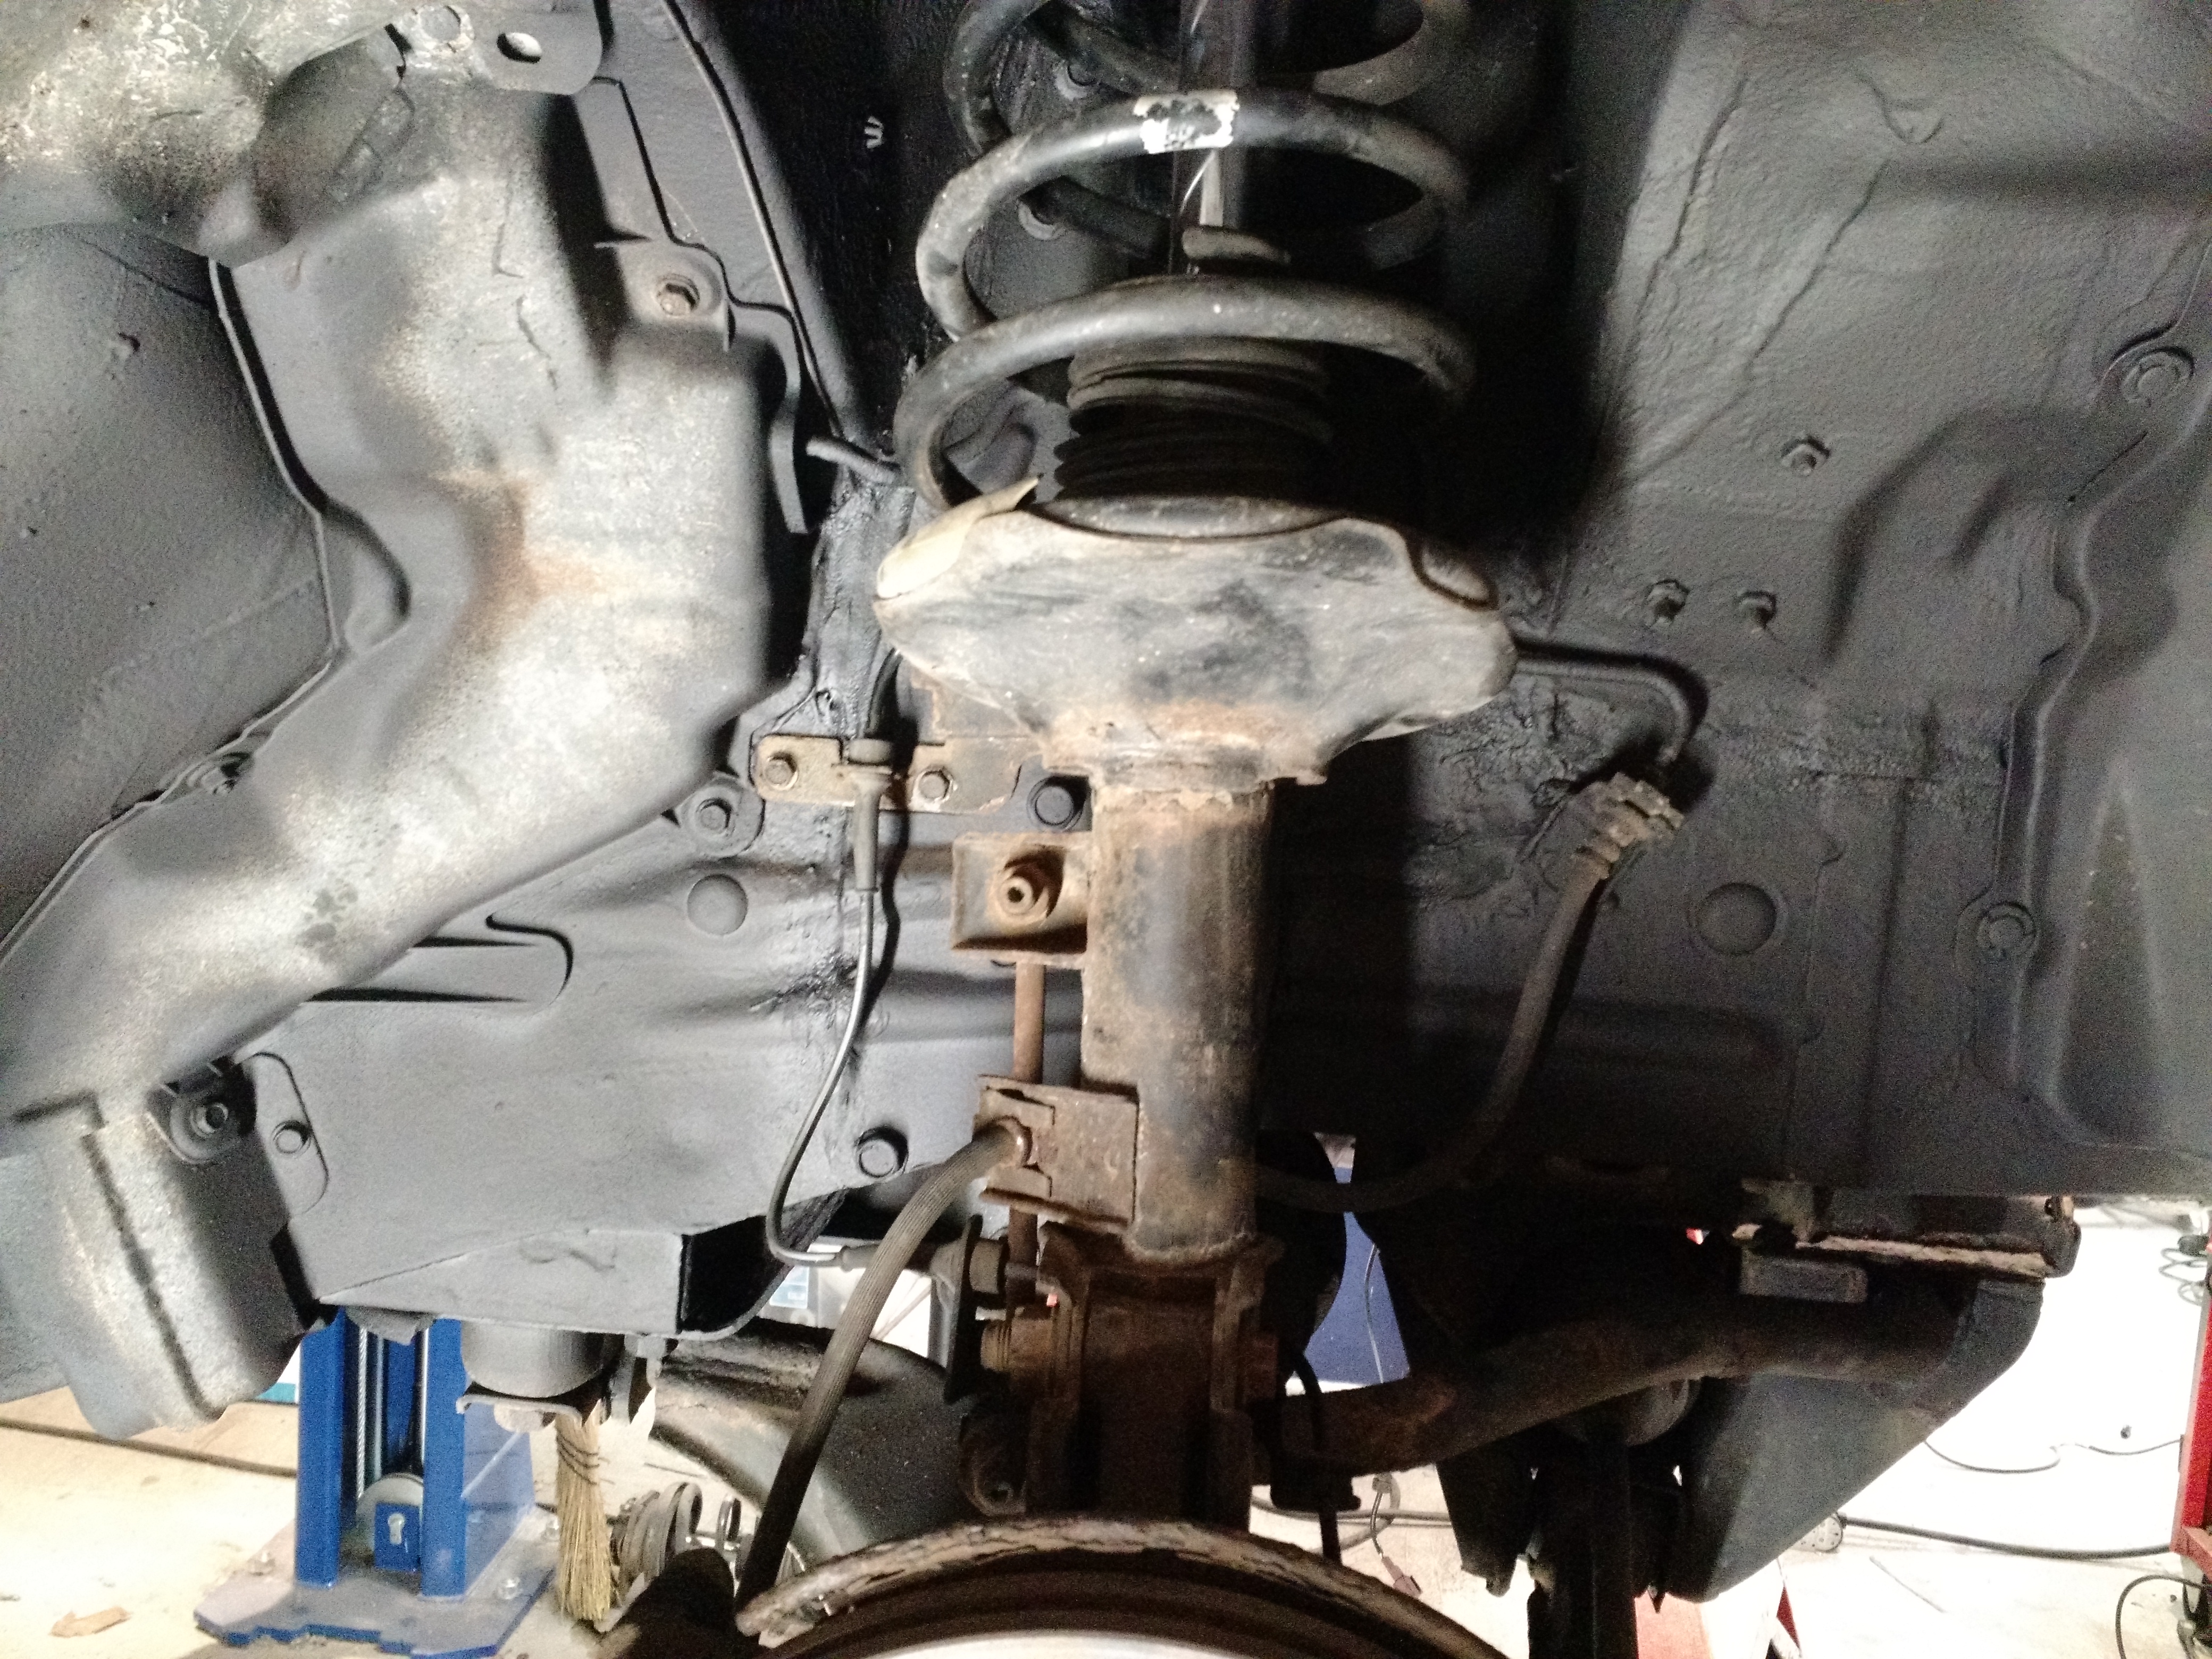
    So I bought it. A relatively low mile 2002 QX4 that failed safety inspection due to the front strut towers separating due to rust, it was far enough to be dangerous to drive, as the only thing holding the front left corner up was the brake master cylinder. You could feel the bumps in the road move the pedals. I bought it knowing it needed fixing but figured I'd call Infiniti just to see if they'd fix it for free. Infiniti said the recall inspection was done in 2012, and any damage due to rust since then wasn't their problem. Time to put her on the lift and fire up the welder, bringing her back to life.

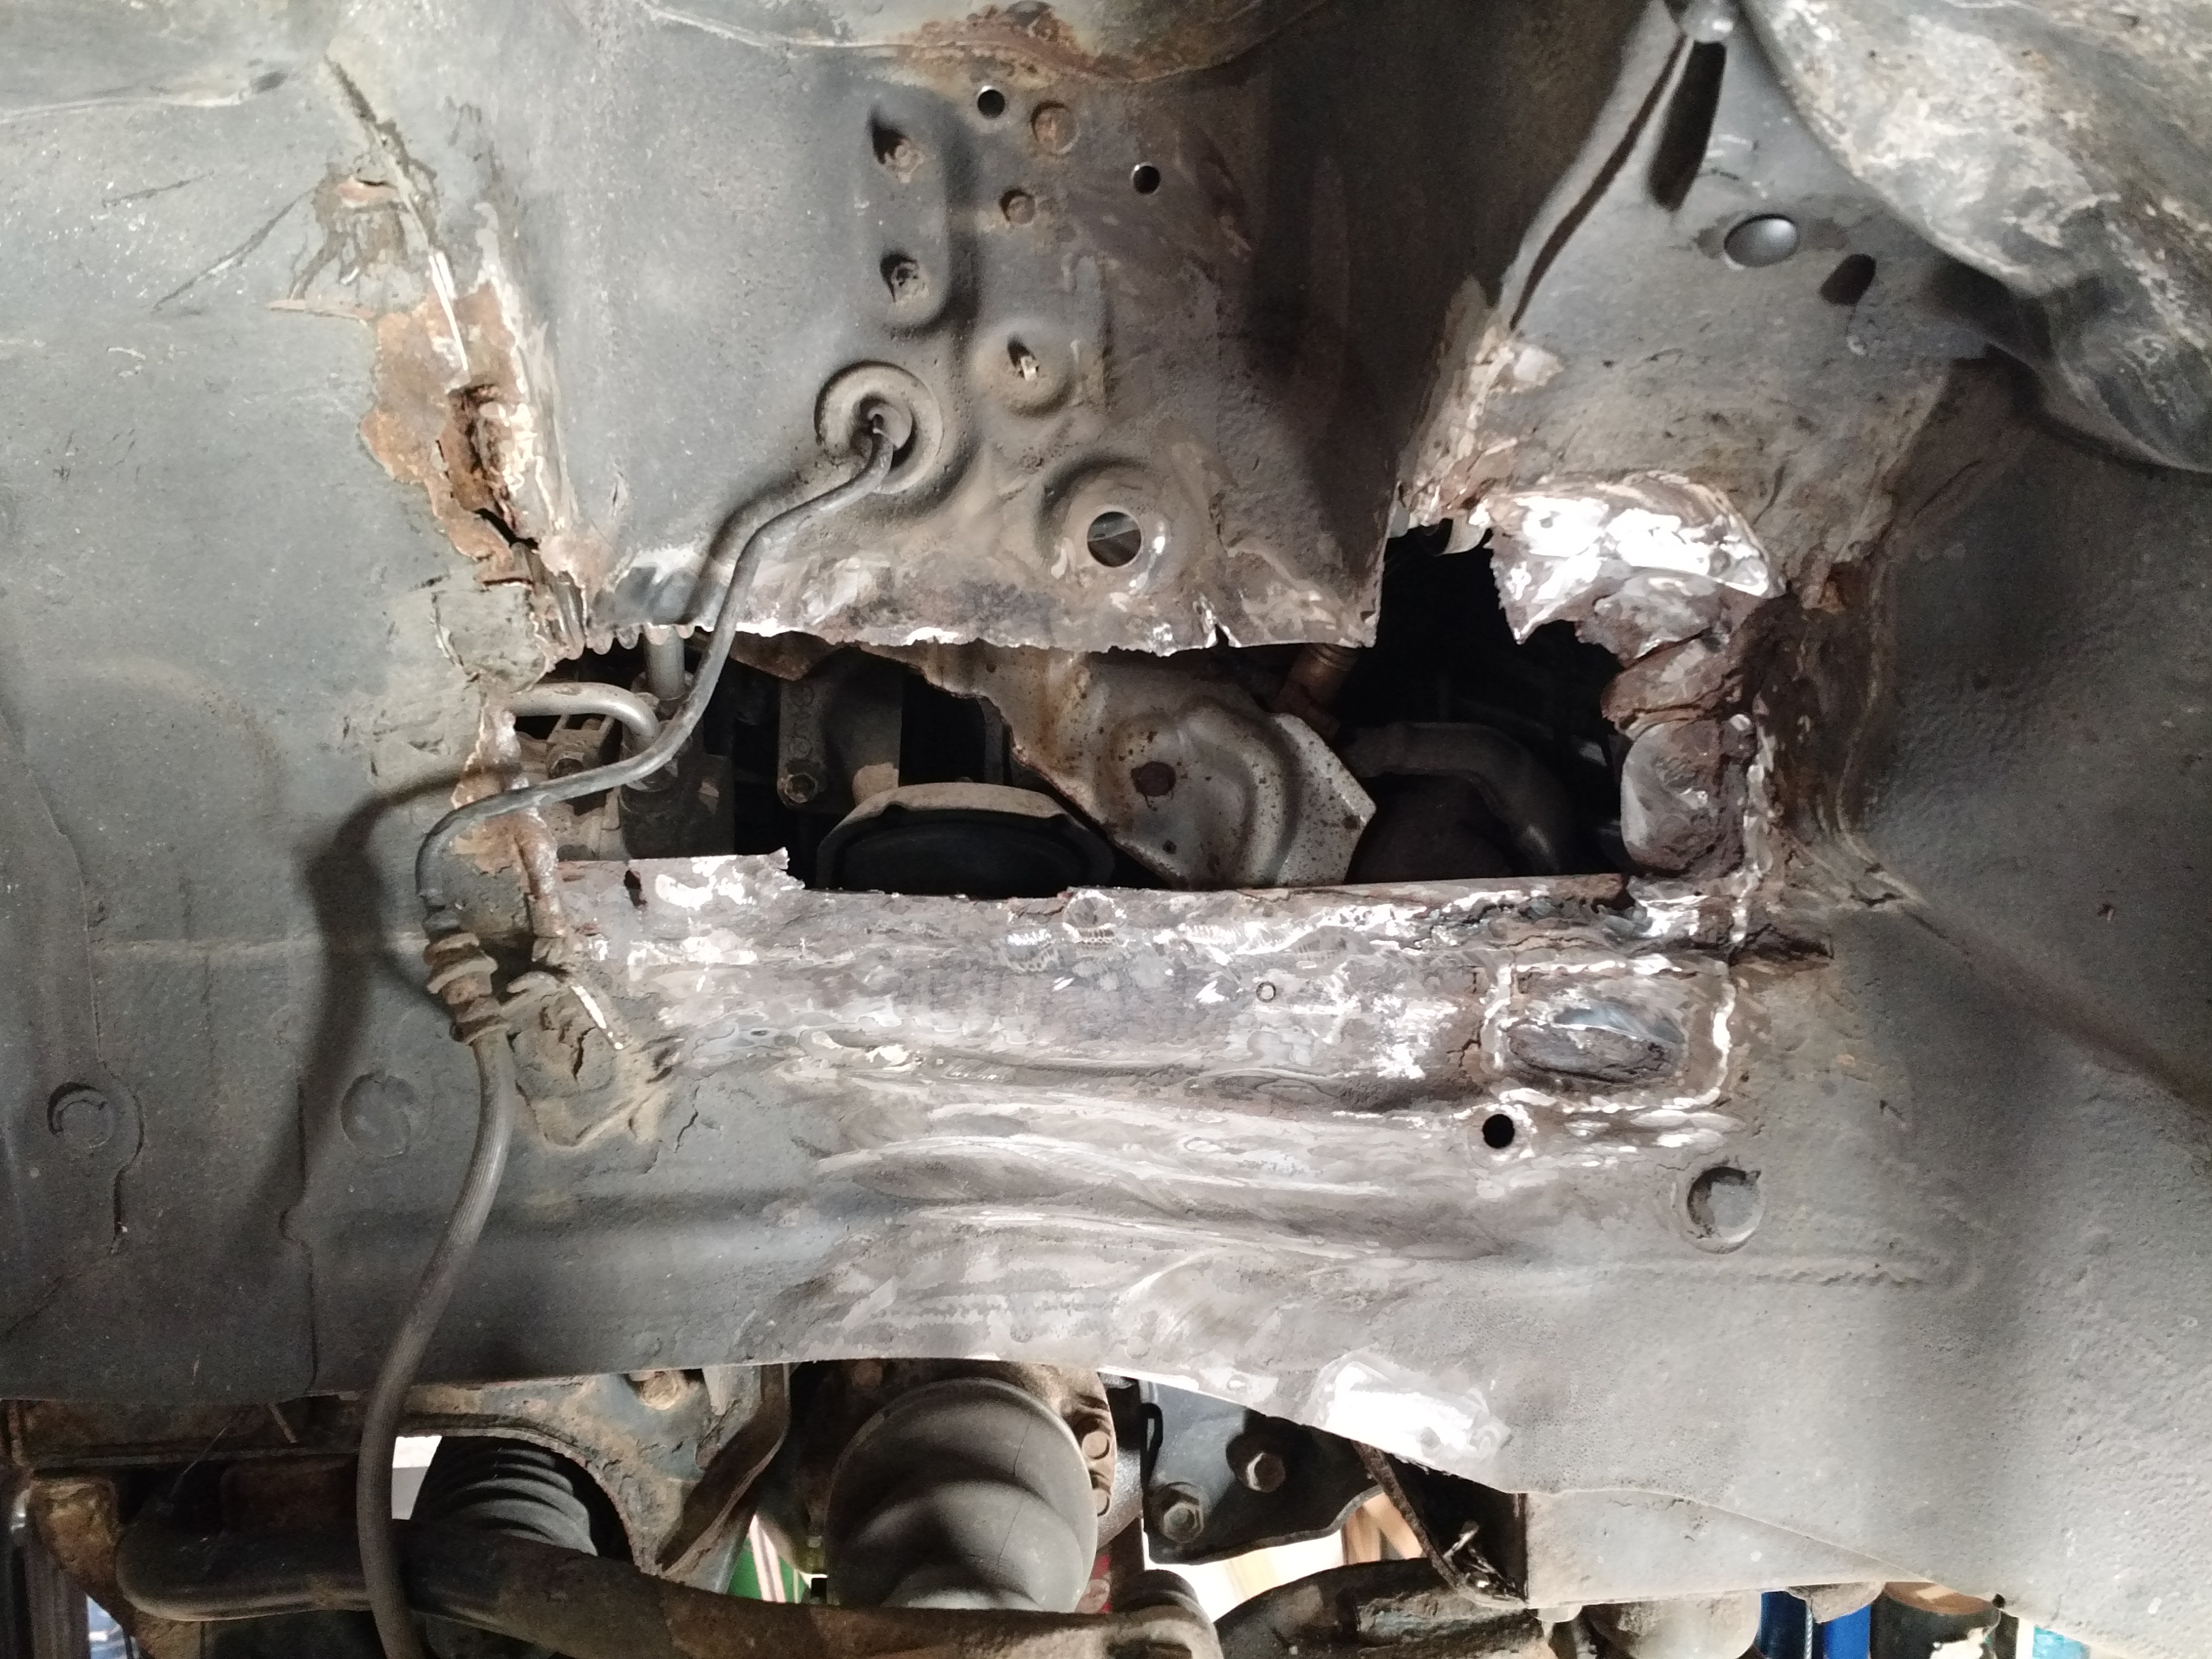
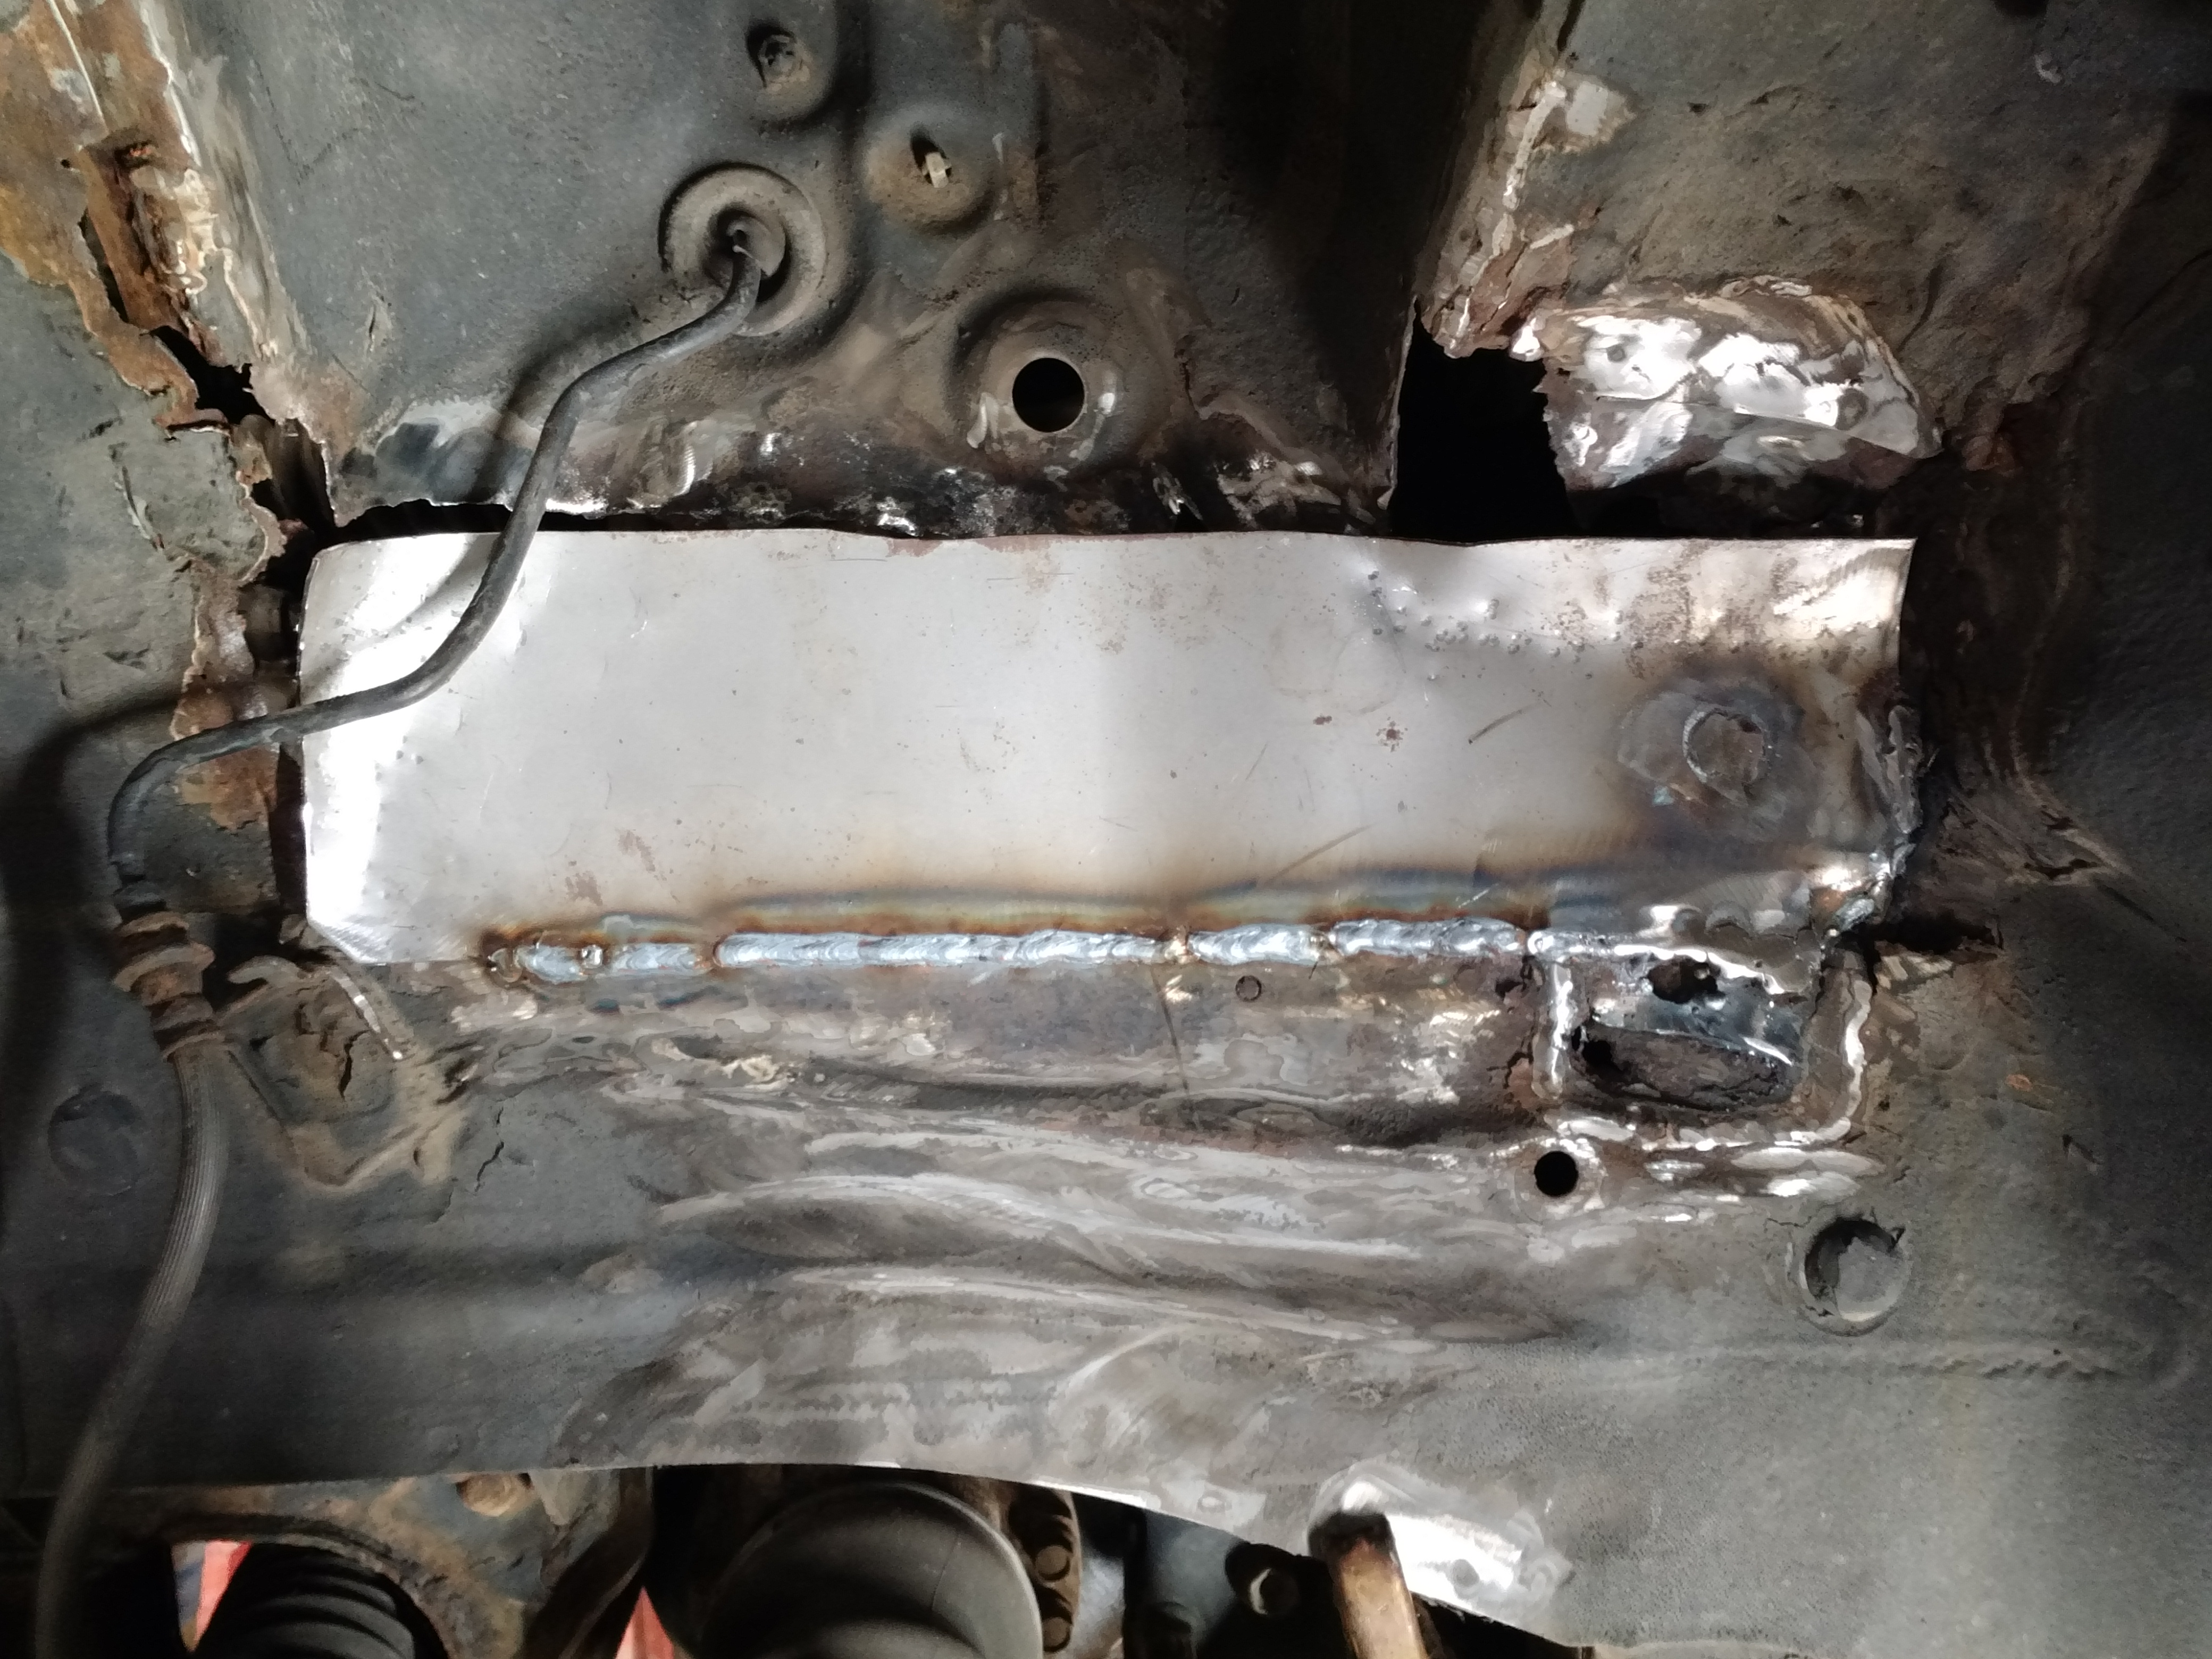
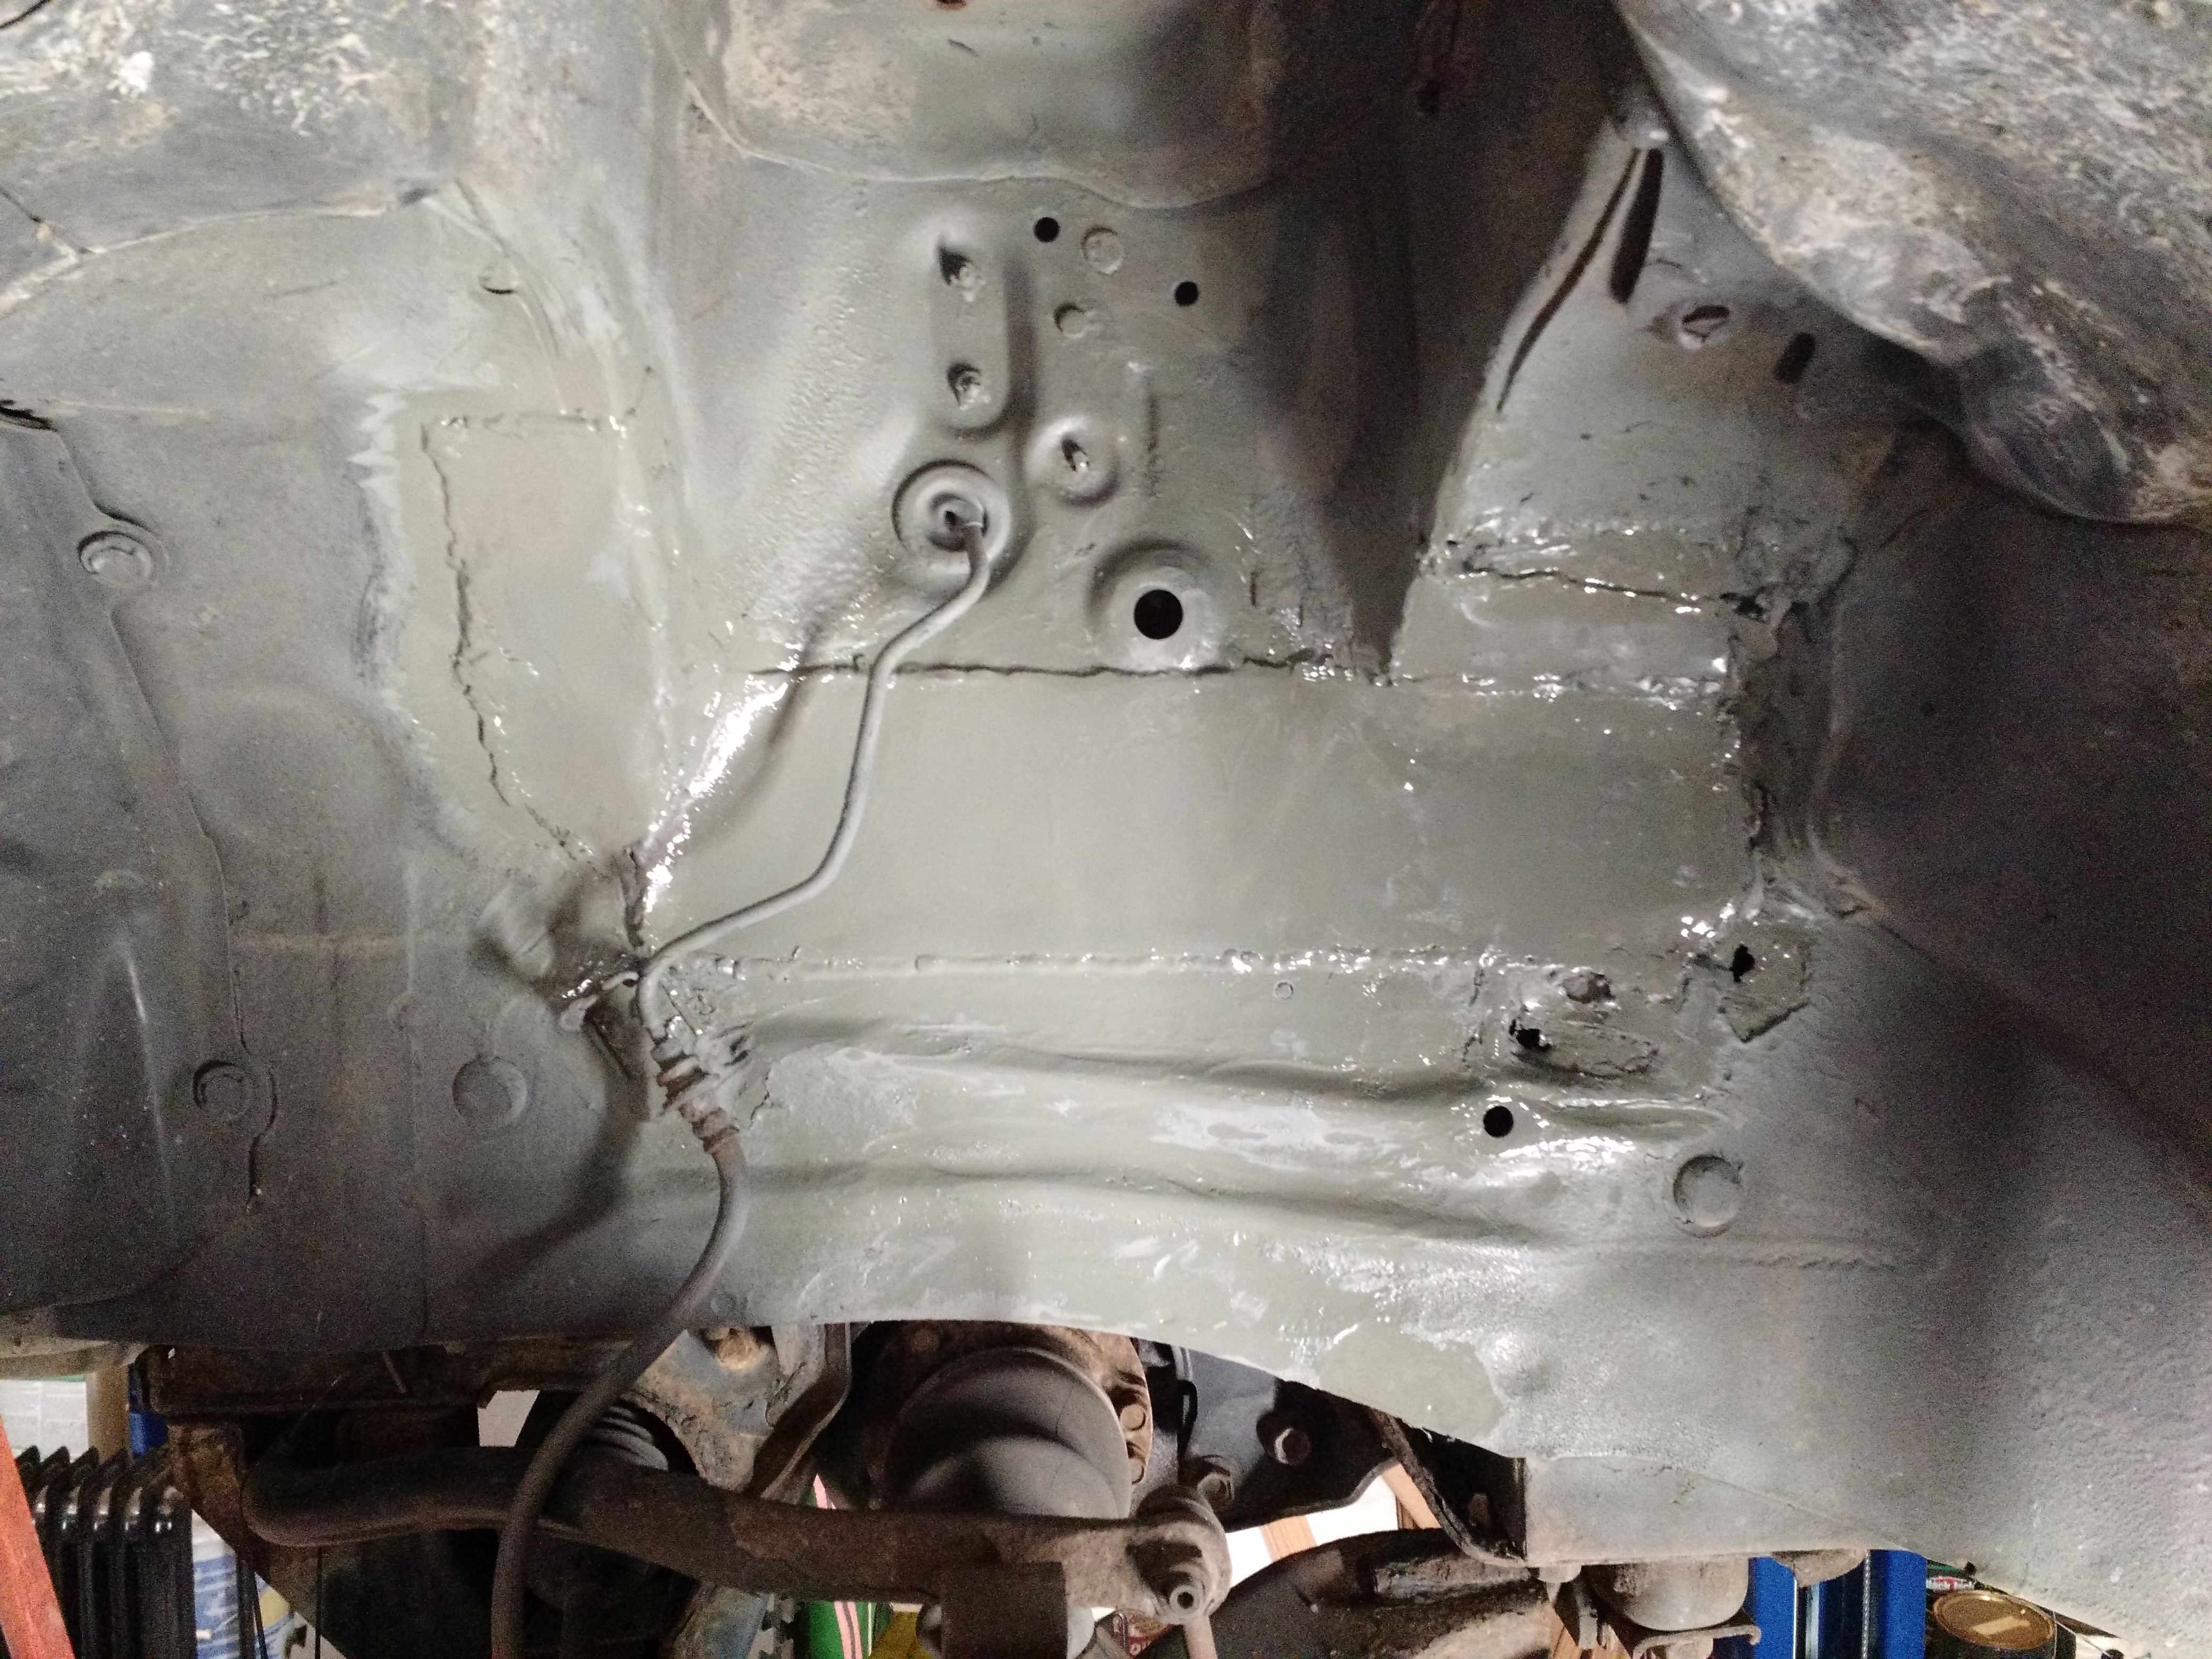
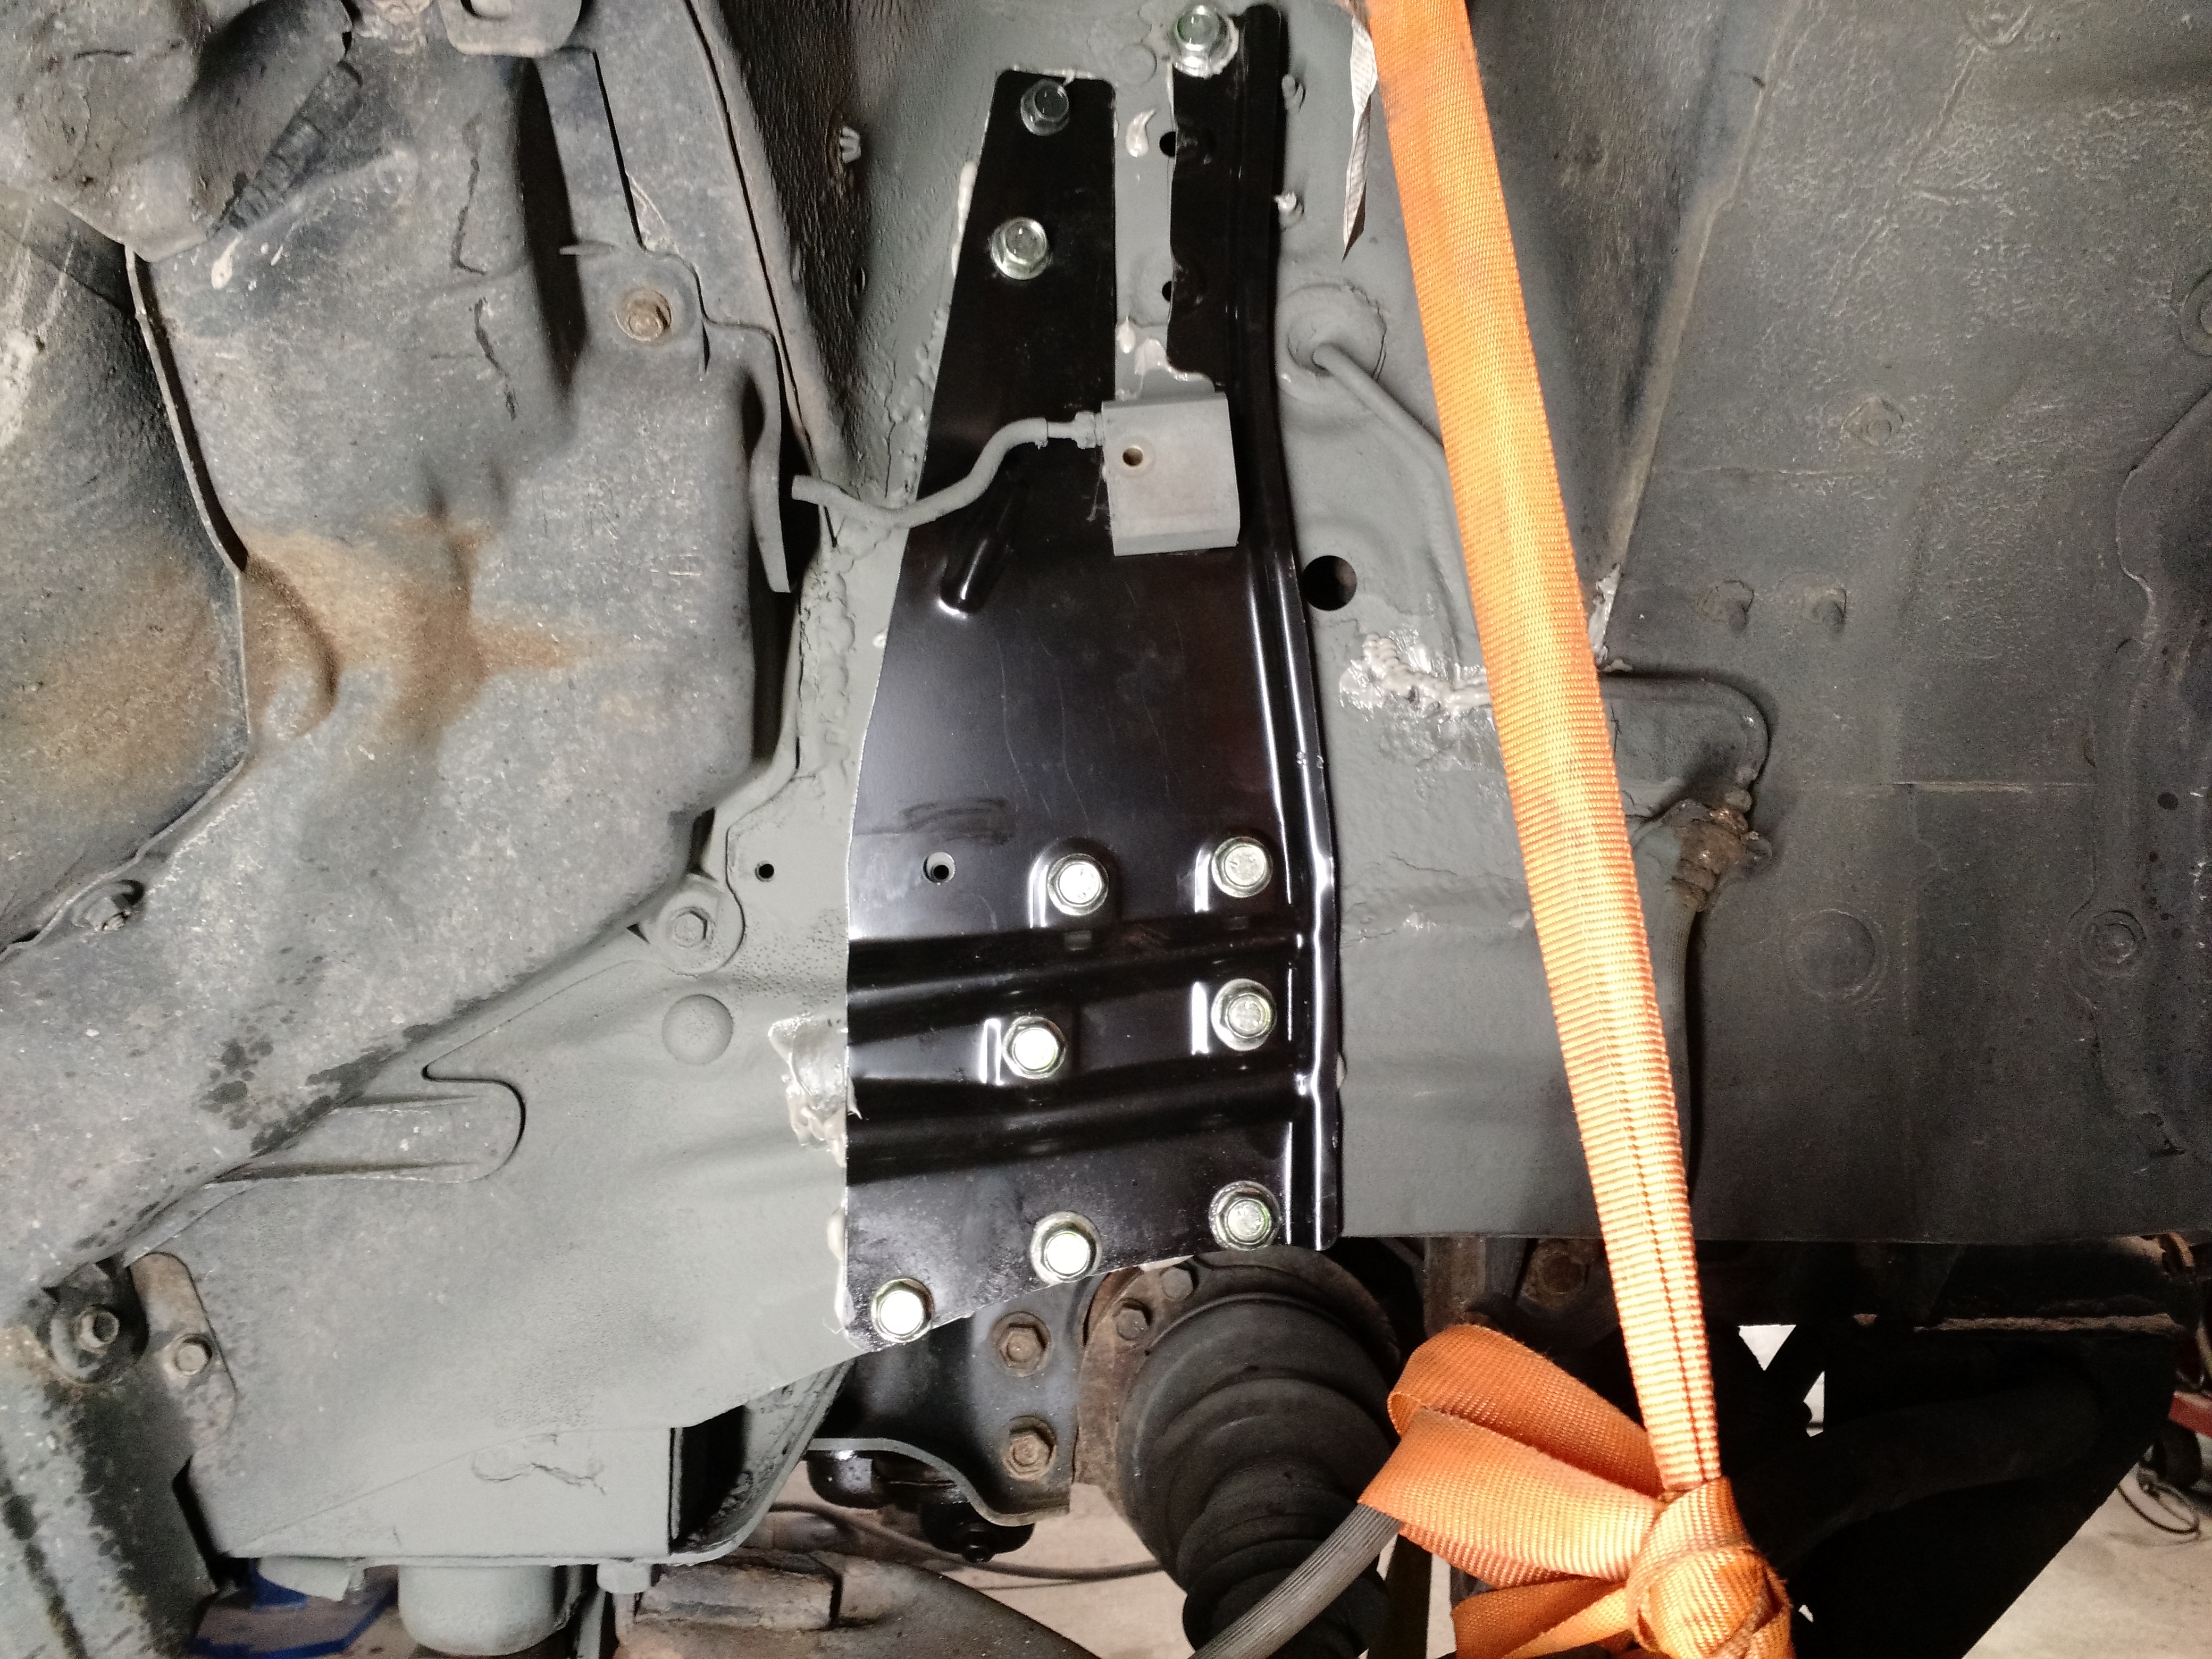
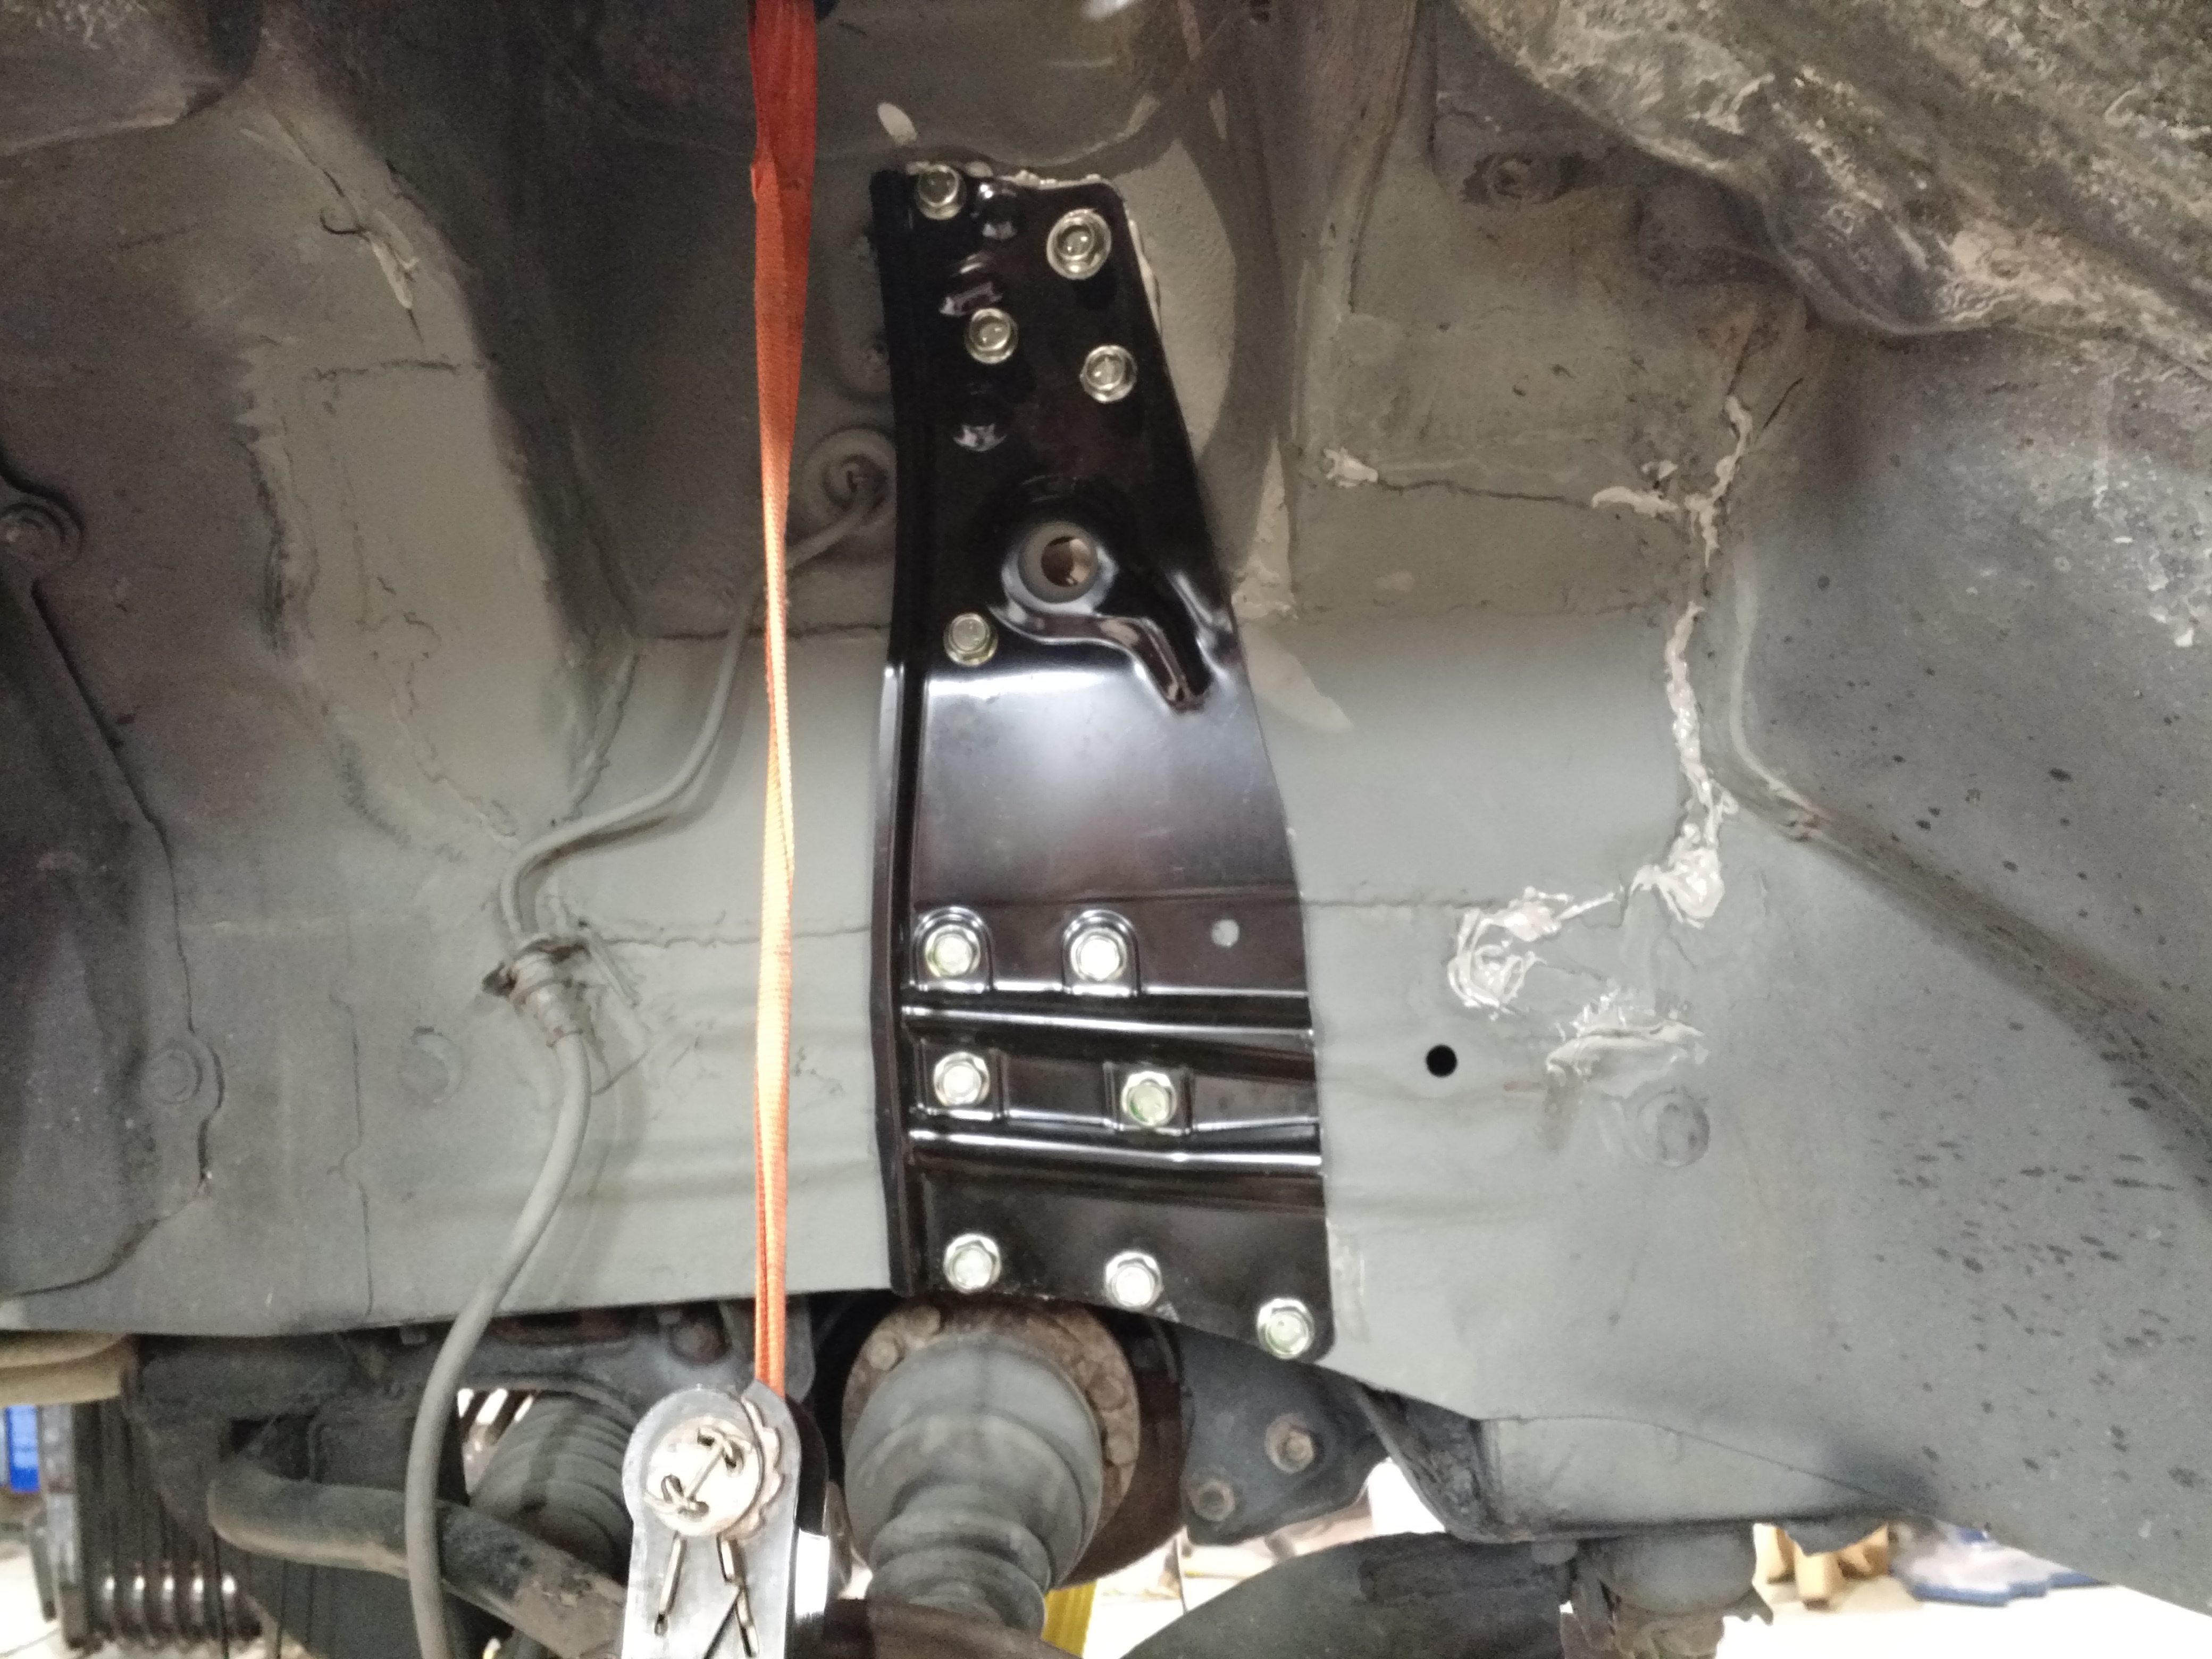
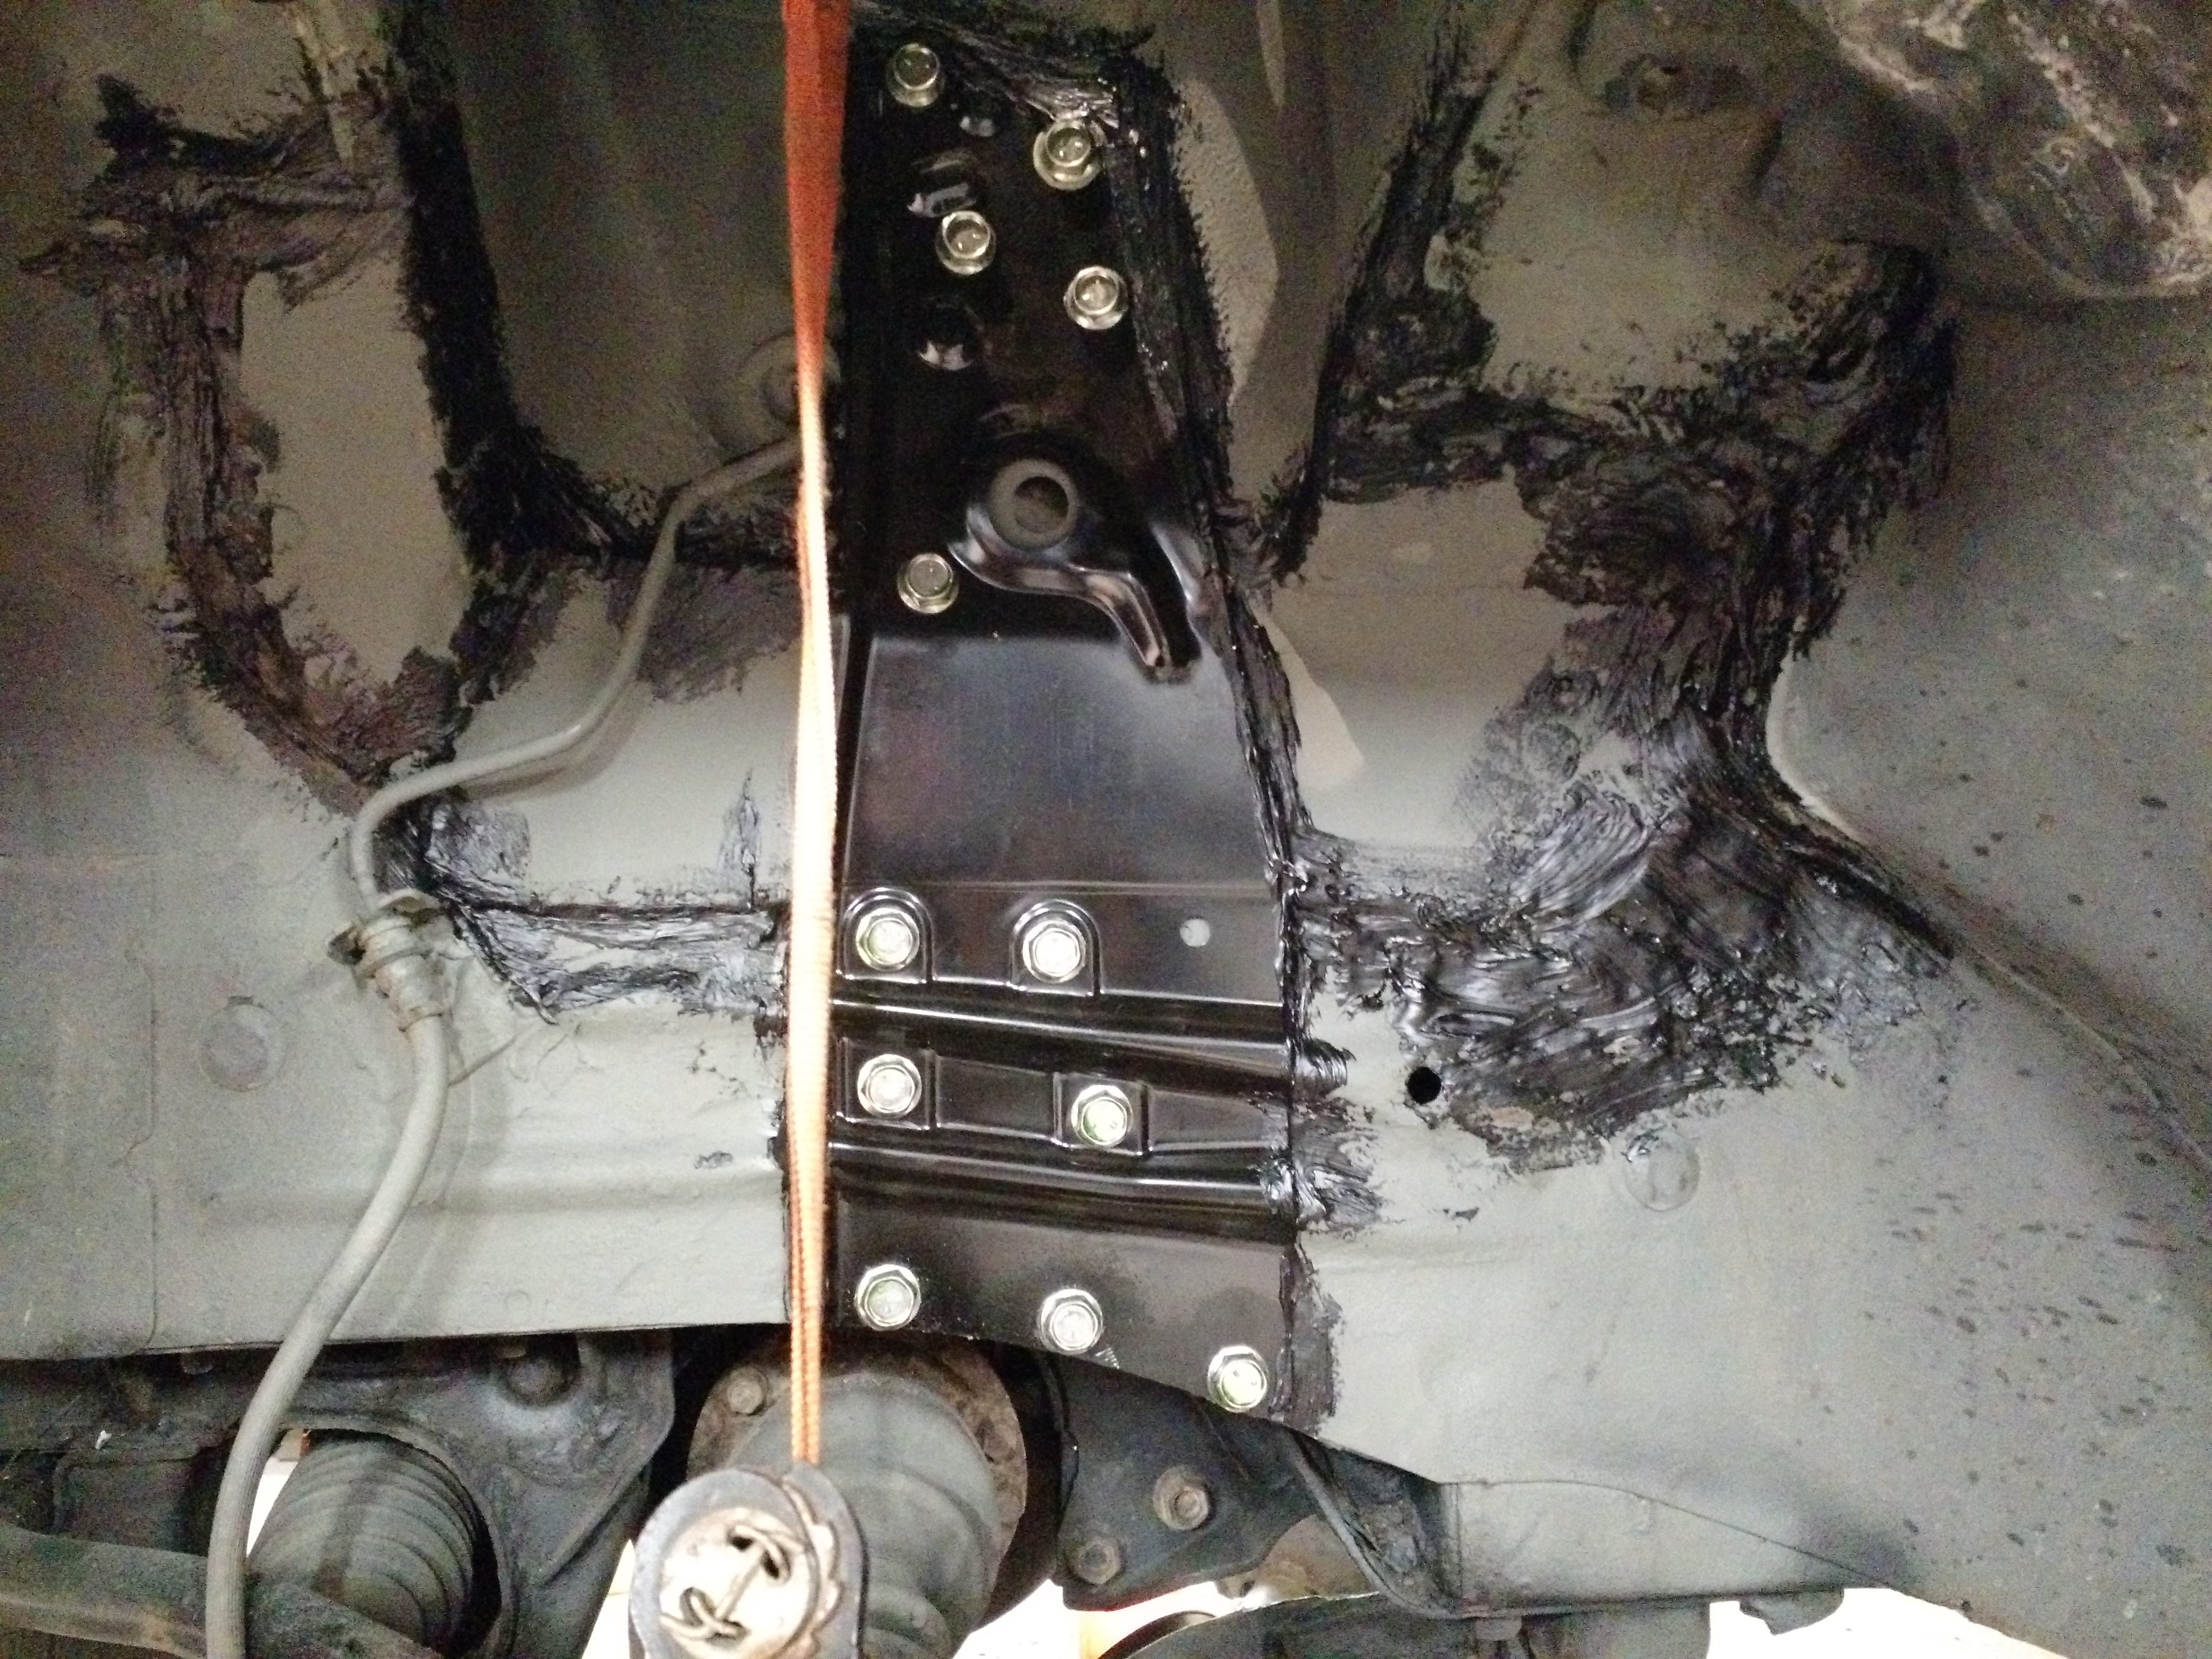
    Inspecting the damage, glad to see the mounting points for the repair bracket are in good condition, as I will be using the brackets to position the strut tower in the correct location for the operation. I chose to weld in new metal because I believe the fiberglass repair Nissan came up with is a half-ass way of doing this type of repair.

    Driver side:

    IMG_20180210_155643909 by Chris Patterson, on Flickr
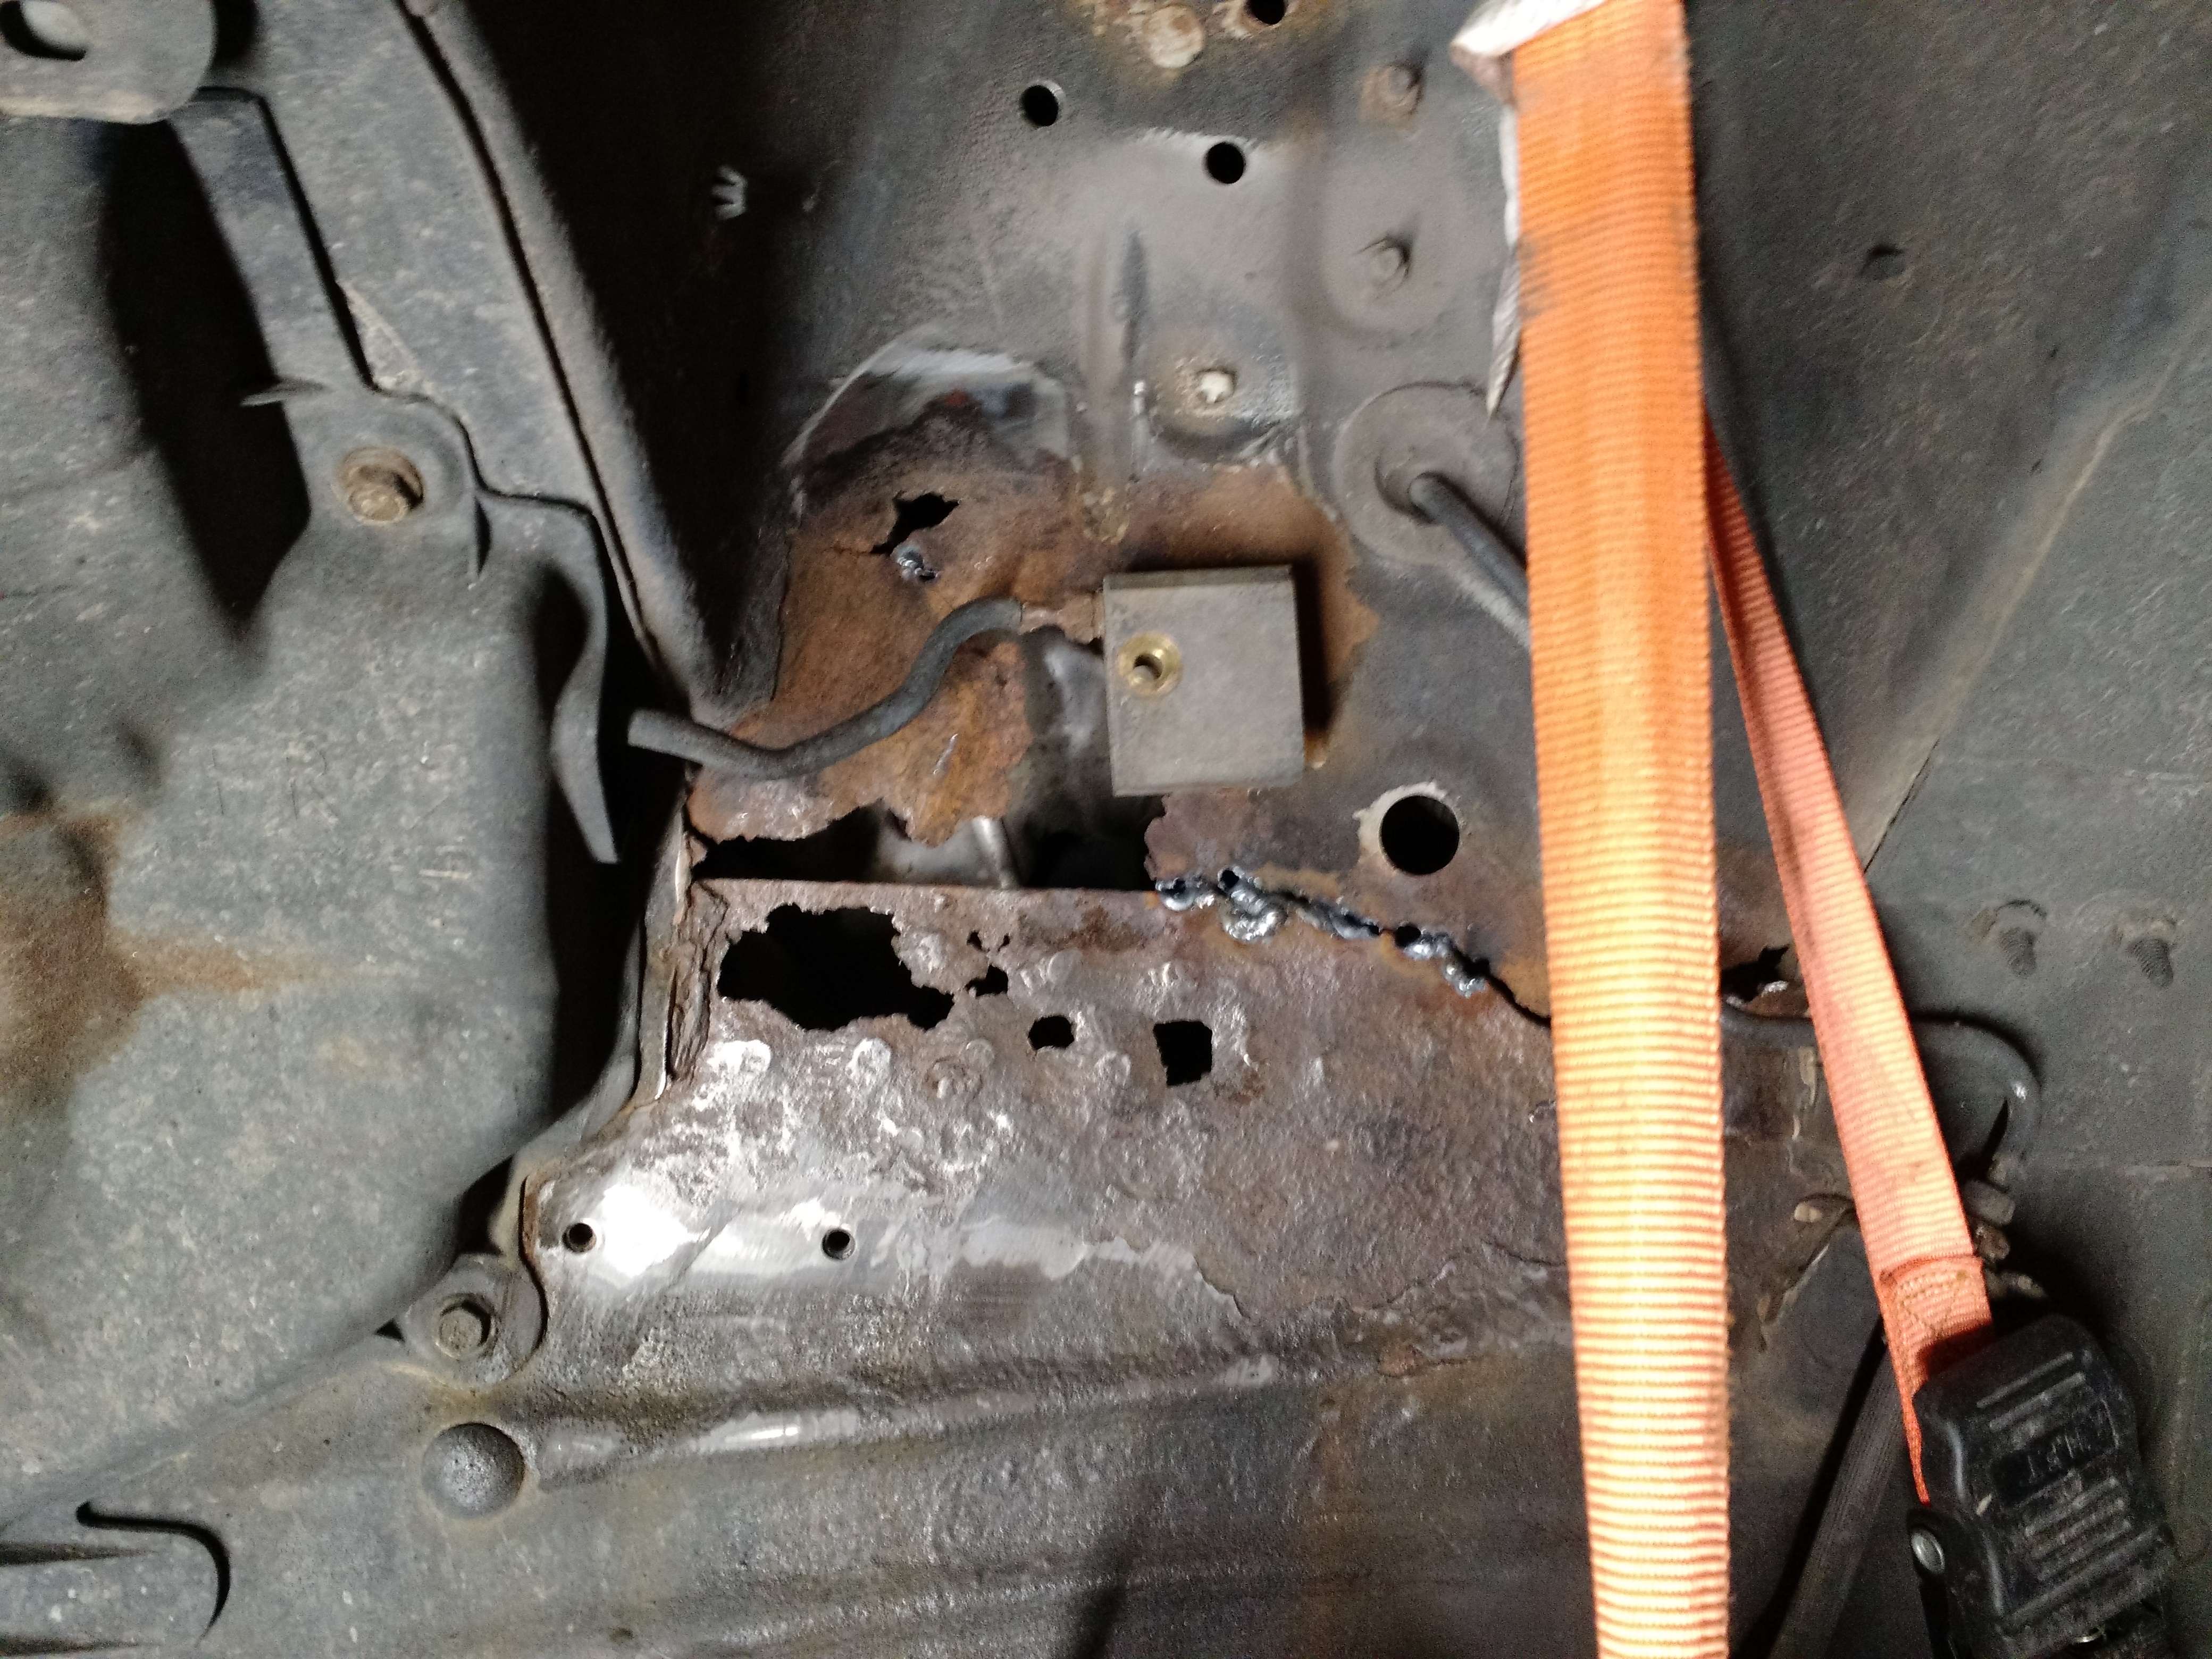
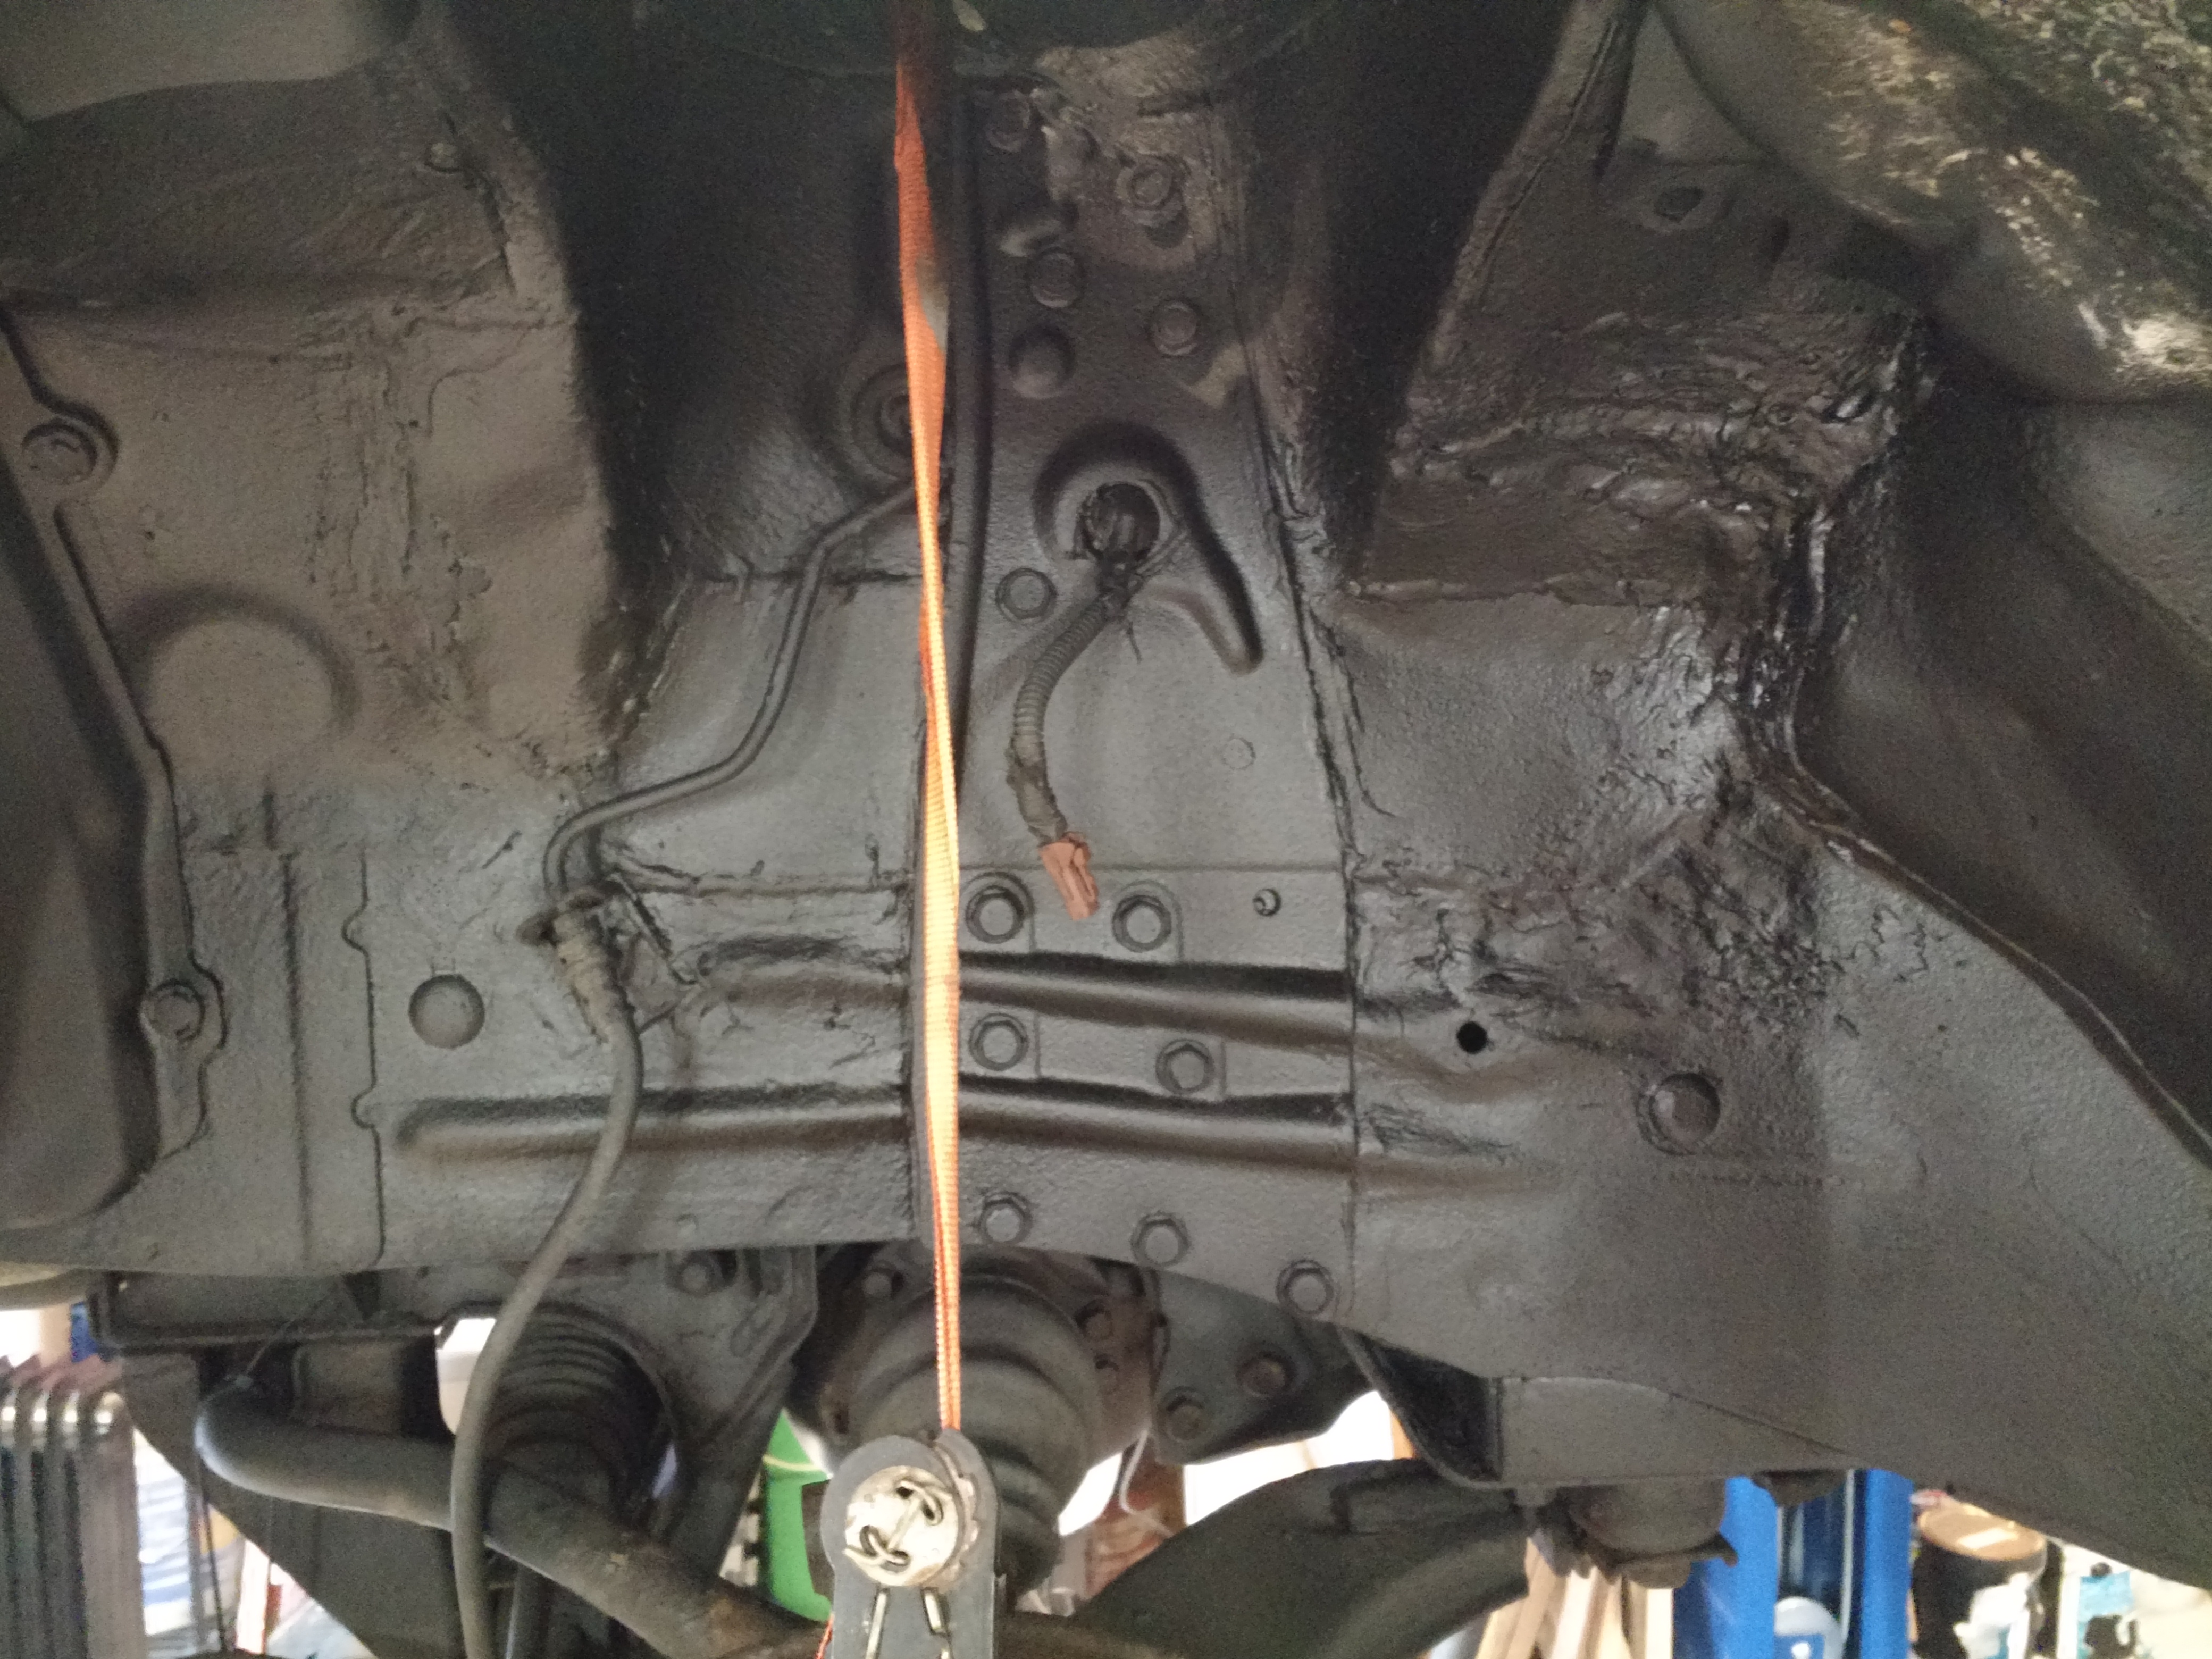
    Passenger side:

    IMG_20180210_165932941 by Chris Patterson, on Flickr


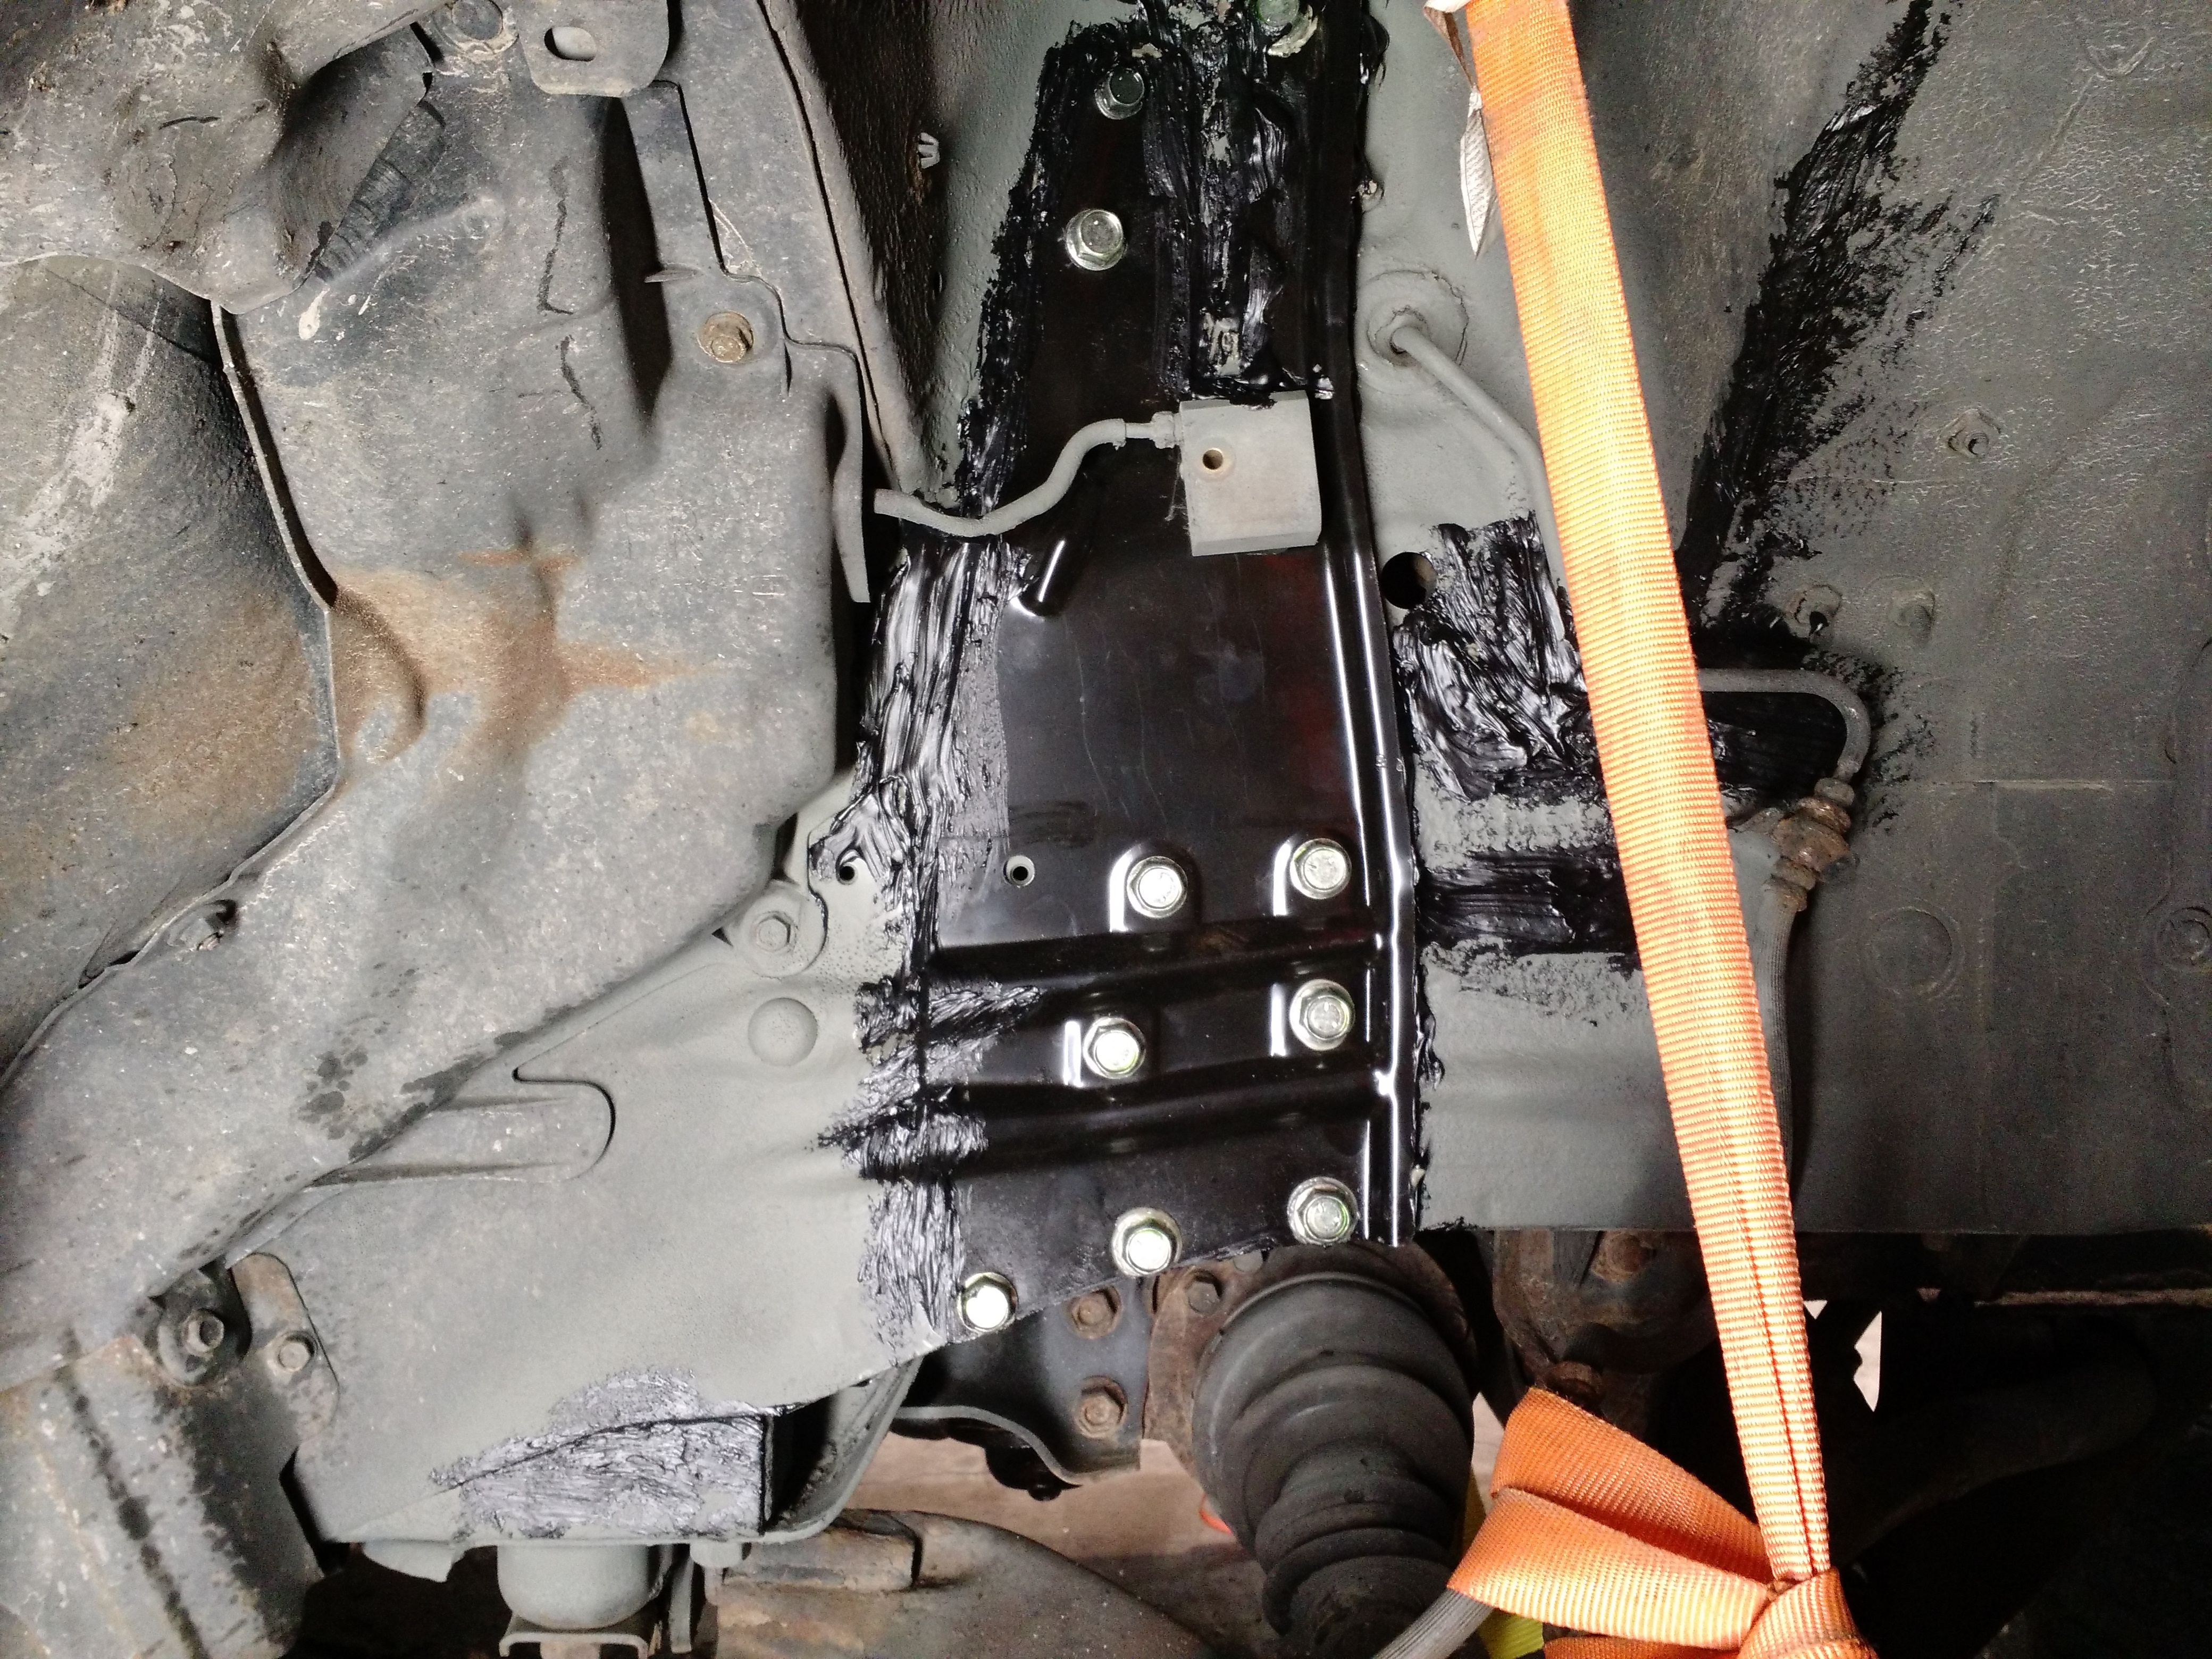
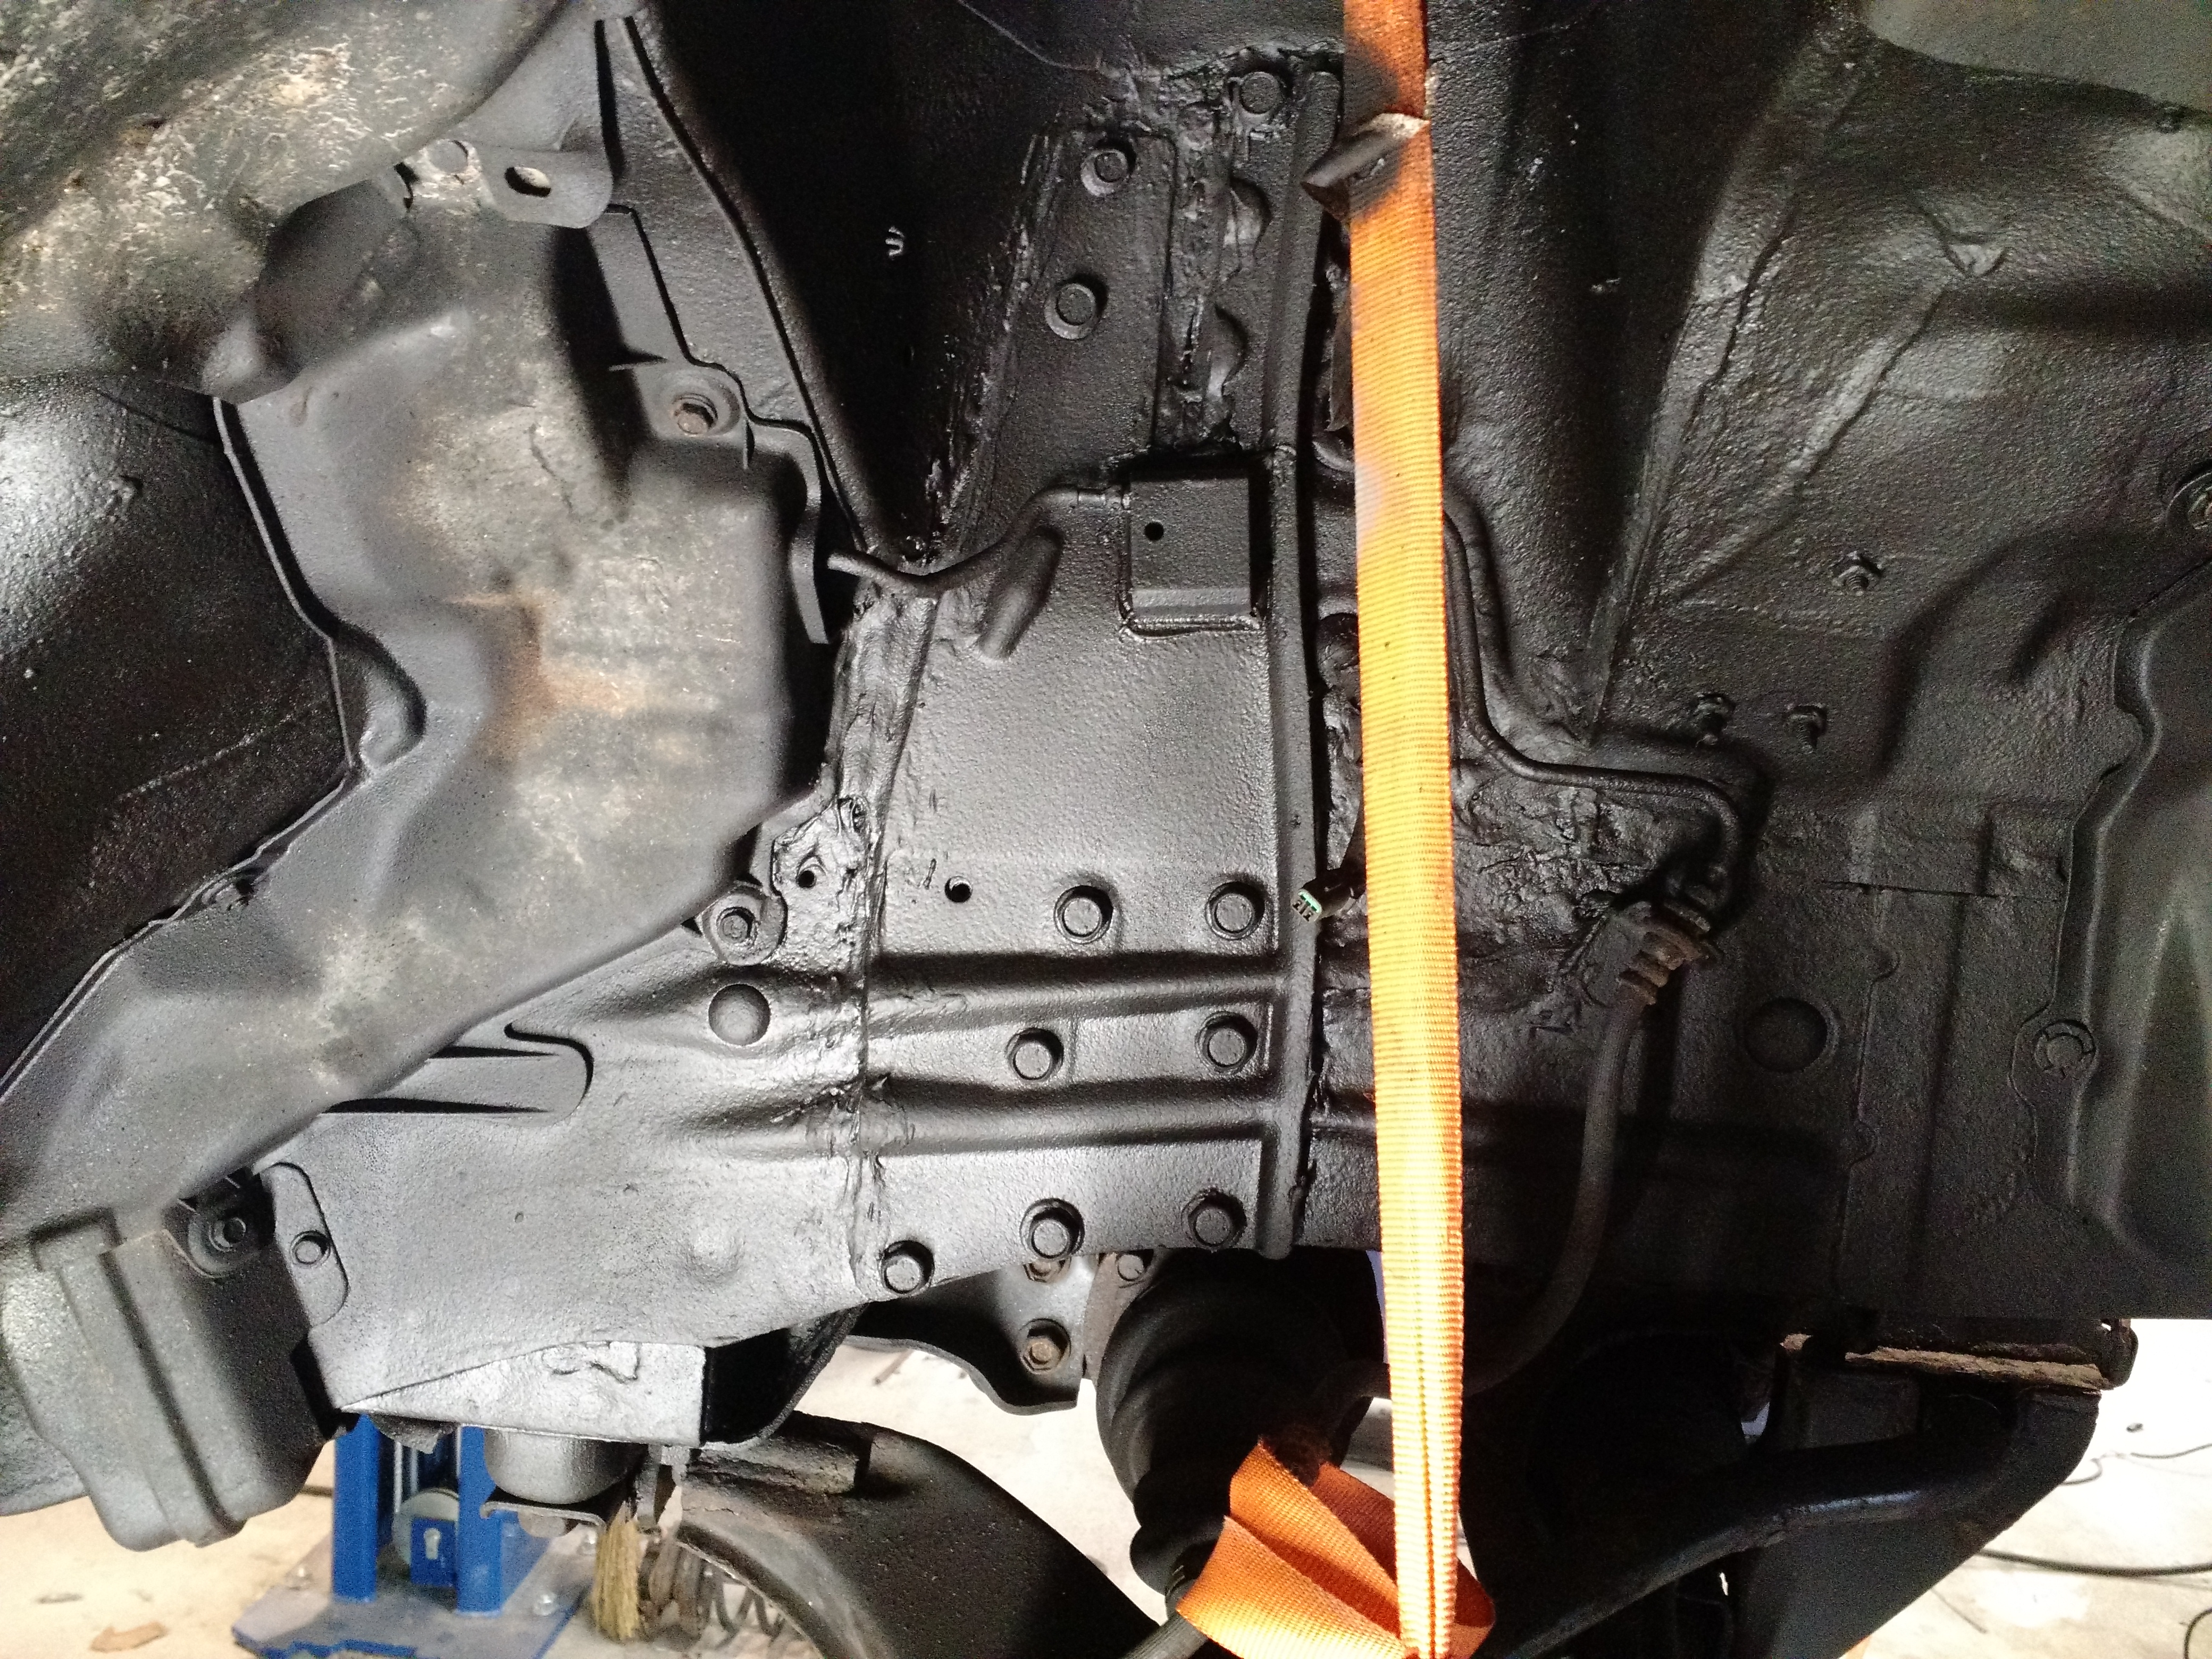
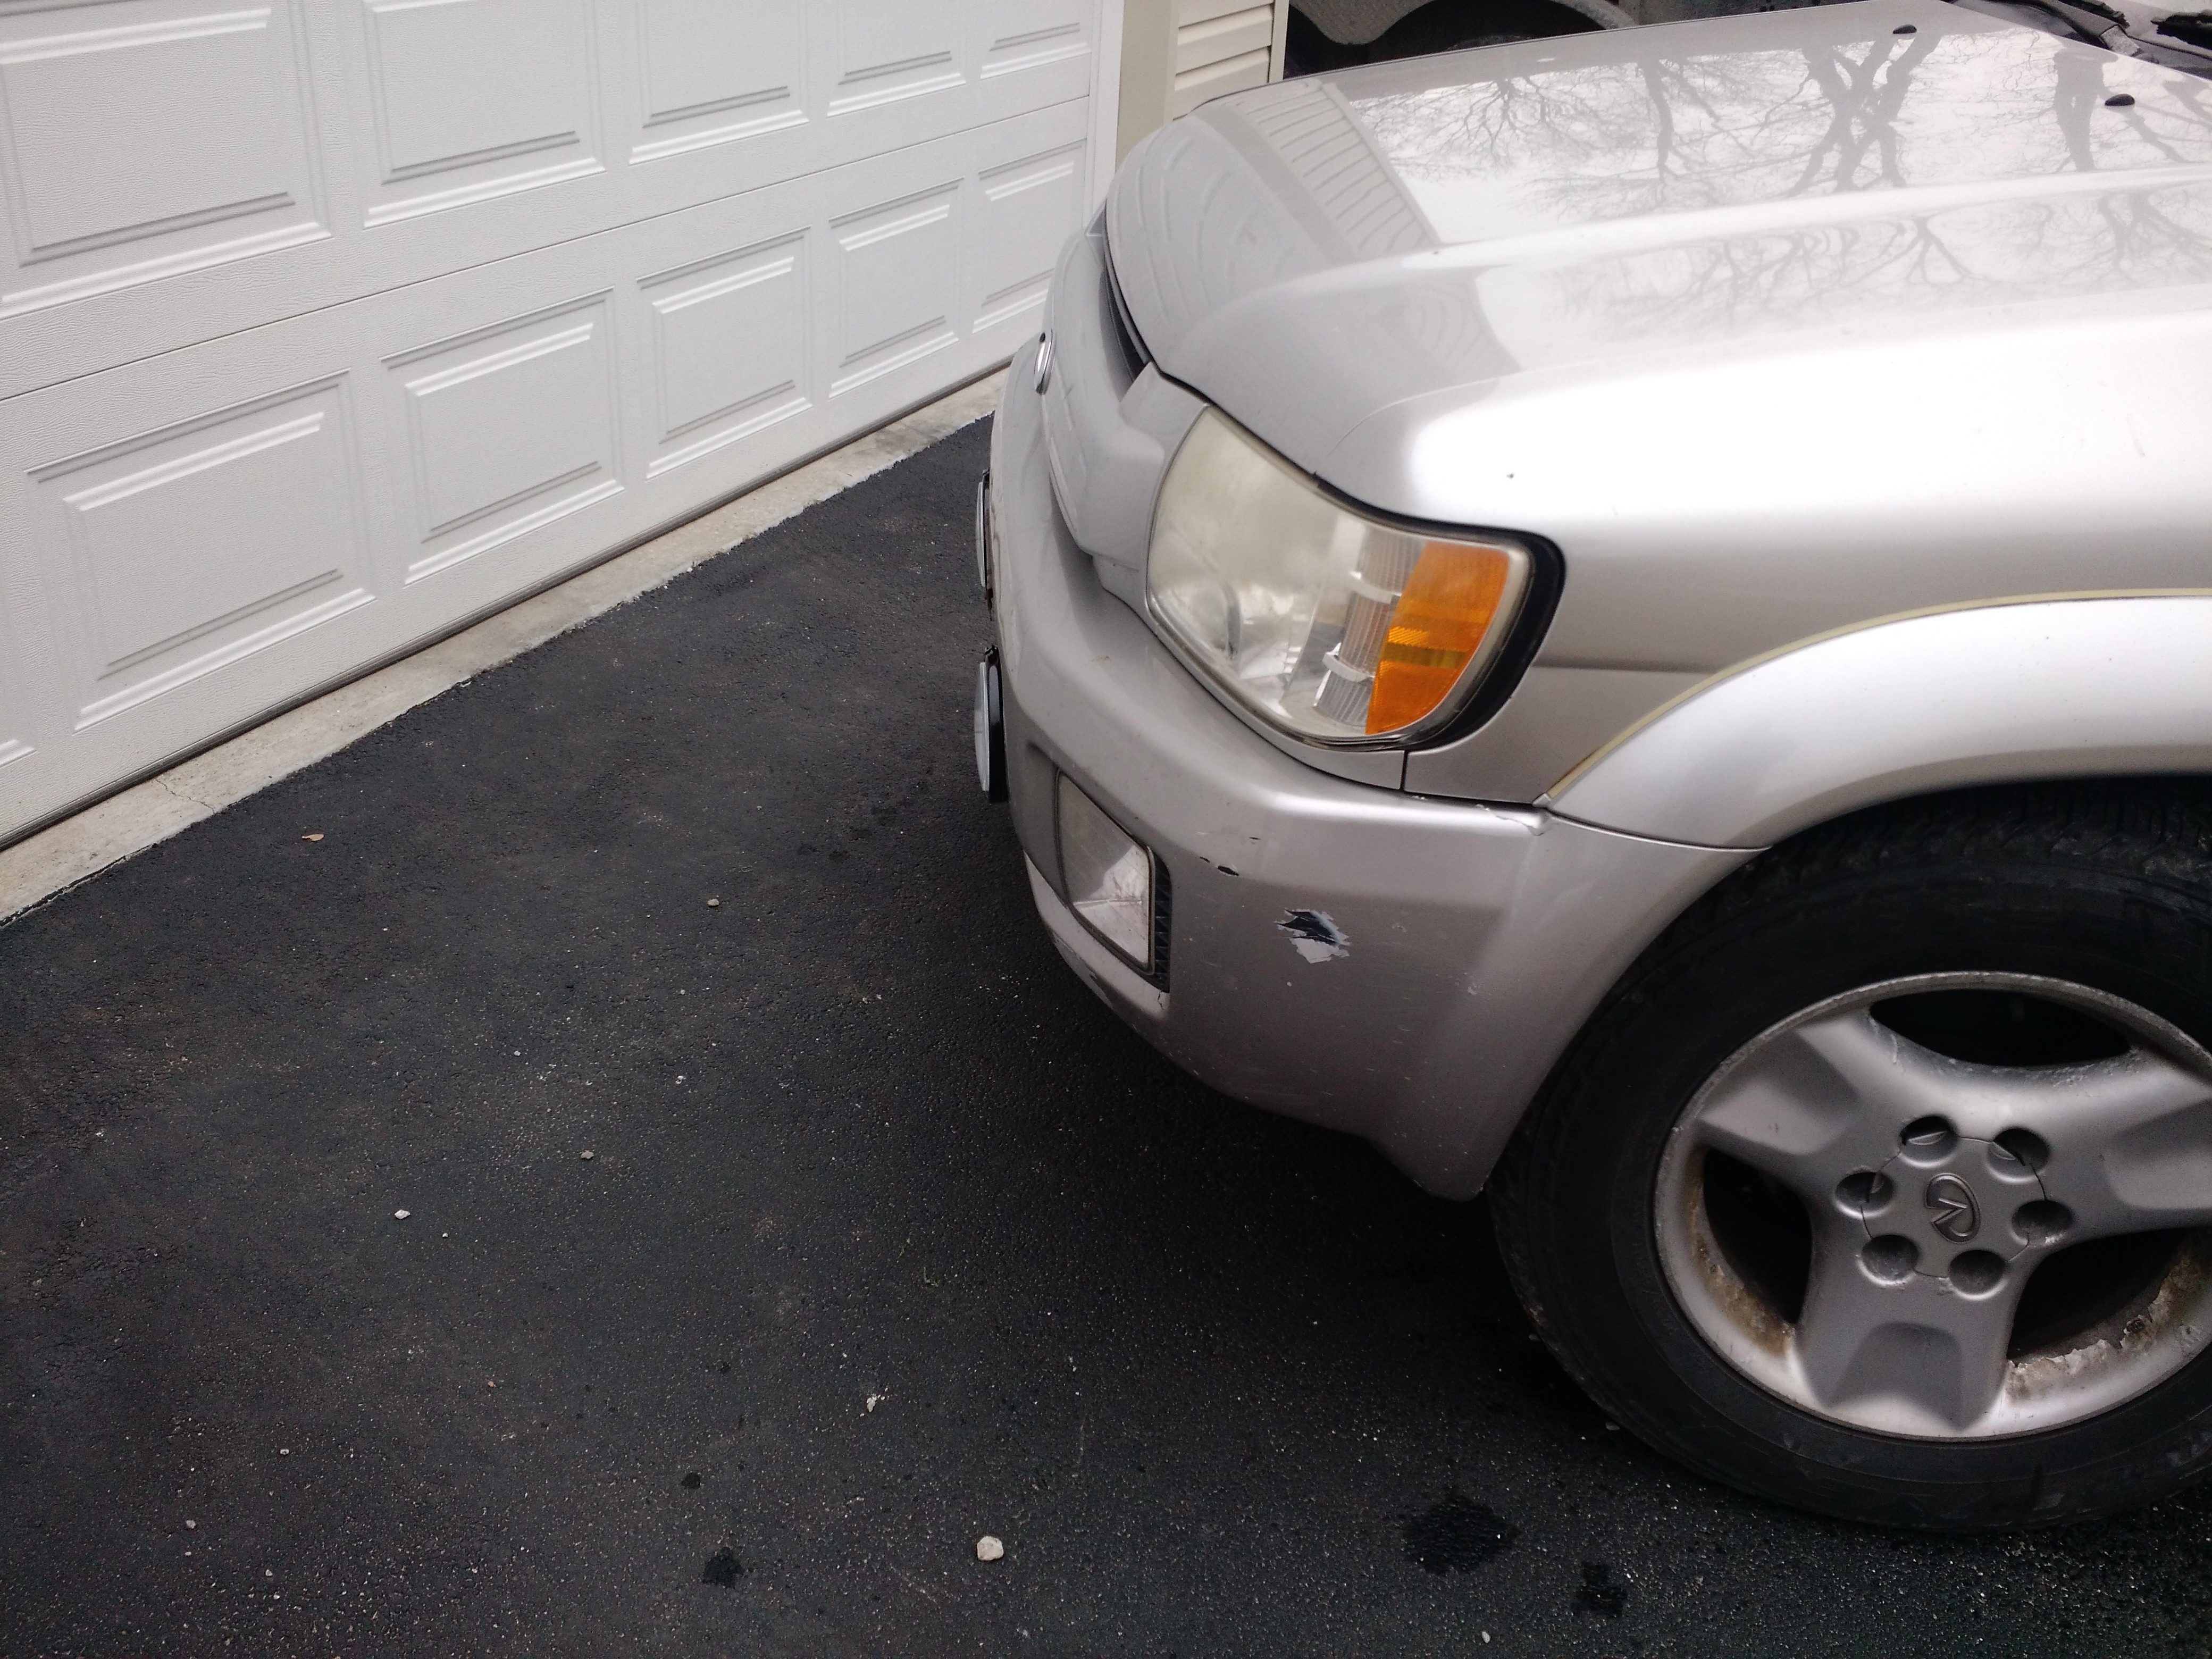
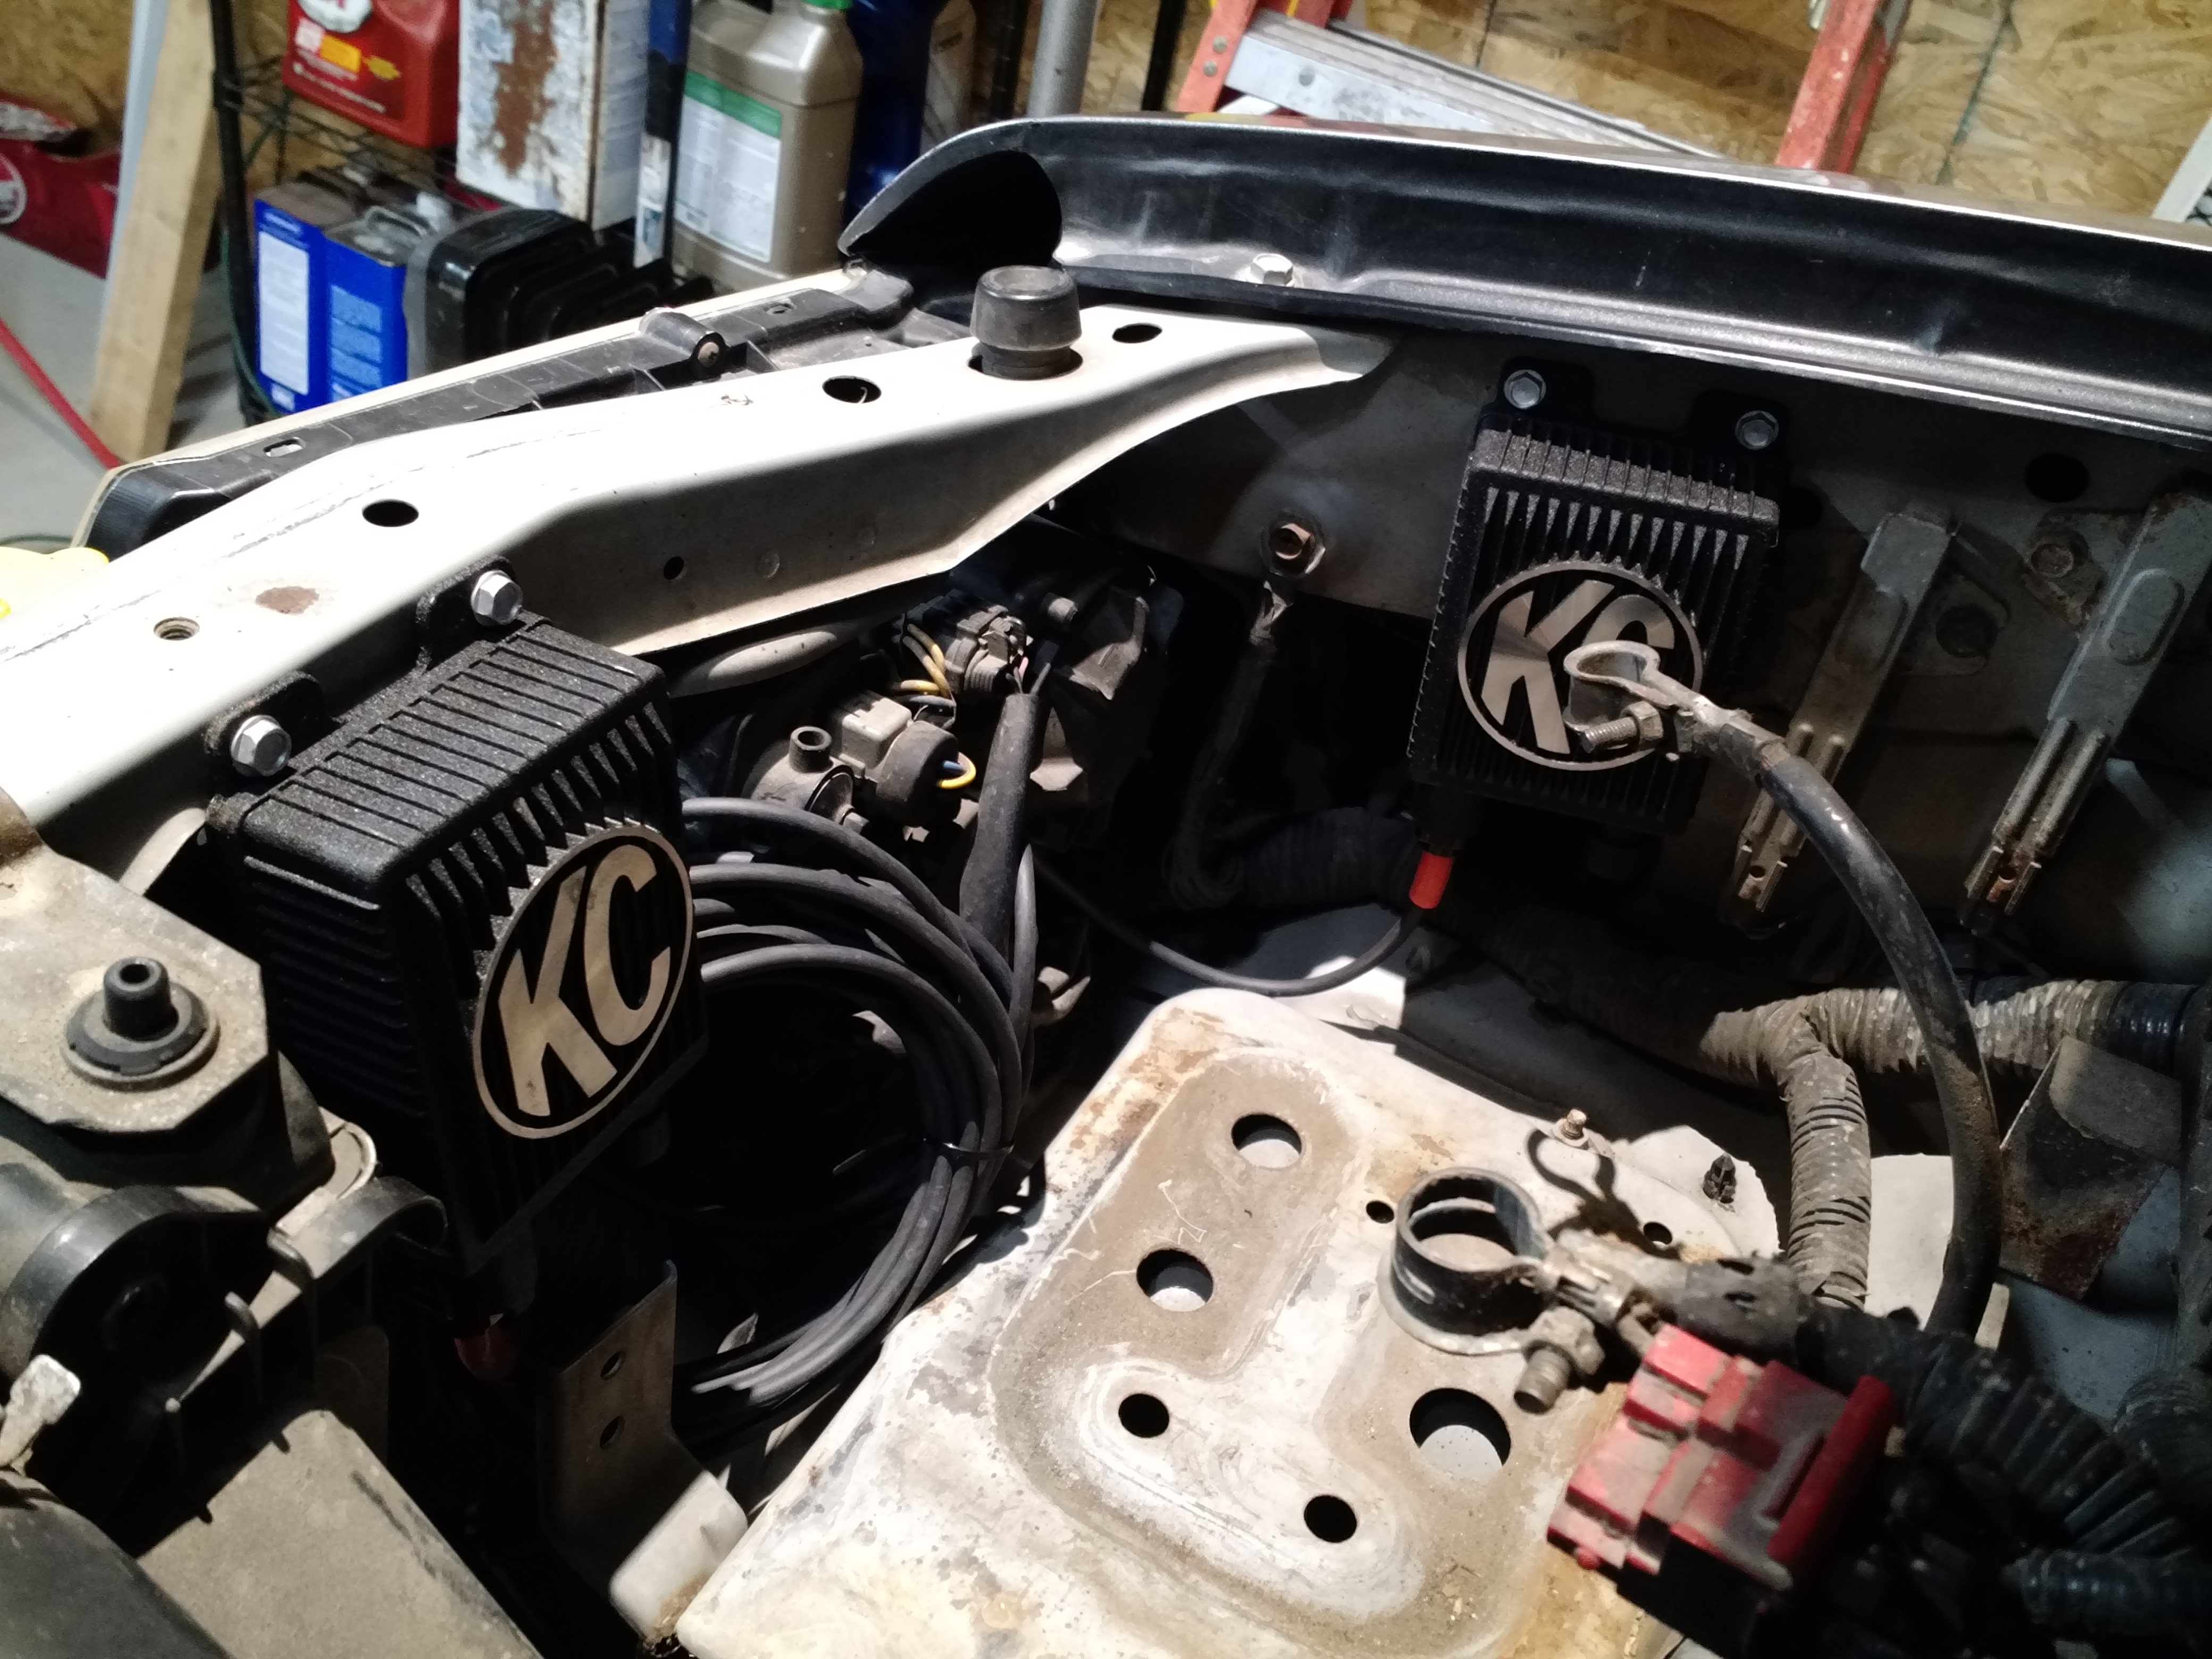
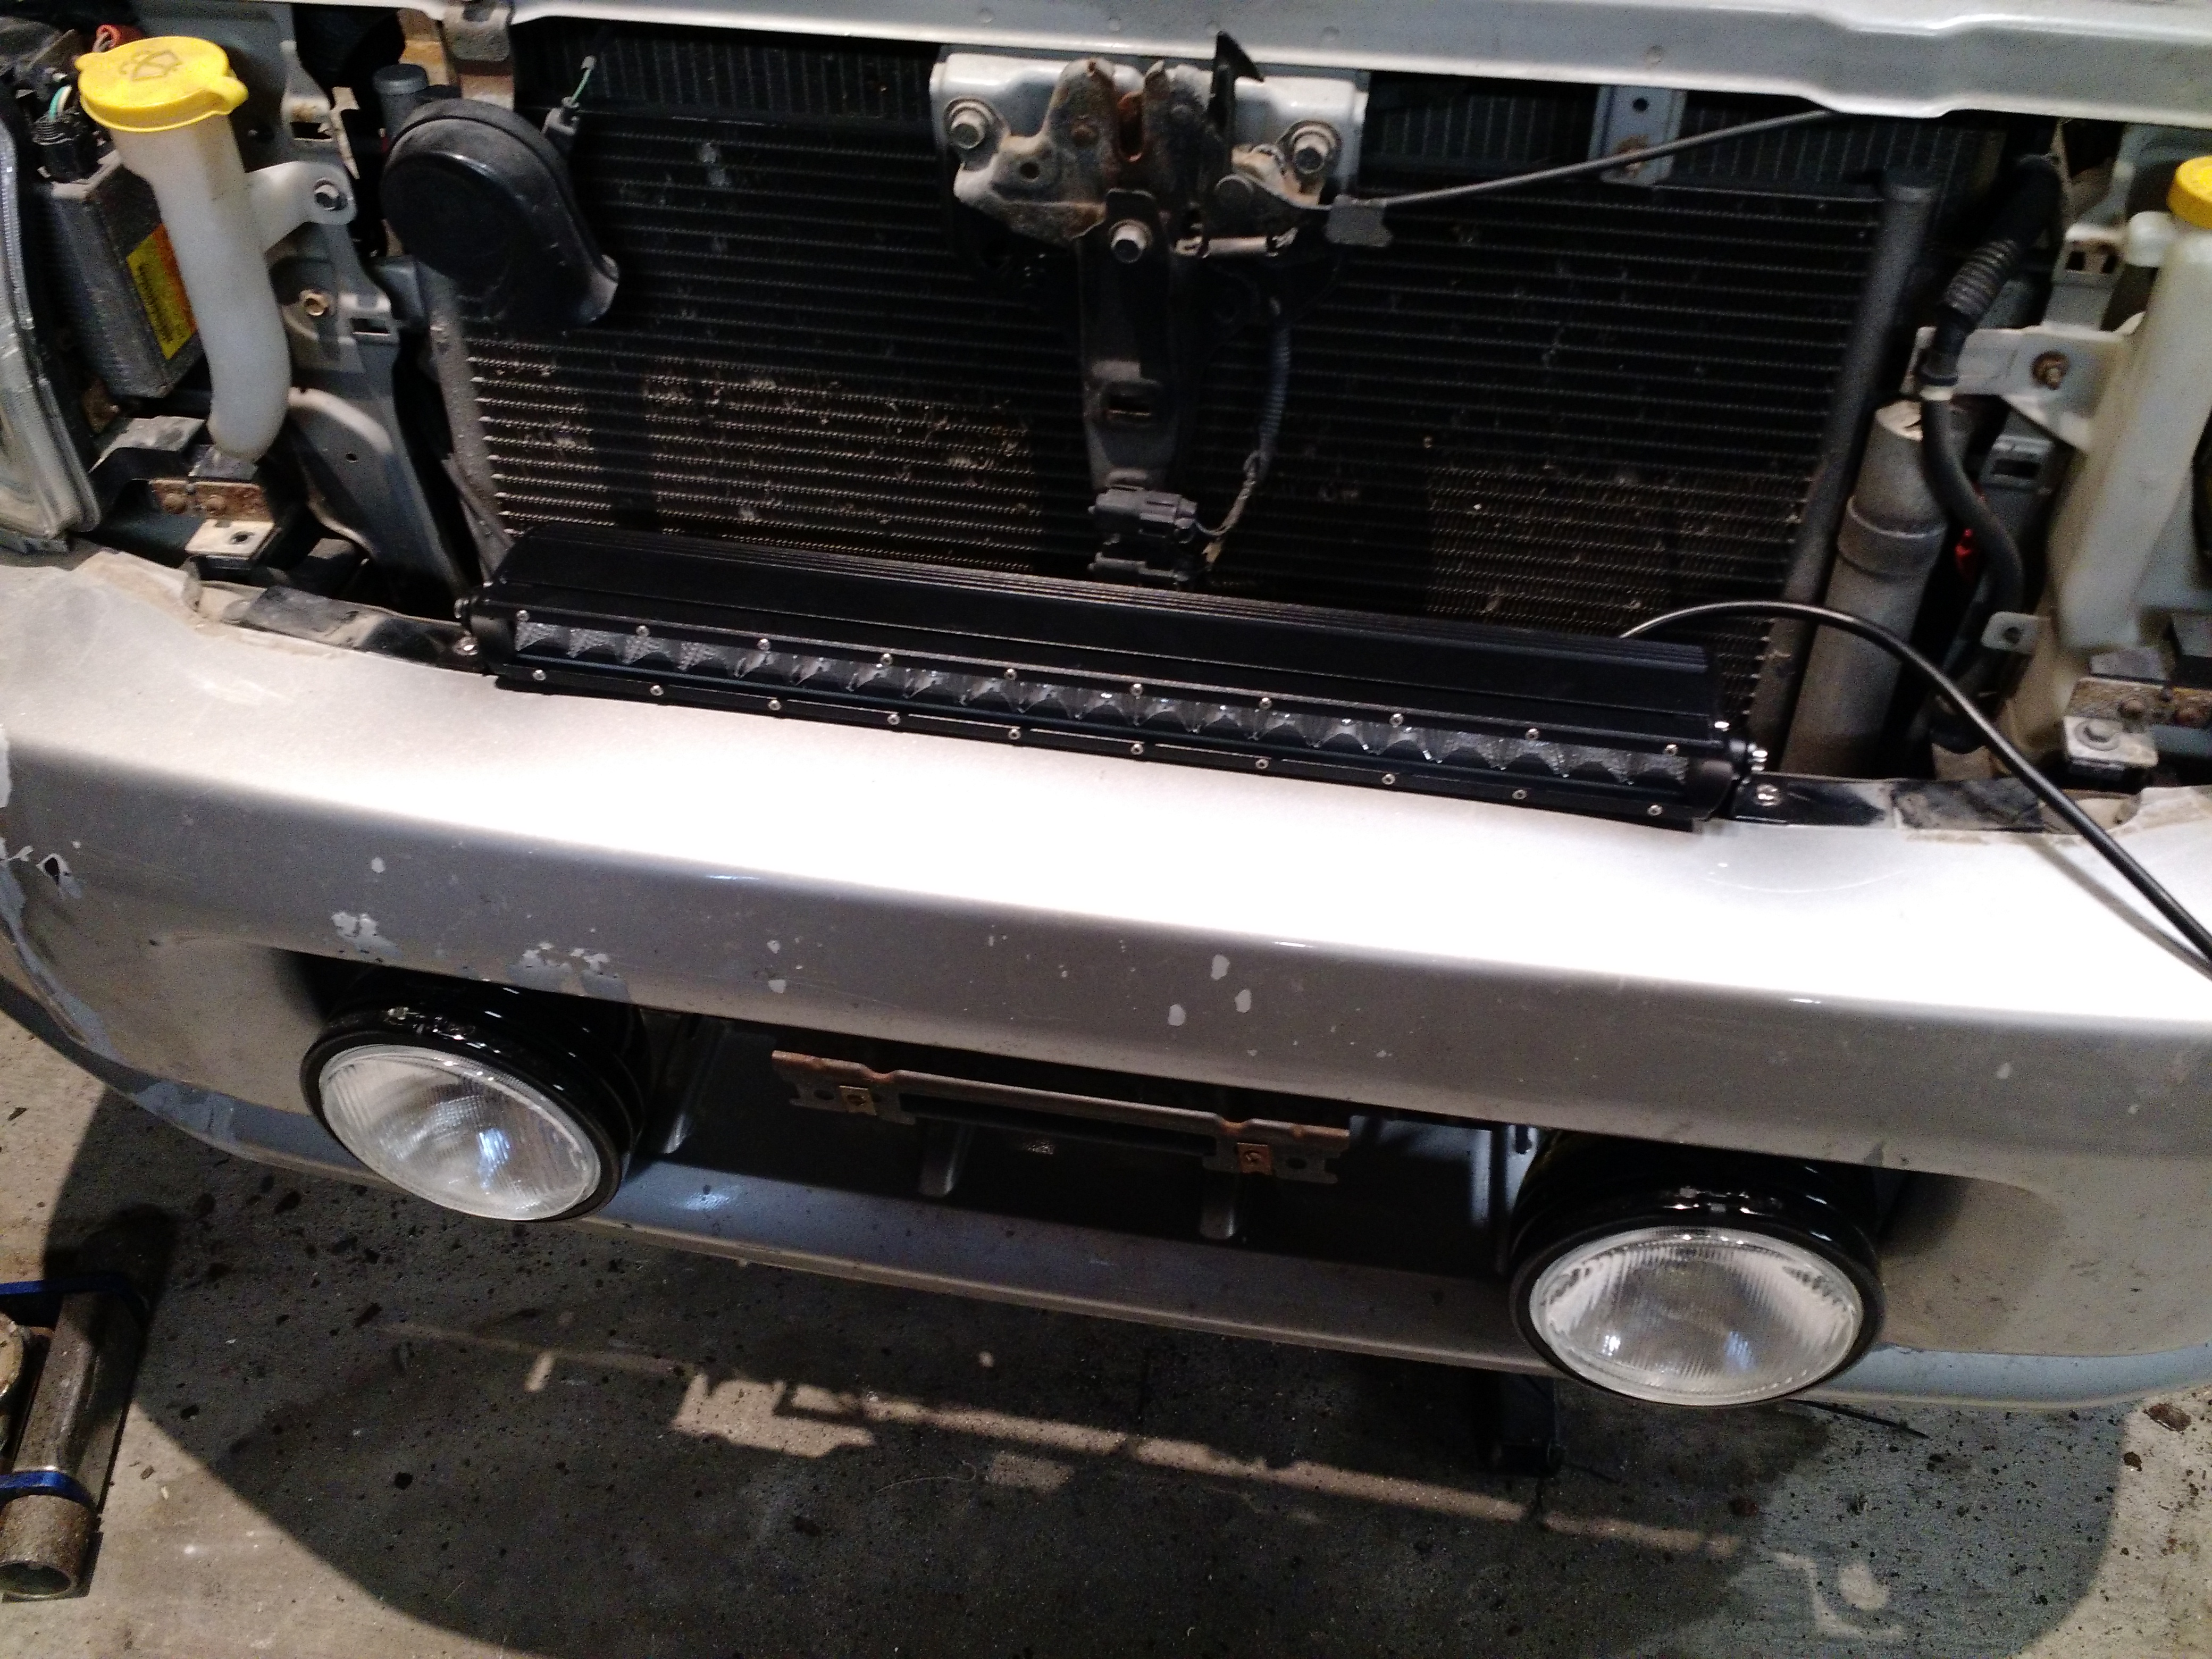
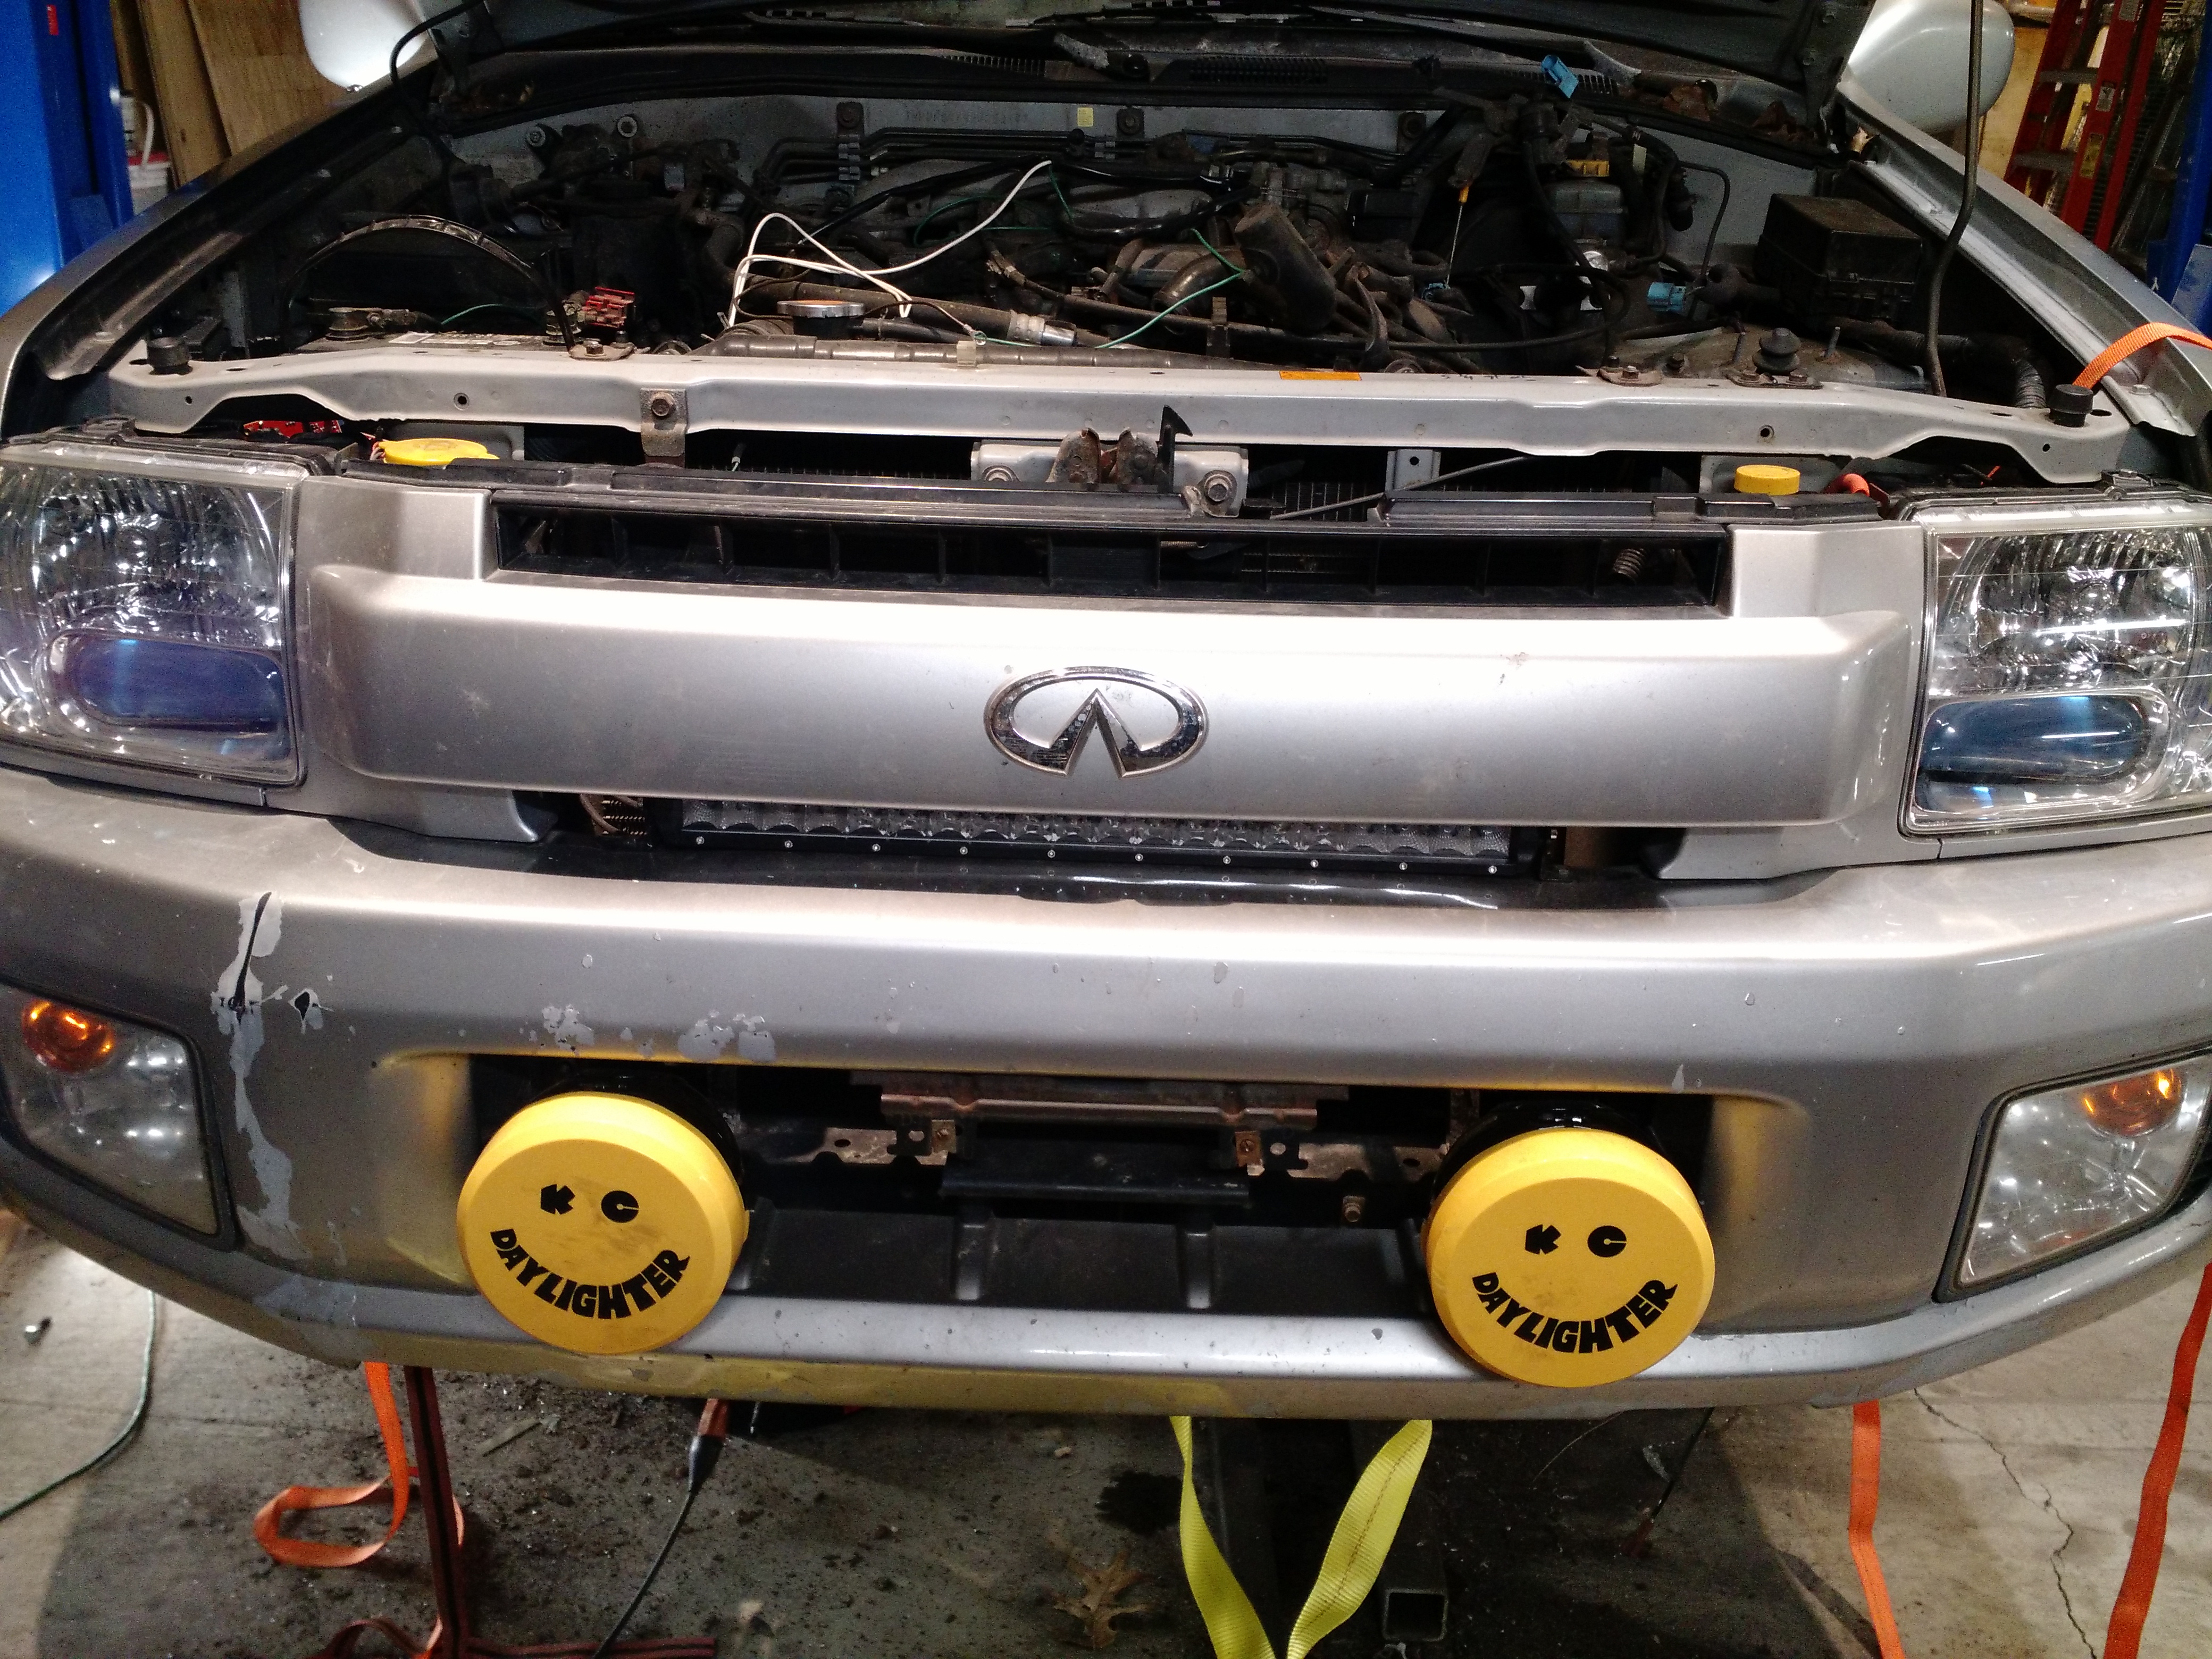
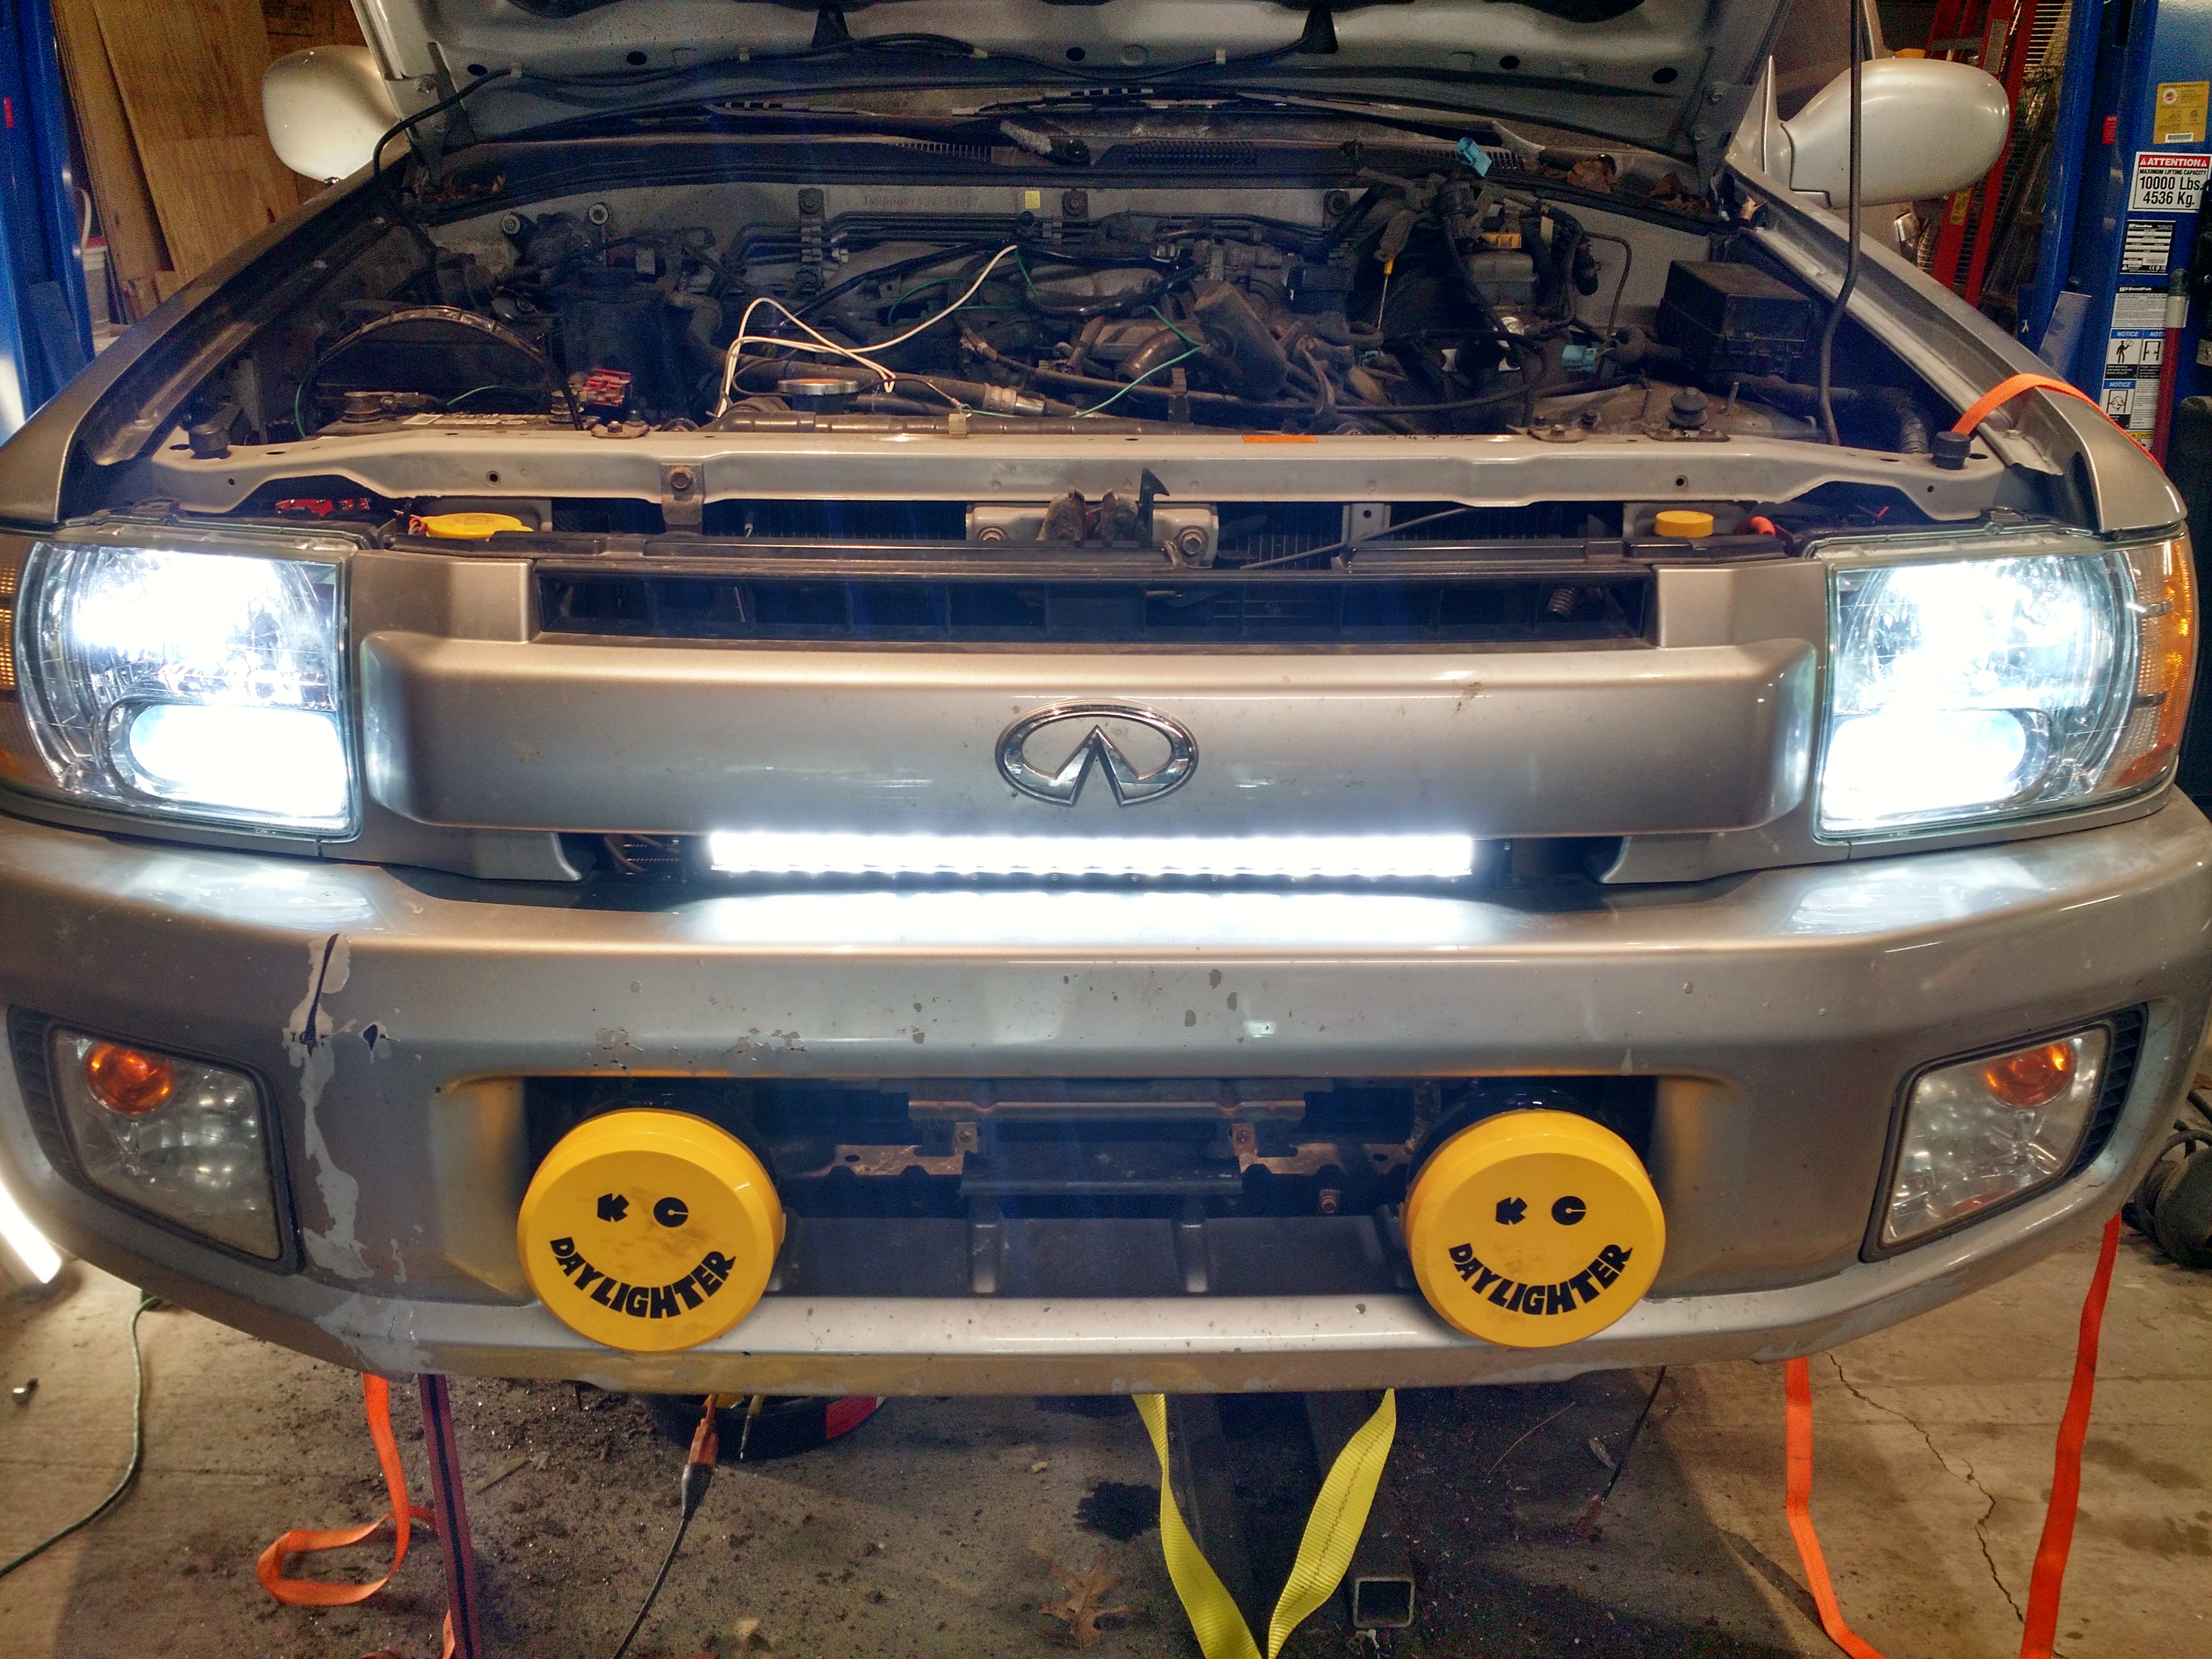
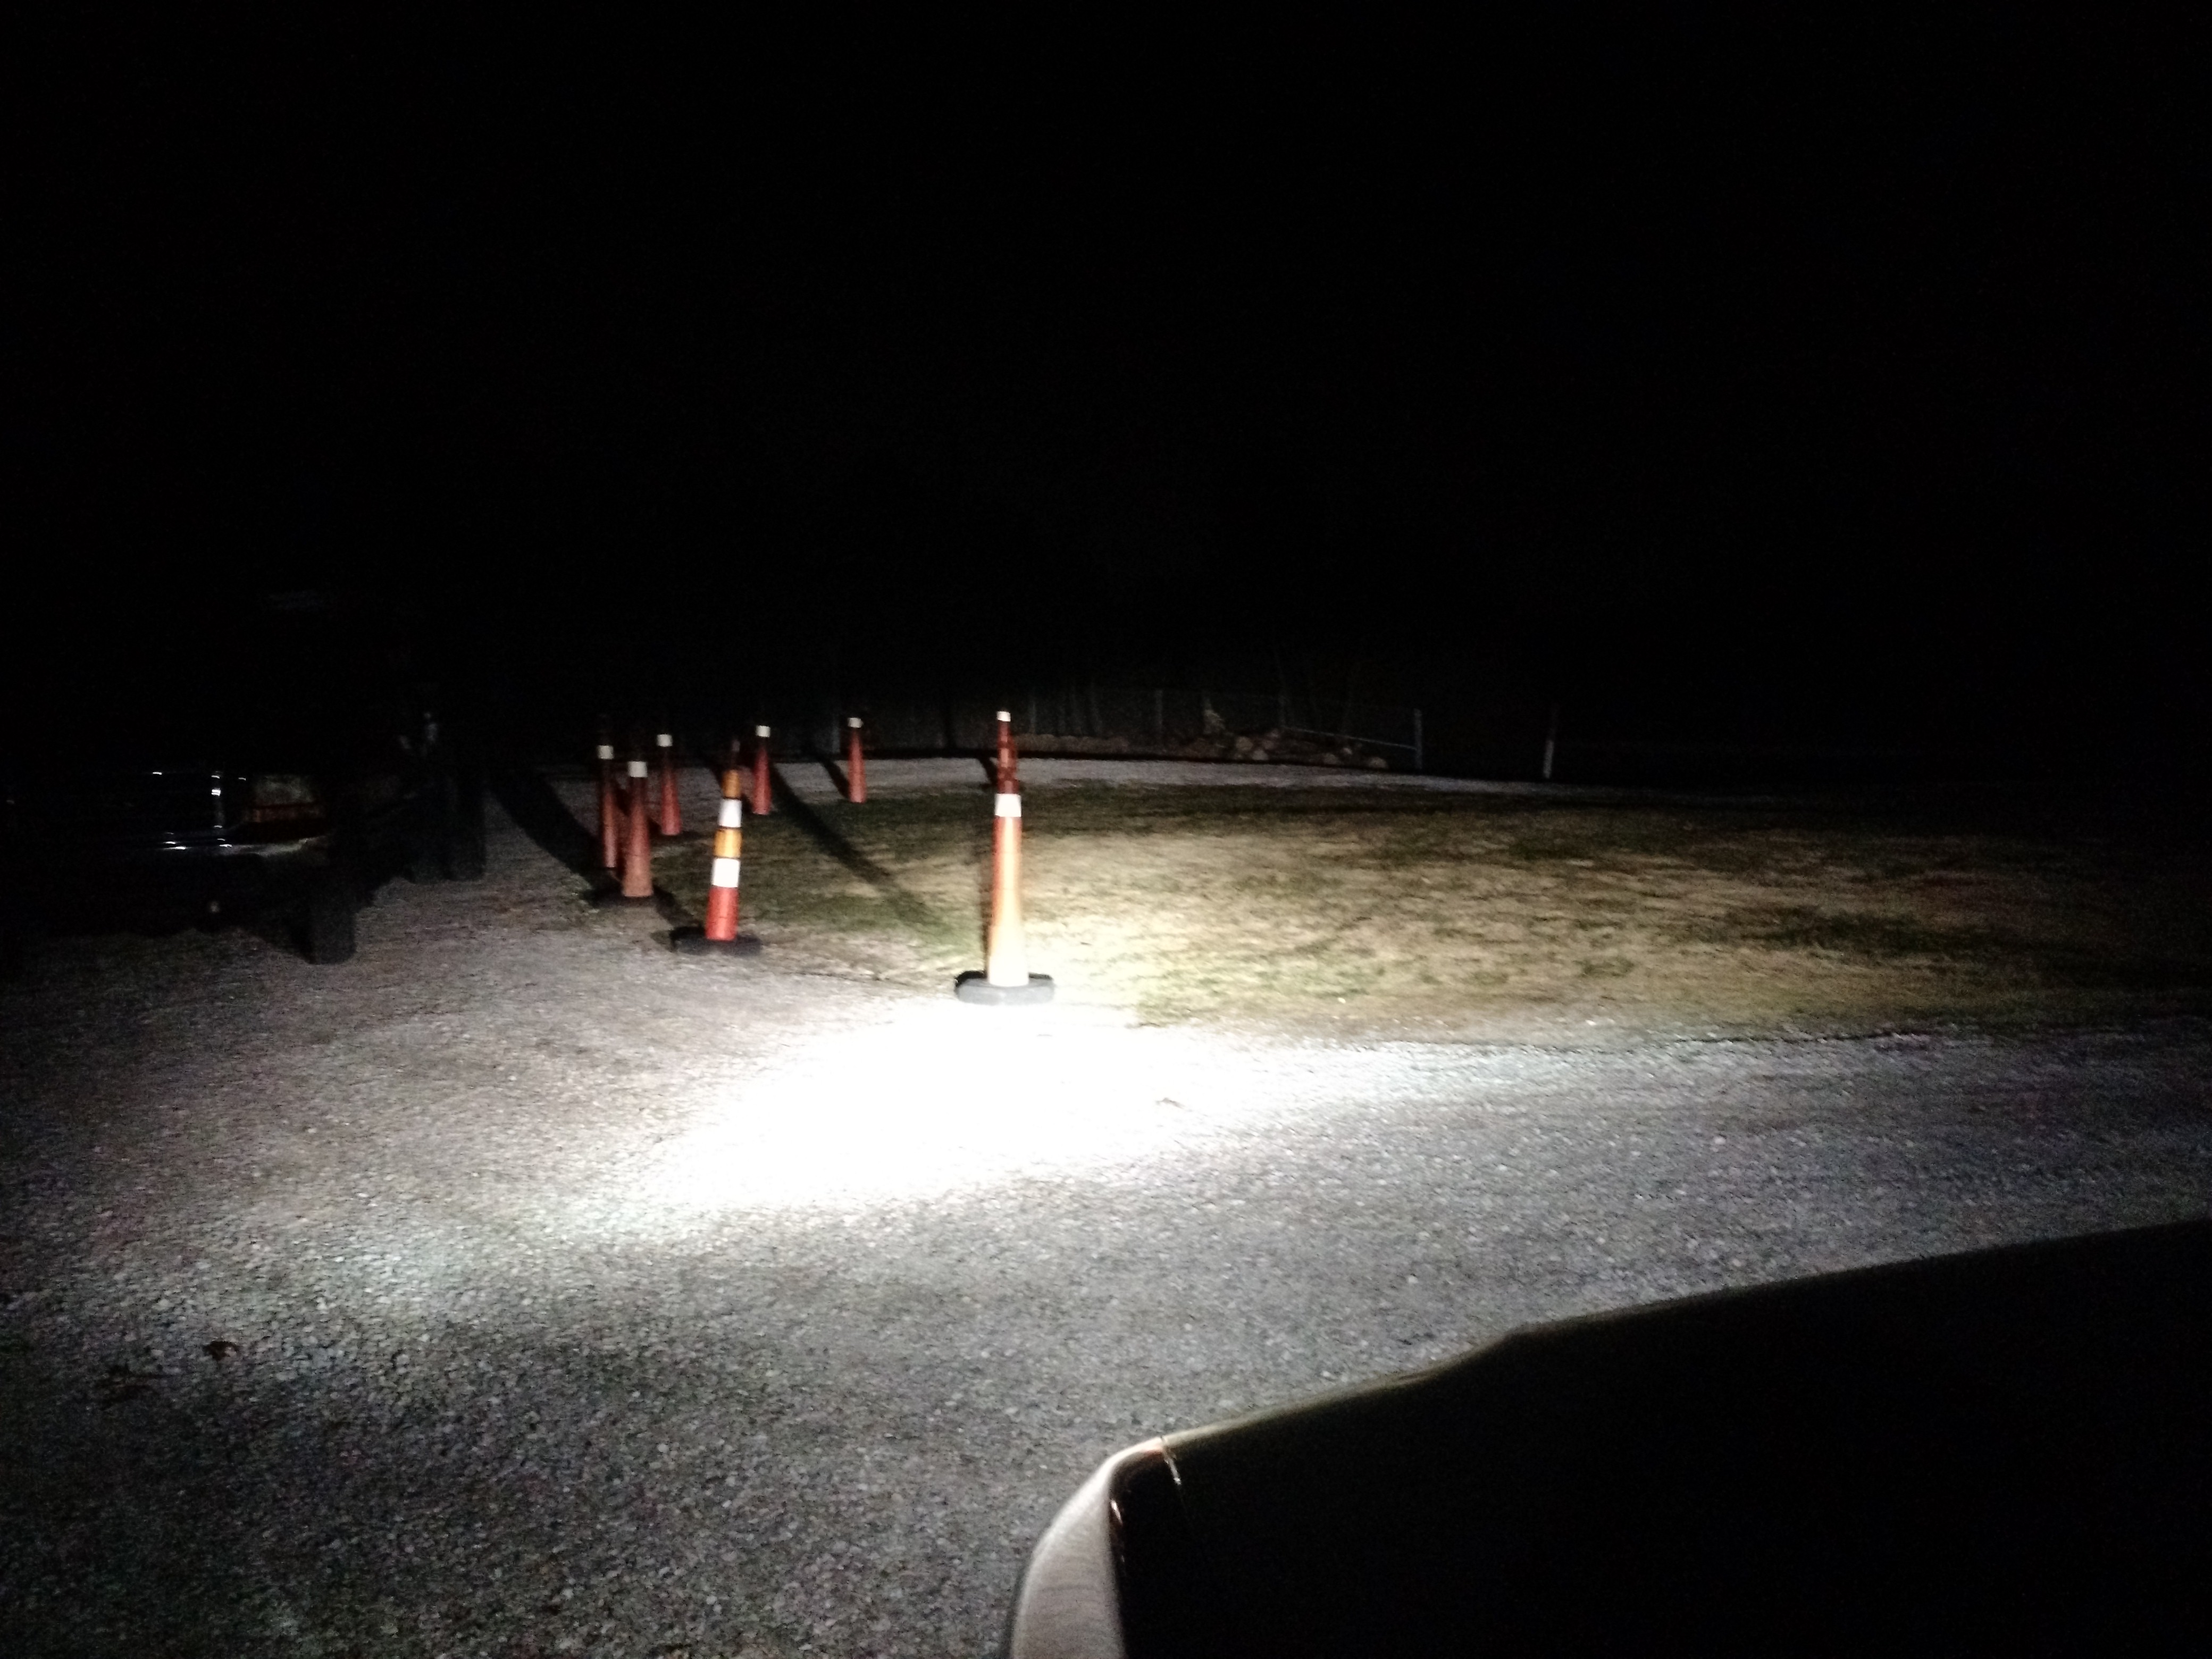
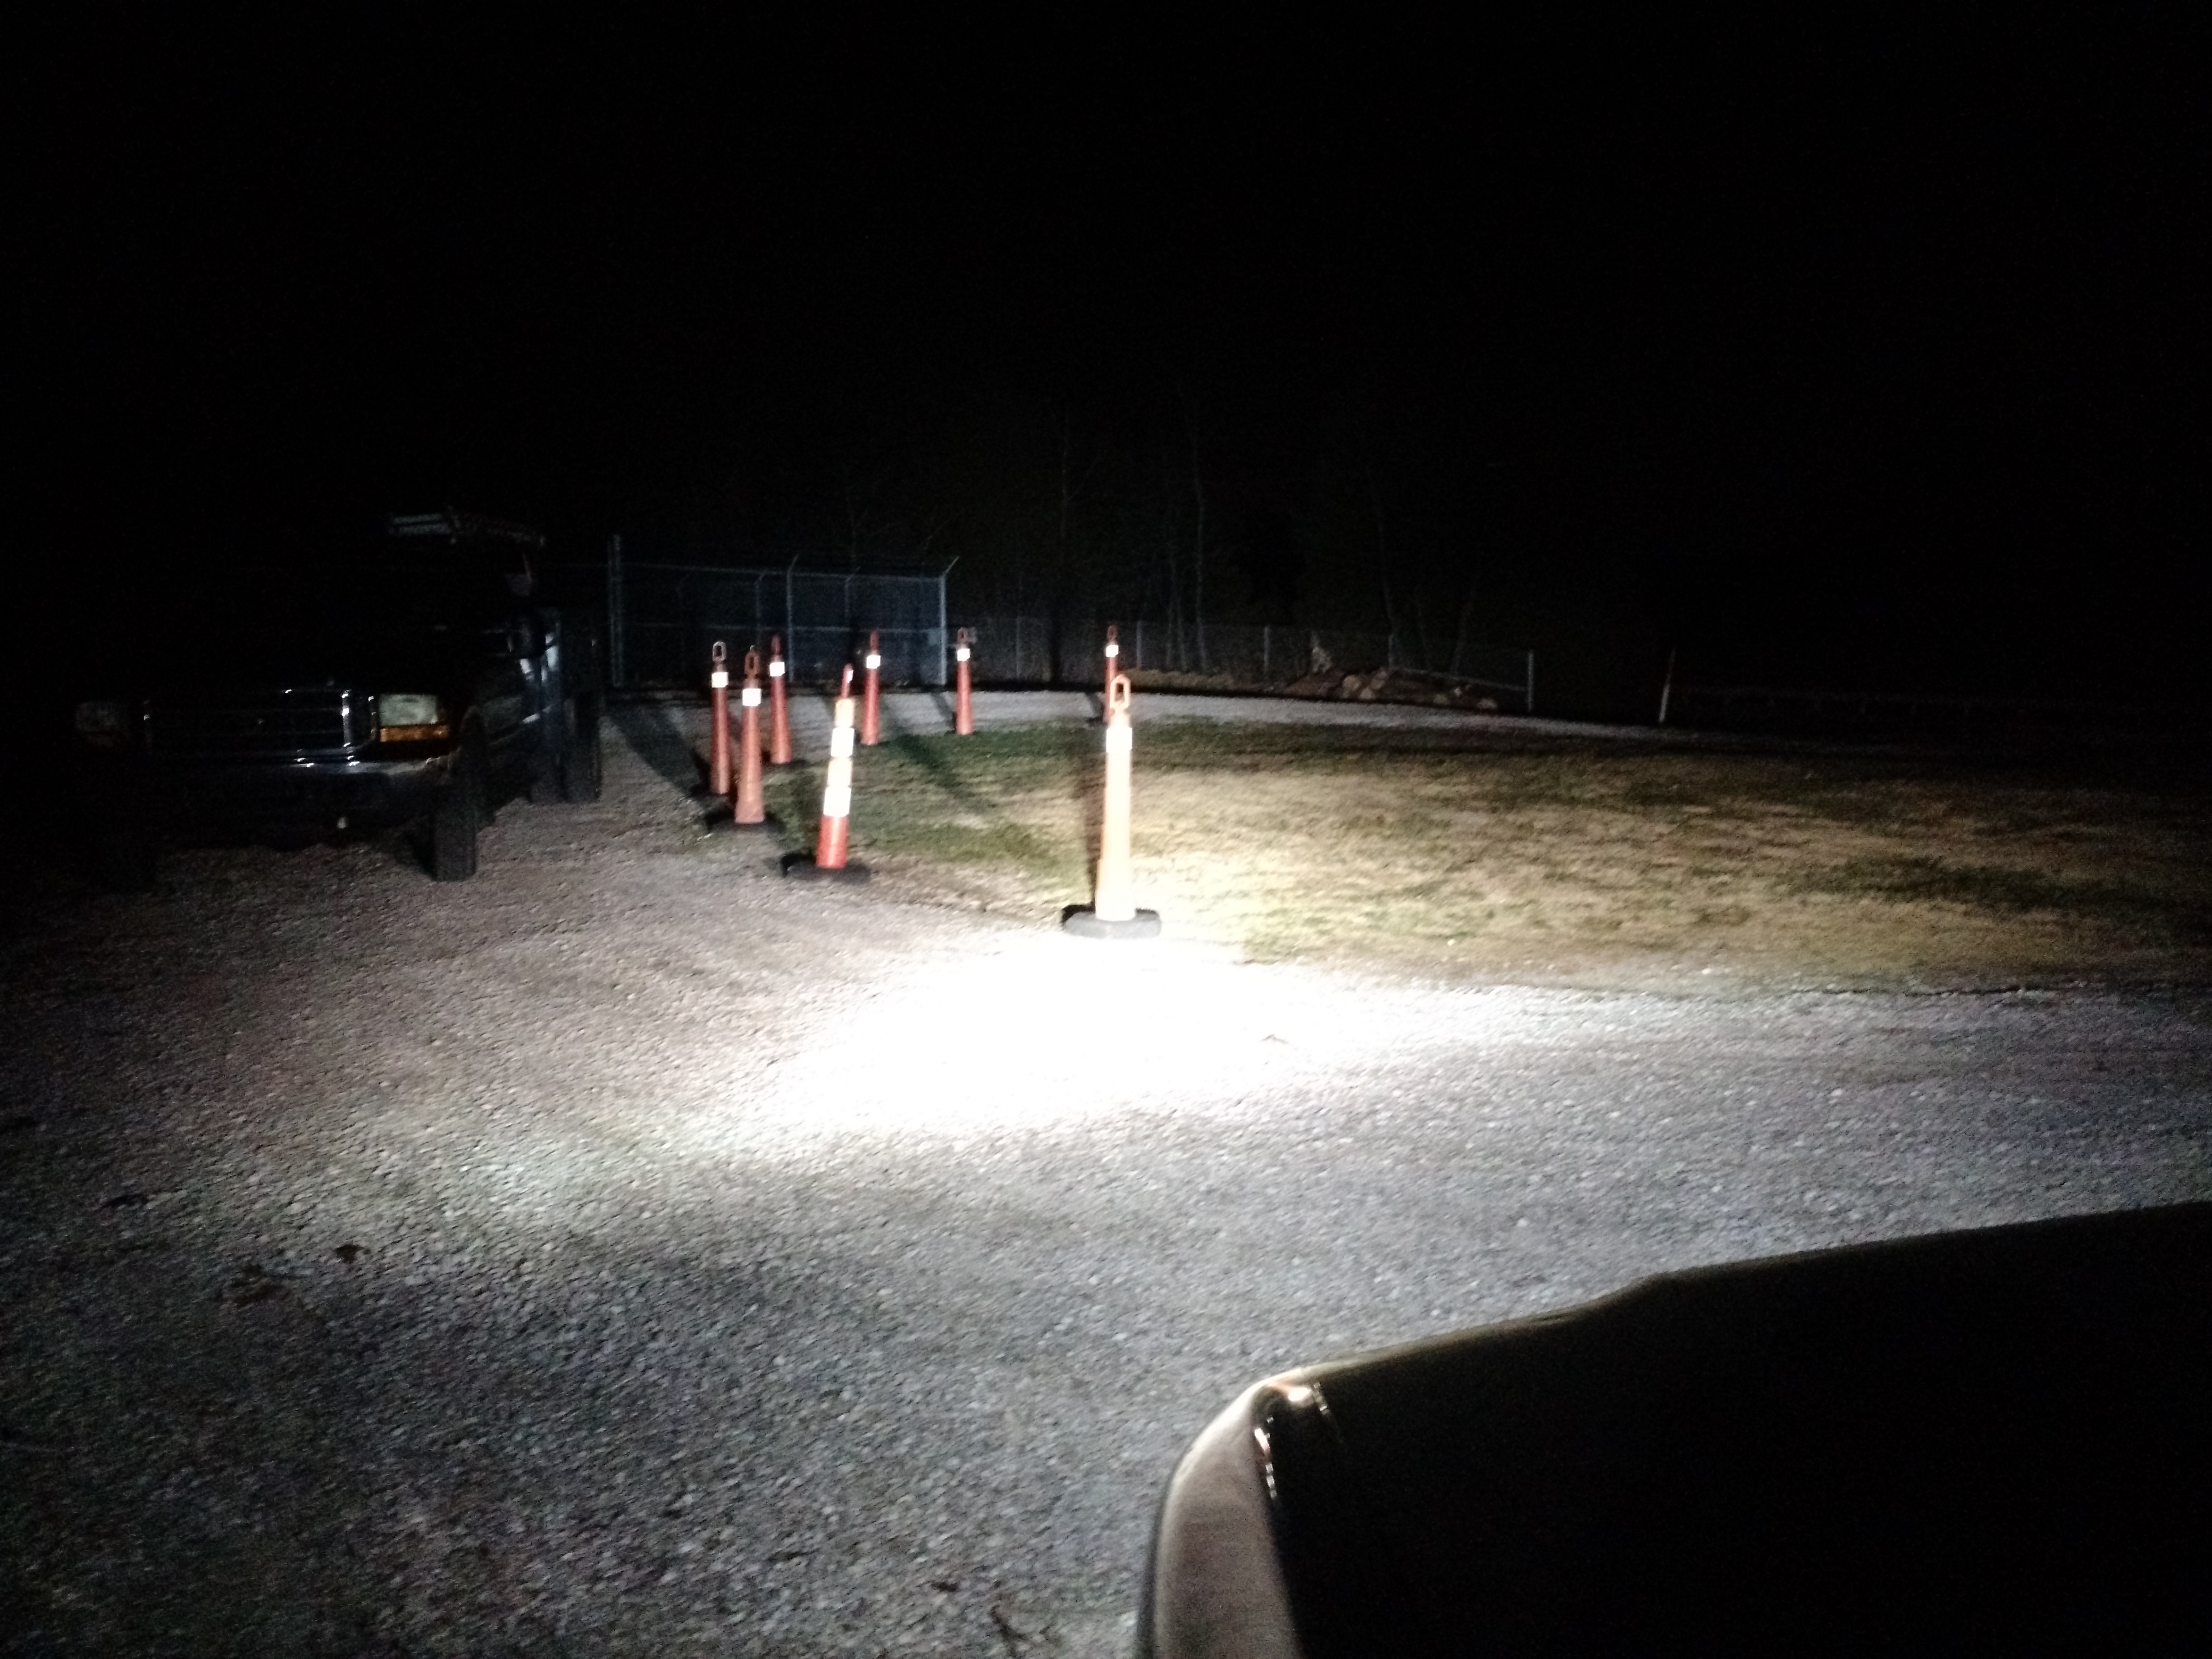
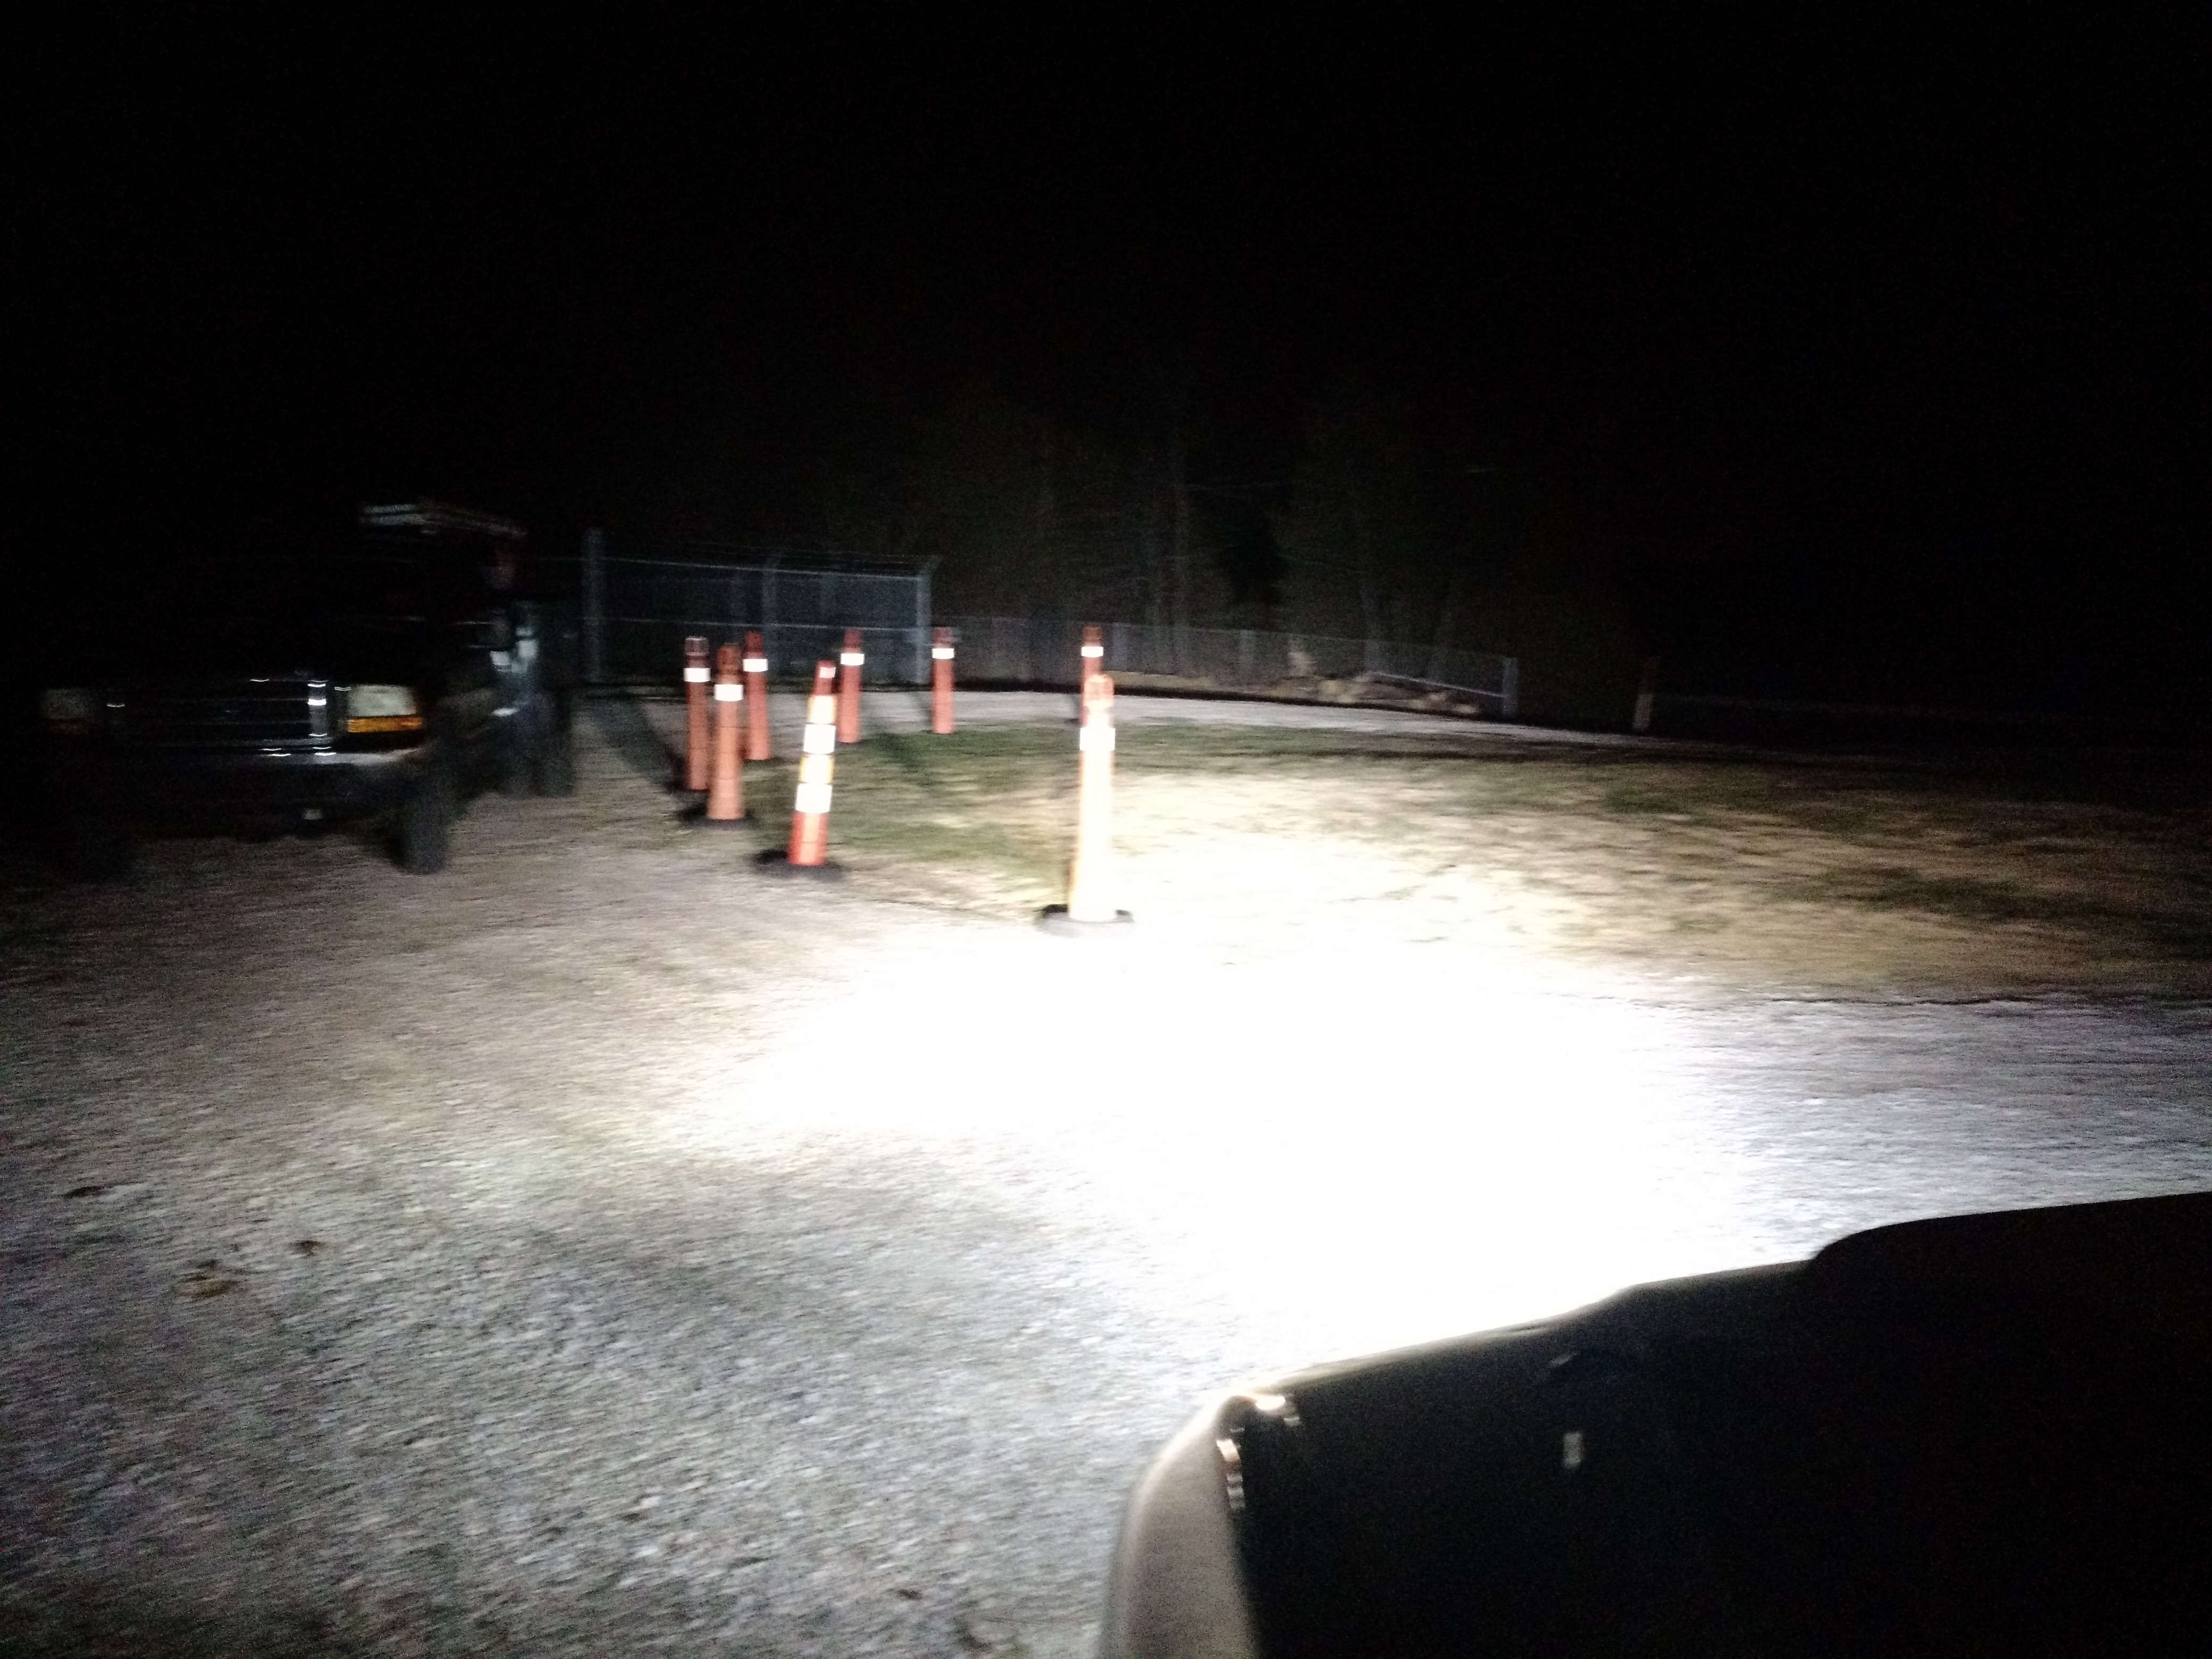
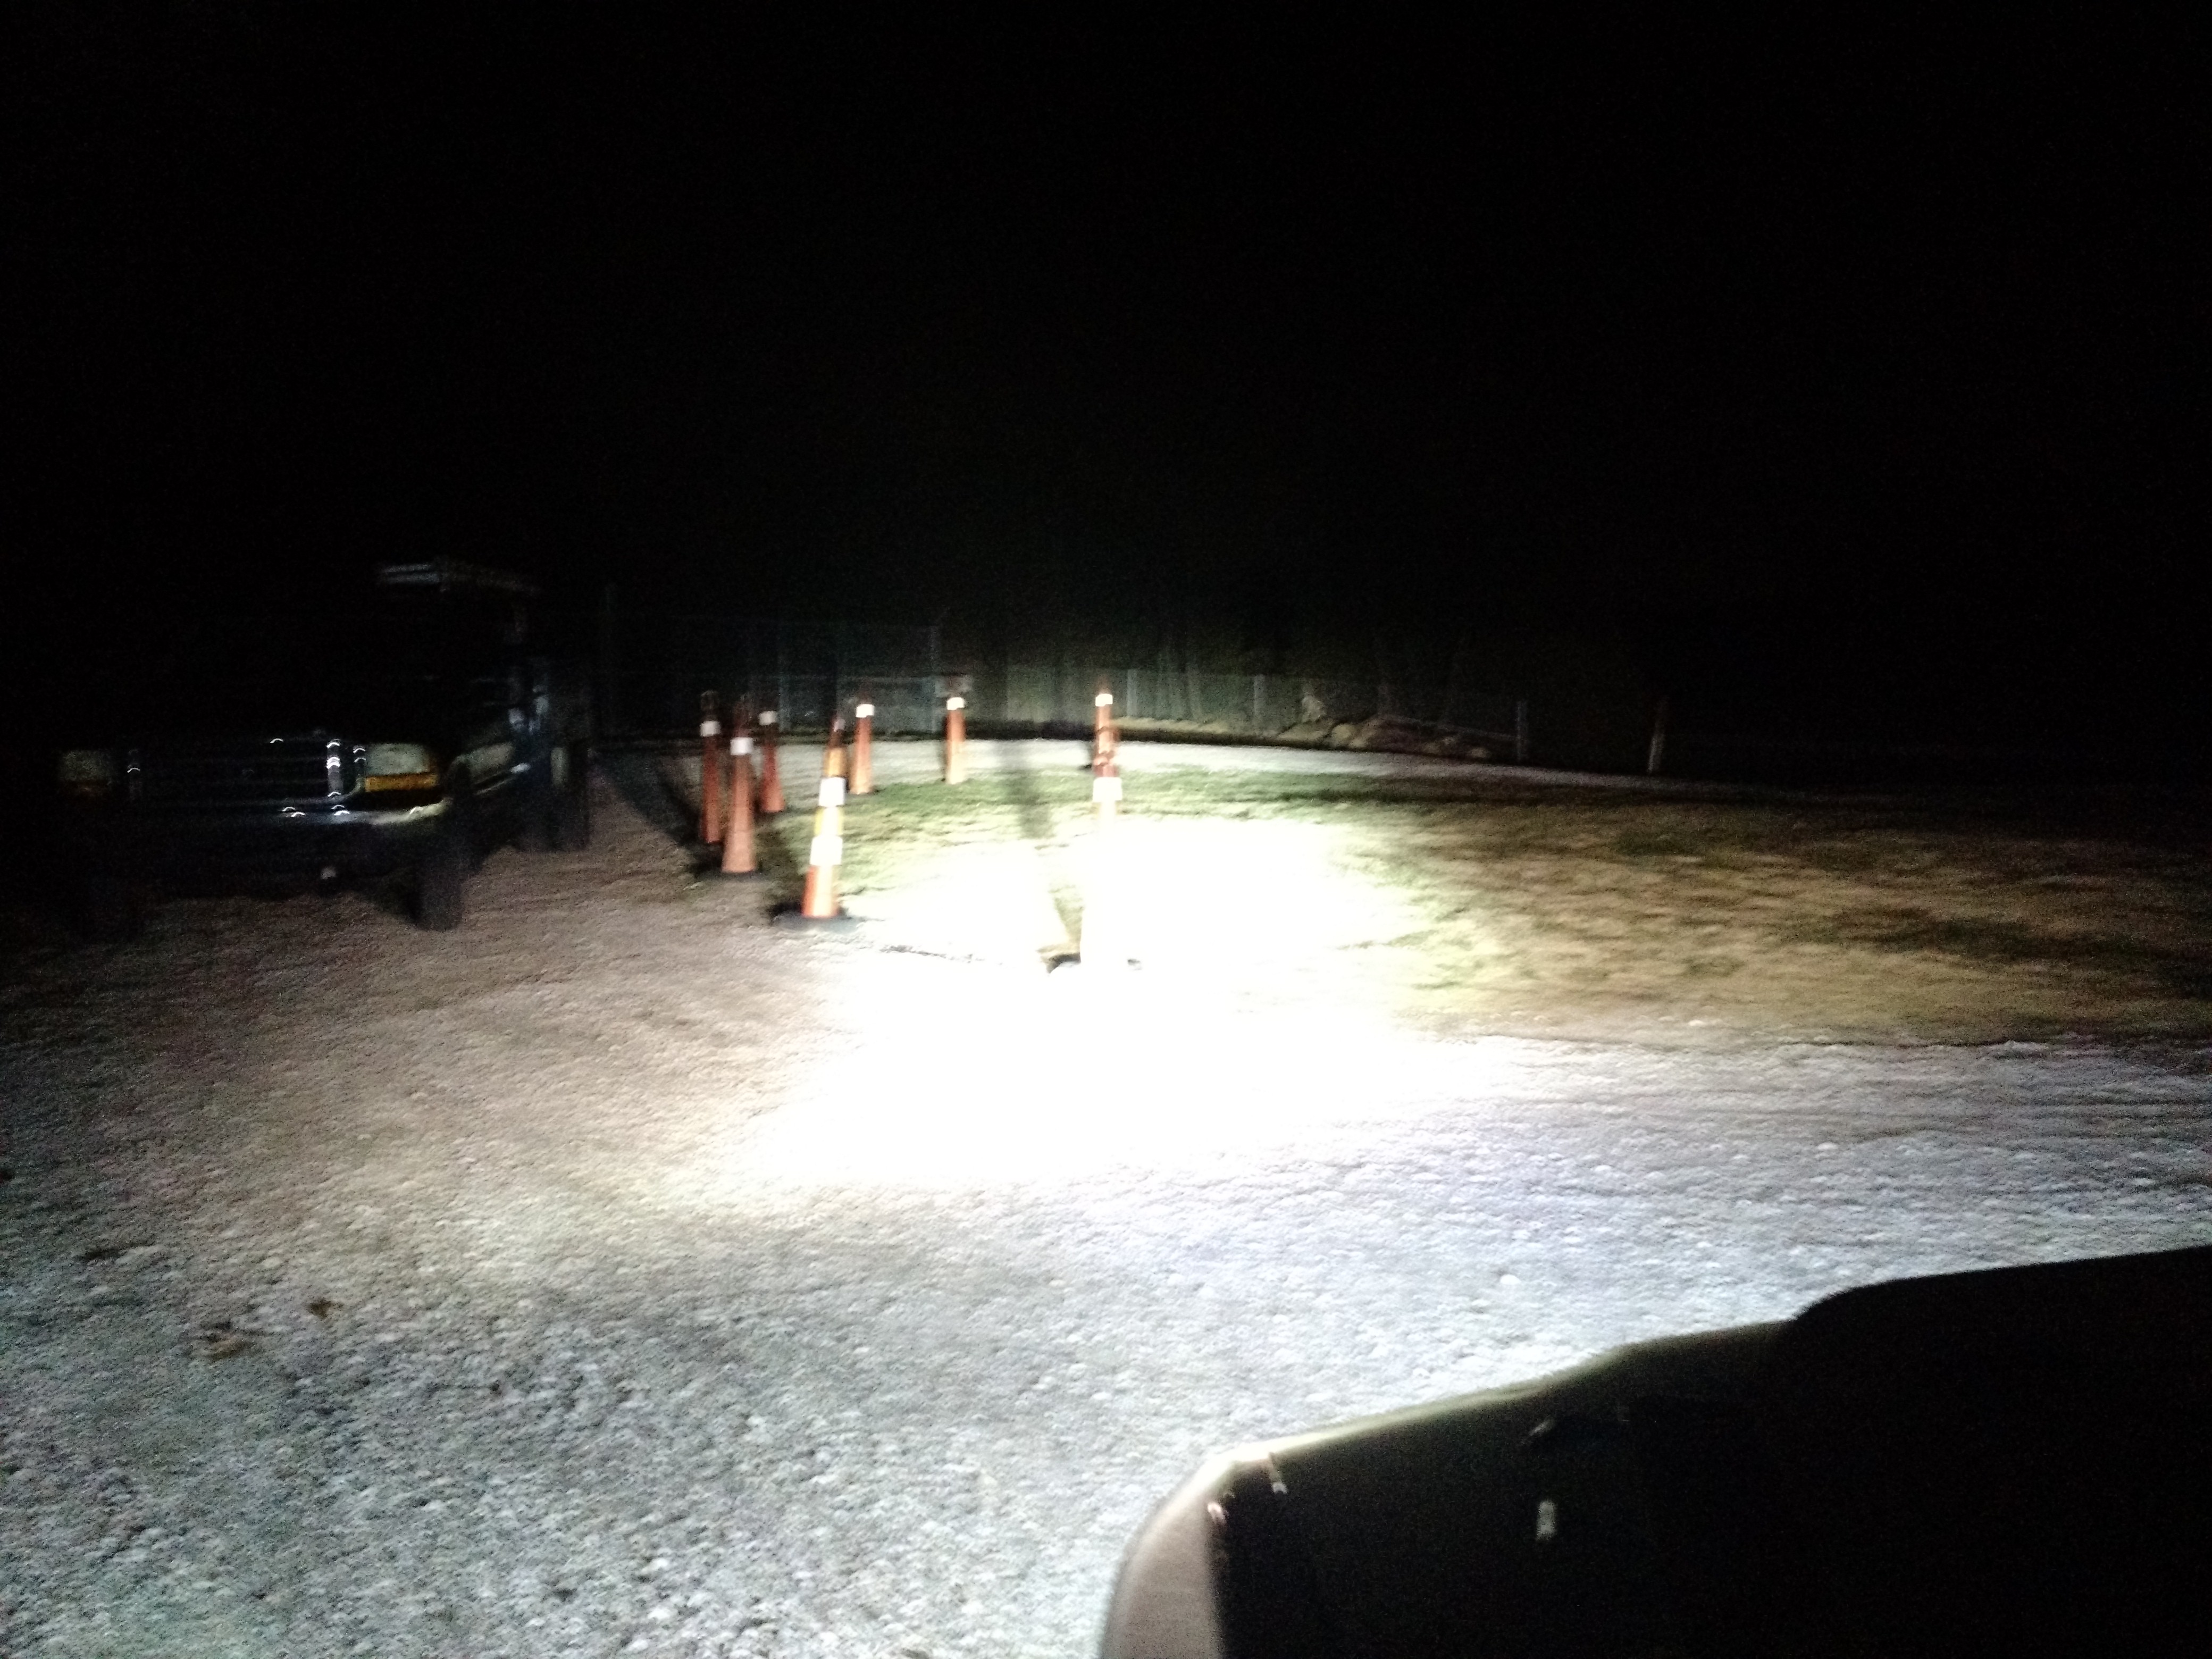
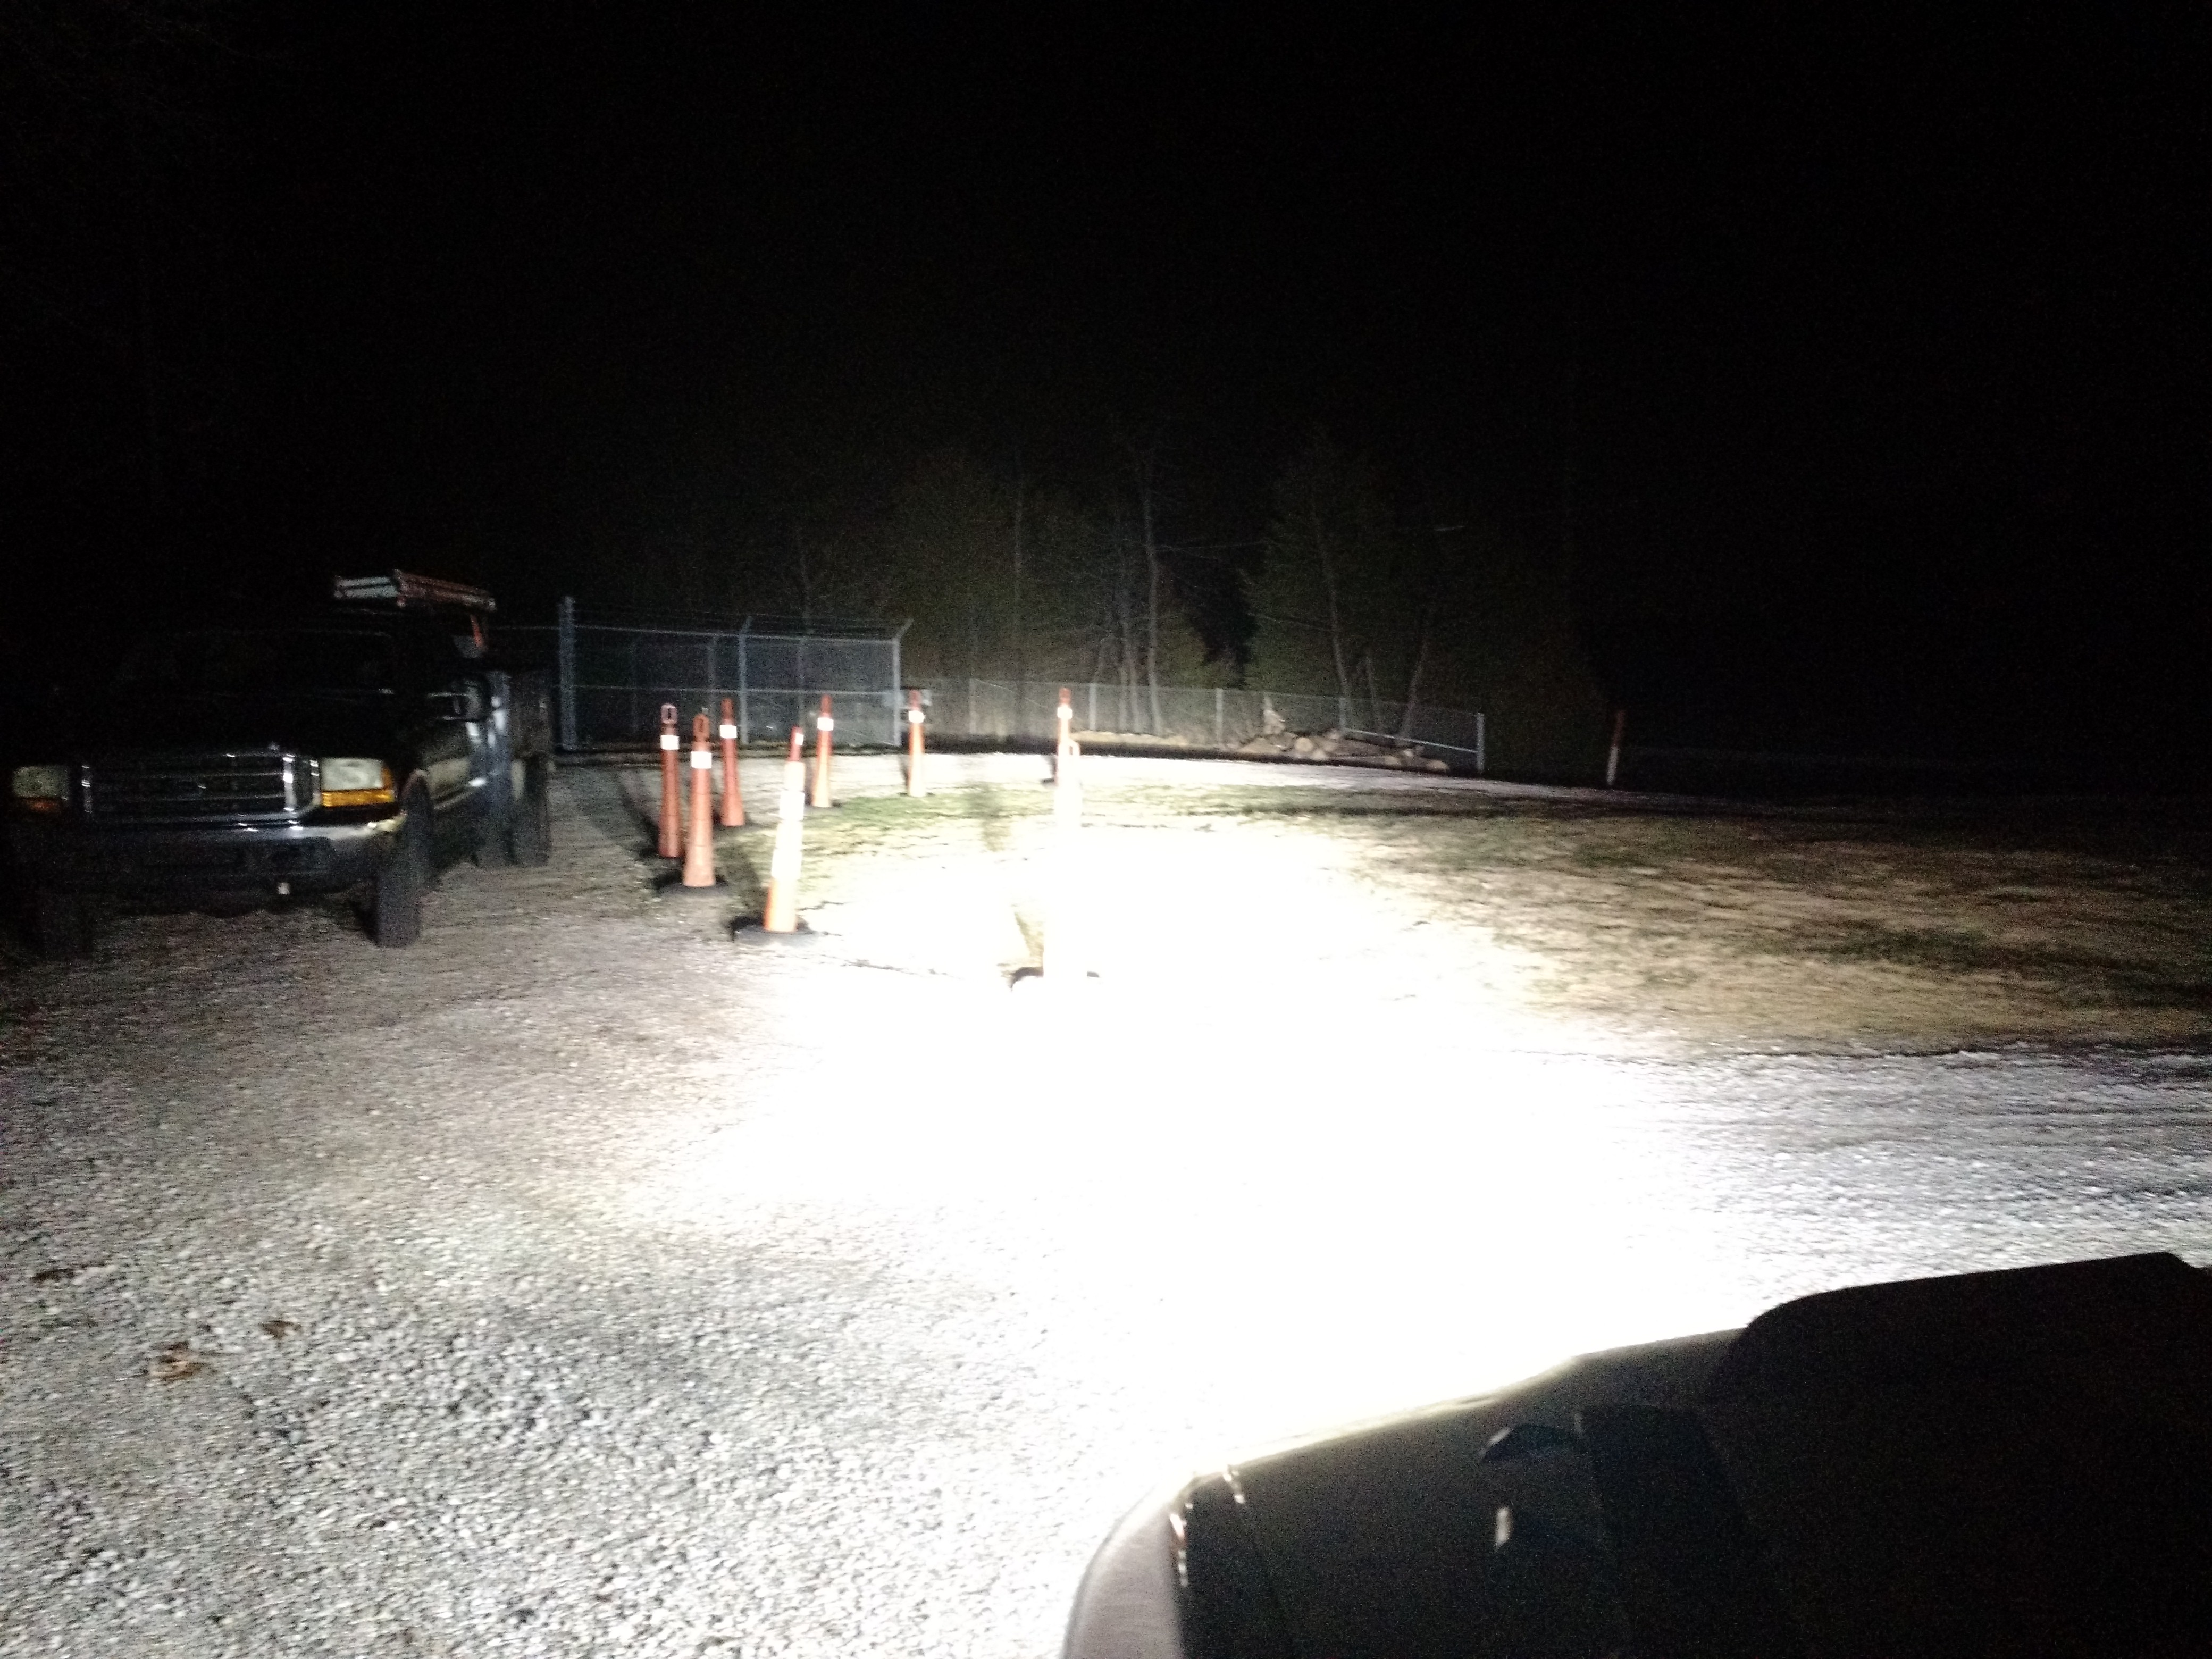
    The driver's side is even worse than the pic appears, as with the weight of the car on it, the hole is another inch or two taller. Before I took that pic, I had pulled down on the tower some to check how loose it was, and was able to move it a couple inches up and down easily, nothing much was left structure wise. I now can formulate a plan on what I'm going to do. Plan is to clean it up, position the bracket, drill for the bolts, and bolt it in bracket, weld in new metal, remove bracket, finish welding, then install bracket as in the recall so it will be even stronger than when it was new. Oh, and to add to the difficulty, I will also be on a time crunch as I want this completed and back on the road to use for the upcoming Rally in the 100 Acre Wood as a support truck. I had 4 weekends that I could work on it after work, and one or two days a week I can put a couple hours in at night. Also during this time I'll be mounting auxiliary lighting because the factory lights in their current condition just wouldn't work for high speed gravel road use.

    Also, in case you're wondering. No, the Montero wasn't on the list of options. They manage to cost more while having less HP and from what I read, not as good an AWD system. The same year Montero has 170ish HP vs this with 240 and room to grow. You know, because I might get bored and turbo it or something...

  2. The Following User Says Thank You to anyonebutme For This Useful Post:


  3. #2
    Forum User Not Verified
    Join Date
    Sep 2010
    Owner Since
    2001

    Location
    Medford OR
    Posts
    1,420
    Thanks
    5
    Thanked 602 Times in 302 Posts
    Sounds like you need a southern/westcoast Pathfinder parts truck...


    Real Performance Automotive (541)816-4500 www.FB.com/RealPerformanceAuto

  4. #3
    Member Not Verified
    Join Date
    Nov 2010
    Owner Since
    2003

    Posts
    2,062
    Thanks
    112
    Thanked 272 Times in 206 Posts
    Well, my camera decided to not save half the pics, but I'll post what I have.

    Step 1, Start unweaving the unibody. Unibody cars are made from layers of individual panels, so when attempting a repair like this you need to suppress the desire to just cut and replace, and try and save as many of the interior sheets as possible and bond those into the repair. Hard to explain, but in the chassis rail section there was 4 layers spot welded together. Pretty standard fare. In the first pic you'll see a piece of metal to the right that has curved shape and 2 large spot welds, That is a main chassis rail piece that runs down under the car and all the way to the rear. In the pic I already removed the top layer, and the inside most layer facing the engine, both were toast. A lot of seam sealer also had to be removed because that stuff ruins your ability to weld and catches fire. I prefer the torch method, I use it often to burn the sealant out for seam welding race cars. Way more sealer than factory, so I think someone smeared sealer on top of the rust to hide it, possibly the dealer that did the recall inspection. Problem is sealer doesn't stop rust, and this happens. You'll also notice I'm grinding off the coatings where the bracket bonds on, because the epoxy will not bond to anything but bare or etched metal. The skins I'll be using are slightly thicker than the factory metal, since it's metal I had left over from a Mitsubishi project. I'm no sure I've ever worked on a car made out of this thin of steel before, lol.

    IMG_20180217_163957335 by Chris Patterson, on Flickr


    This is the passenger side after I started grinding off the coatings, rust, and leveling the spot welds to get to the chassis rail.

    IMG_20180217_140646633 by Chris Patterson, on Flickr


    This is the outer most skin roughed into shape. The inside skin not shown is already welded to the frame rail and will be welded to this skin from the engine side after it's in final position. It looks like it doesn't reach, but it's because the tower is not pulled down for this picture. You'll see a large rosette weld on the right, that is where I tied back into the main chassis rail piece I spoke of before.

    IMG_20180217_165758623 by Chris Patterson, on Flickr


    Pulling tower into position, and tacking in the tower to hold the position while the rest of the scab pieces are cut, ground, welded.

    IMG_20180217_172124106 by Chris Patterson, on Flickr

    And moving to panel up the tower connection, this was the end of the weekend and had to stop, so a coating of weld-through primer was put on so no rust started while it rained all week:

    IMG_20180217_185019407 by Chris Patterson, on Flickr

  5. #4
    Member Not Verified
    Join Date
    Nov 2010
    Owner Since
    2003

    Posts
    2,062
    Thanks
    112
    Thanked 272 Times in 206 Posts
    And skip to bonding the repair brackets with structural epoxy, rivnuts, and bolts. Everything from here on out is the standard recall work. I had Nissan's recommended Fusor stuff so I used it. My nutsert/rivnut setter didn't have the correct fine pitch, and doing the bolt trick didn't work for me so I just welded in the rivnuts and compressed them with the bolt.

    Passenger bracket bonded in, you can see the weld to the left of the bracket where I welded in the new metal, but don't have a picture anymore of the repair under the bracket.

    IMG_20180218_172208327 by Chris Patterson, on Flickr

    Seam sealer time:

    IMG_20180218_190014122 by Chris Patterson, on Flickr

    Impact resistant undercoating time, this stuff also great at deadening sound. The pic was taken before I installed the brake manifold bolt so that's why it's missing:

    IMG_20180219_140503907 by Chris Patterson, on Flickr


    Driver's bracket:

    IMG_20180218_172157690 by Chris Patterson, on Flickr

    Seam sealer time:

    IMG_20180218_190025335 by Chris Patterson, on Flickr

    Undercoating:

    IMG_20180219_140441386 by Chris Patterson, on Flickr

  6. #5
    Forum User
    Join Date
    Oct 2011
    Owner Since
    2007

    Location
    Sundsvall, Sweden
    Posts
    928
    Thanks
    327
    Thanked 119 Times in 77 Posts
    Wow, that recall seems pretty nasty. I can't imagine that the recall repair would hold up for more than a few years even if the dealerships followed the instructions.

    https://static.nhtsa.gov/odi/tsbs/20...44329-4676.pdf

  7. #6
    Member Not Verified
    Join Date
    Nov 2010
    Owner Since
    2003

    Posts
    2,062
    Thanks
    112
    Thanked 272 Times in 206 Posts
    It's actually less a rust issue than a design issue where the strut tower is connected to the frame rail with a single layer of super thin metal, instead of the tower being interweaved. I bet if you do a lot of offroading, the strut tower would still separate even without any rust, so I consider the repair brackets mandatory even on good condition cars. If the dealer would have performed the recall, they would have just installed the bracket and fiberglassed the holes, which is a sh*t repair IMO and will fail in a few years. Had they have done the recall I would have resold the car simply because I think Nissan's recall fix is terrible. Doing it myself, I know for a fact that it will be stronger than it was when the car was new. I'm kinda disappointed this car had this much damage with 140K miles on it, but figured it was an easy fix for me and it had black leather interior and the other QX4's for sale had that terrible tan interior.

    Pic with the suspension back in:

    IMG_20180219_190004518 by Chris Patterson, on Flickr

    Before I even fixed the suspension I was already mounting lights on it, formulating a plan on where I was going to put on the lights without making a light bar. First up was a set of KC daylighter 55w HID lights I had laying around:

    IMG_20180203_151037102 by Chris Patterson, on Flickr

    IMG_20180203_162629810 by Chris Patterson, on Flickr

    All I did was cut out the horizontal plastic piece in the bumper opening, and bolted them to the bumper beam. Since these are 24v models that were originally to be mounted on a HMMWV in Iraq, I had to use voltage converters to run them on 12v and replace the 24v relay, easy. Mounting the ballasts:

    IMG_20180217_121404484 by Chris Patterson, on Flickr


    Also mounted an LED light bar to the upper side of the bumper beam, so it fits under the grill and is almost invisible when off:

    IMG_20180217_121347756 by Chris Patterson, on Flickr

    Buffed out the stock headlights because they were super clouded, only took 15 minutes to cut and buff:

    IMG_20180218_151619385 by Chris Patterson, on Flickr


    Replaced the factory high beams with LED bulbs also, but more for the reduced amperage draw because they're not really any brighter than the factory 65w bulbs.

    IMG_20180218_182049651 by Chris Patterson, on Flickr

    IMG_20180218_182024428_HDR by Chris Patterson, on Flickr

  8. #7
    Member Not Verified
    Join Date
    Nov 2010
    Owner Since
    2003

    Posts
    2,062
    Thanks
    112
    Thanked 272 Times in 206 Posts
    Pics taken with phone camera with exposure locked, not the best but gives you an idea the difference in power of each set of lights.

    Low beams:

    IMG_20180303_190332 by Chris Patterson, on Flickr


    LED high beams:

    IMG_20180303_190341 by Chris Patterson, on Flickr


    High beams and light bar:

    IMG_20180303_190415 by Chris Patterson, on Flickr


    KC HID Daylighters and low beams:

    IMG_20180303_190424 by Chris Patterson, on Flickr


    All lights lit:

    IMG_20180303_190429 by Chris Patterson, on Flickr

  9. #8
    Senior (i.e. OLD) Member :) verified
    Join Date
    Sep 2010
    Owner Since
    1997

    Location
    Dayton, Ohio
    Posts
    946
    Thanks
    24
    Thanked 66 Times in 57 Posts
    VERY nice work Chris

    I haven't kept up, did you ditch the race car?

    Do you still have the red Stealth?

    What the hell do you have in your stable?

    What's next with this build?

    Bob.
    95 Caracus Red Spyder VR4 (sold 6/12/21 )
    Cianci FG Viper Hood/Aerocatch Pins
    Quad Carbon Fiber Tipped Borla Catback
    Stock 18" 6 Spoke Chromies
    K&N FIPK
    Indiglo Gauges
    JimVR4's Remote Start/Top Op Computer

    92 Wheat Beige Metallic Stealth TT (sold 6/14/20 )

    OhioSpyderman Short Shifter (in both!!!)
    SBC-iD Boost Controller (in both!!!)

    Oldest son - 94 Danube Blue VR4 (sold 10/19)
    Middle son - 93 Panama Green VR4

  10. #9
    Member Not Verified
    Join Date
    Nov 2010
    Owner Since
    2003

    Posts
    2,062
    Thanks
    112
    Thanked 272 Times in 206 Posts
    Still have all the other cars. I think I'm down to 10 or so vehicles, scrapped a couple vr4 shells but still have the race car, red stealth, and green vr4. Next I'm going to either paint the wheels or replace them with something else, and install some off roady tires and rally mud flaps. Eventually going to install poly bushings all around and new shocks but I'm not going to put a lift on it. All of this will probably happen after the rally in 2 weeks. Then I'll decide if it needs more HP.

  11. #10
    Member verified
    Join Date
    Sep 2010
    Owner Since
    Oct '08 - Oct '10

    Location
    Royersford, PA
    Posts
    3,814
    Blog Entries
    1
    Thanks
    1,059
    Thanked 442 Times in 317 Posts
    I forgot these things existed, lol
    R135
    ╚╬╬╝
    - 24

Bookmarks

Posting Permissions

  • You may not post new threads
  • You may not post replies
  • You may not post attachments
  • You may not edit your posts
  •  
The 3000GT/Stealth/GTO Web History Project
3000gt.com
3000GT / Stealth International WWWboard Archive
Jim's (RED3KGT) Reststop
3000GT/Stealth/GTO Information and Resources
Team 3S
3000GT / Stealth / GTO Information
daveblack.net
3000GT/Stealth/GTO Clubs and Groups
Michigan 3S
MInnesota 3S
Wisconsin 3S
Iowa, Nebraska, Kansas 3S
North California 3000GT/Stealth
United Society of 3S Owners
3000GT/Stealth/GTO Forums
3000GT/Stealth International
3000GT/Stealth/GTO Event Pages
3S National Gathering
East Coast Gathering
Upper Mid-West Gathering
Blue Ridge Gathering