Page 1 of 2 12 LastLast
Results 1 to 10 of 13

Thread: DIY poly rear diff bushings

  1. #1
    Forum User verified
    Join Date
    Sep 2010
    Owner Since
    2008

    Location
    St.Louis
    Posts
    501
    Thanks
    22
    Thanked 31 Times in 20 Posts

    DIY poly rear diff bushings

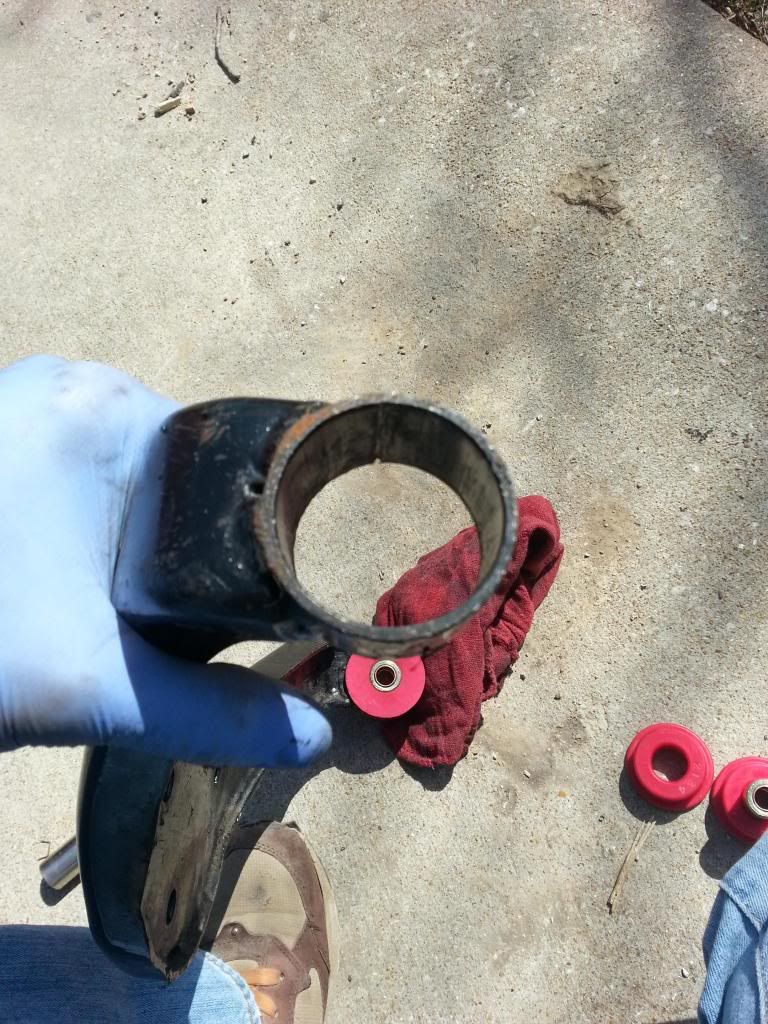
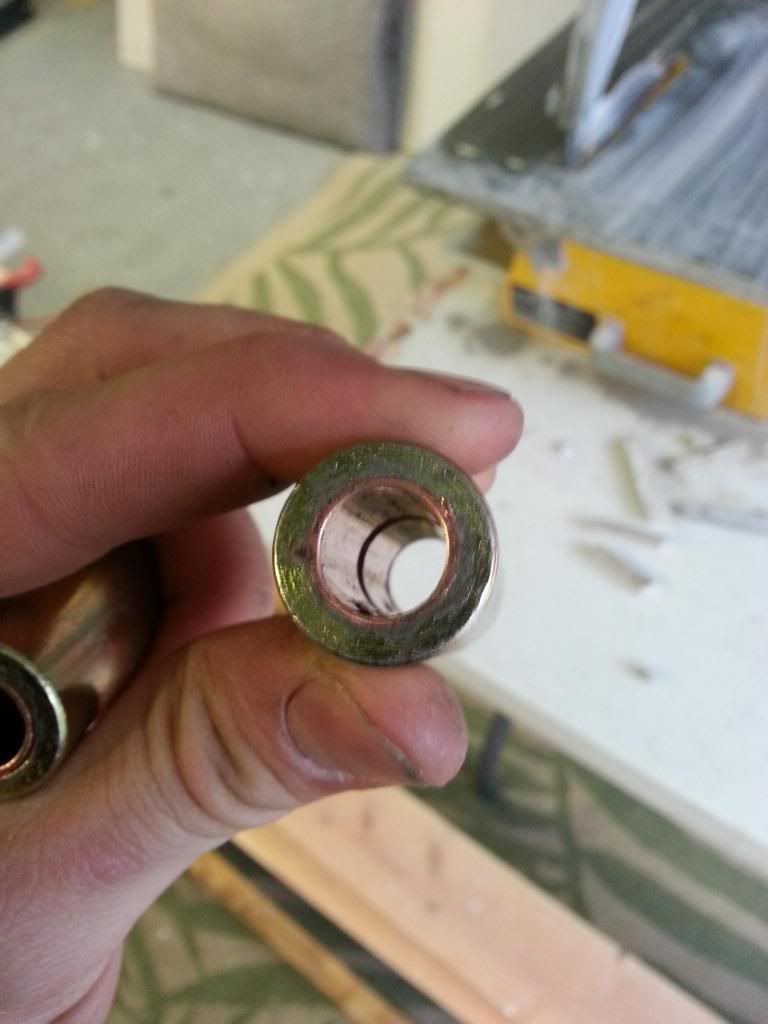
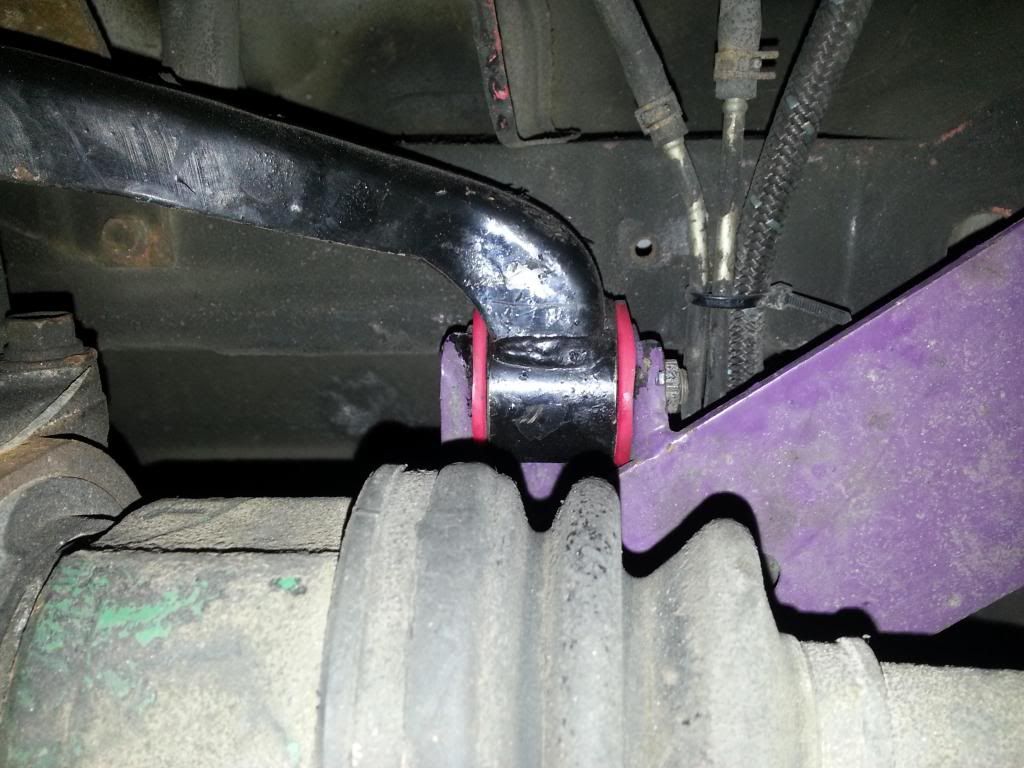
    Alright, so I decided to swap my solid aluminum rear diff bushings out for some poly ones.Since no one really sells poly rear diff bushings I decided to make my own like I did for my front control arm. I did not intend to make a write up, so I do not have pictures of actually cutting the stock bushings out. I don't own a press yet, so I just cut the center pins out by hammering a flat head through the rubber. I then used a sawz-all to cut the bushing sleeve out of the mount pieces. After cutting out a groove in the sleeve you should be able to push it out with a flat head and a hammer easily. You will end up with mounts that are like this:


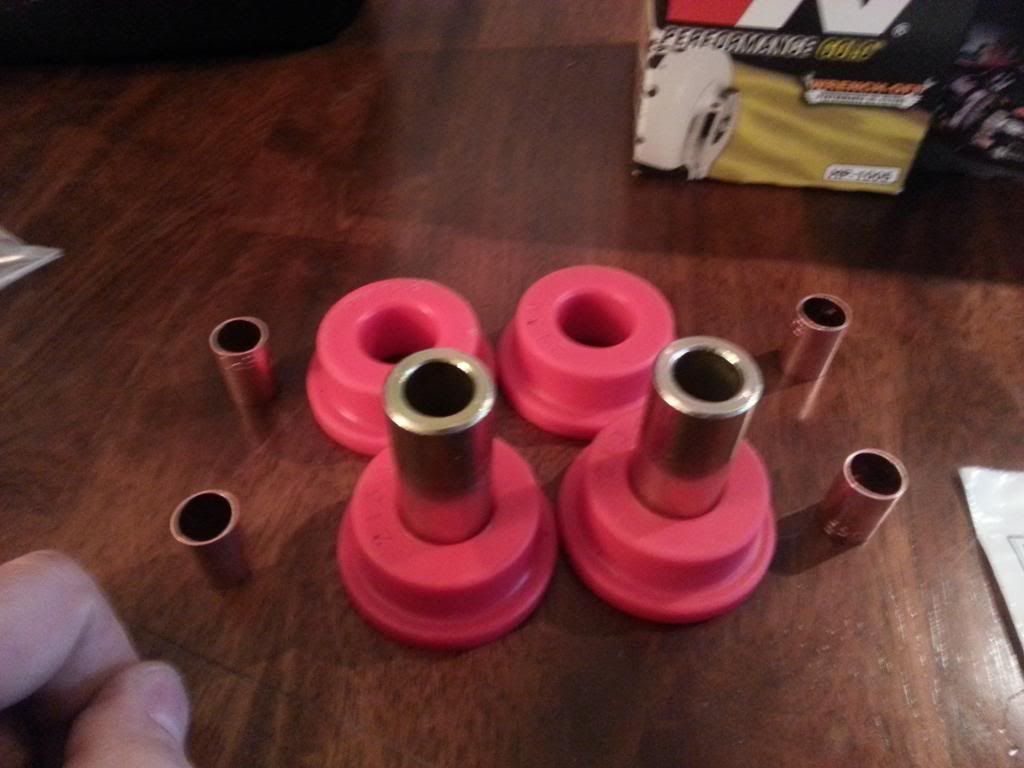
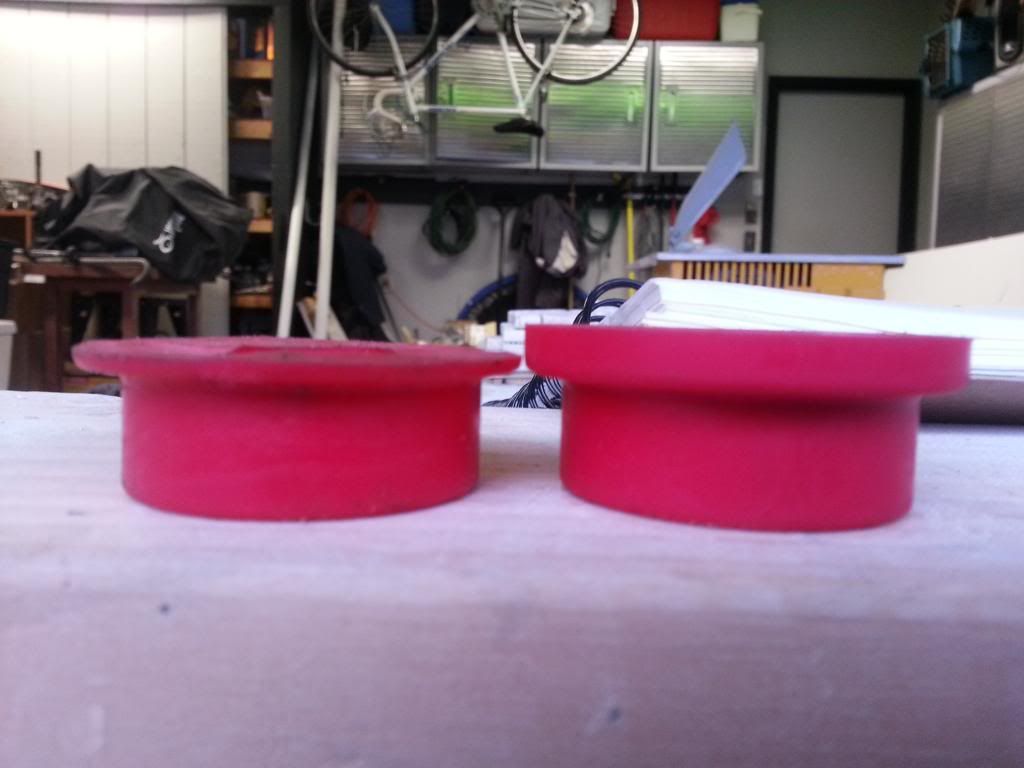
    I talked to Pauly P and he pointed me in the right direction for the size of the bushing. It turned out that 9.9484 fits very well. They are 18.99 for a pair, so we will need 2.


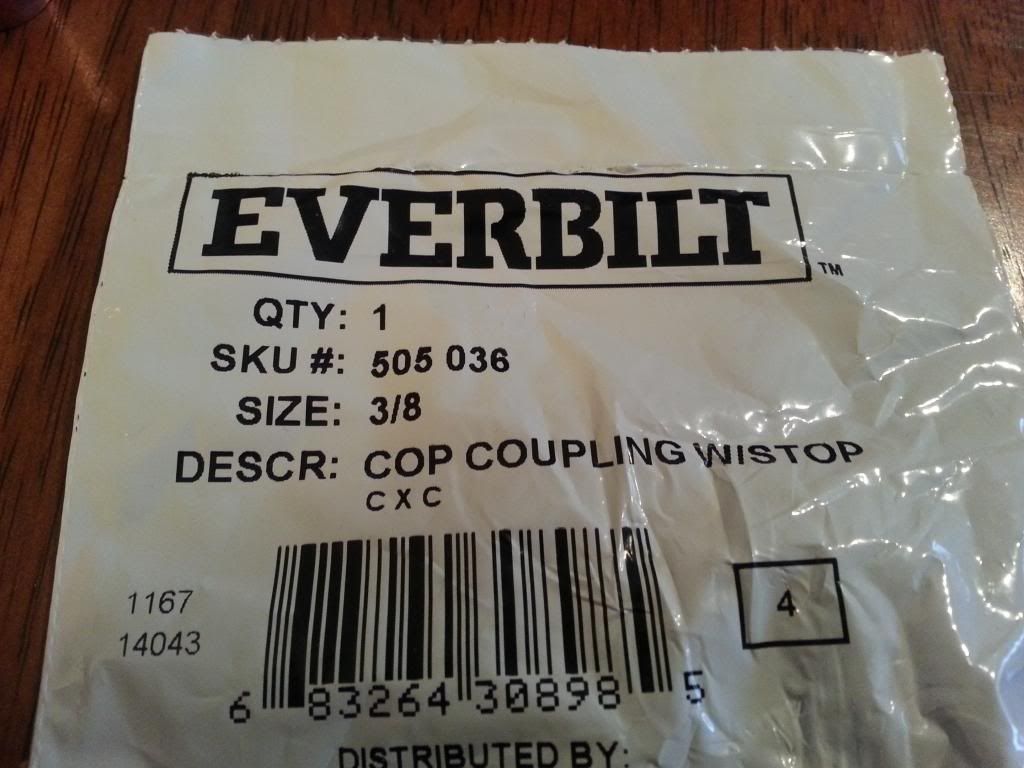
    The only problem is the inner diameter on the pins is 9/16" but our bolt is about 3/8" To fix this gap I found some copper pipe couplings (2 per bushing so we need 8 total) at Home Depot at 79 cents each.


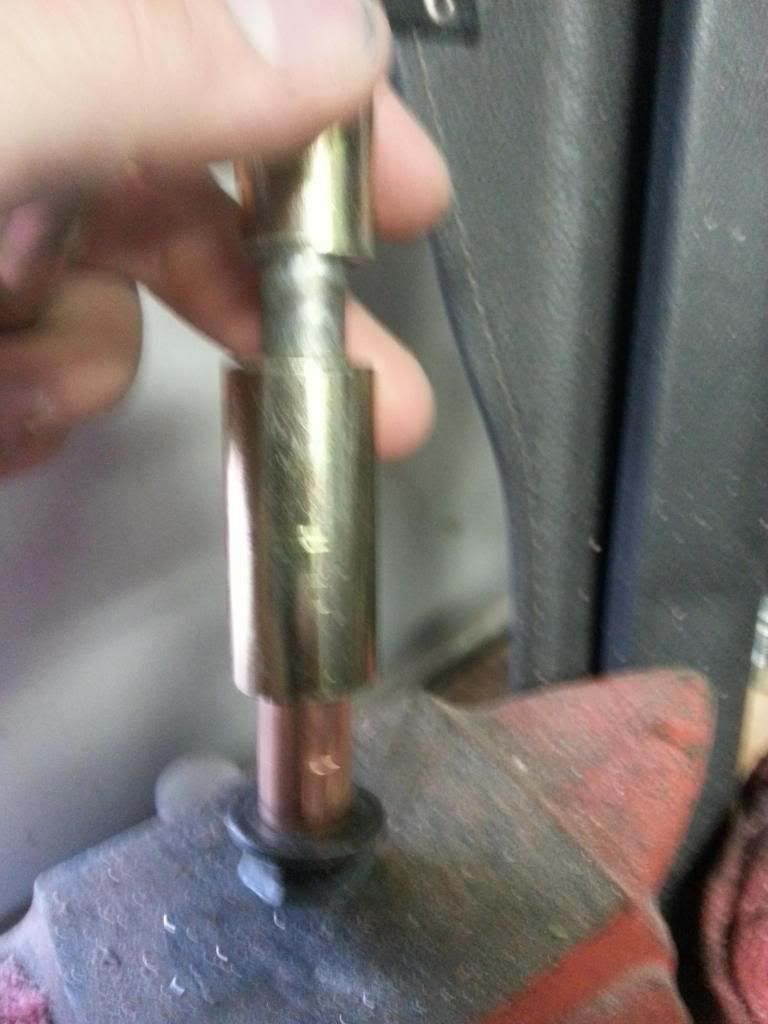
    I didnt want to risk bending the copper when installing it so i used a spare 17mm bolt to center everything while hammering them in.


    They fit very good.


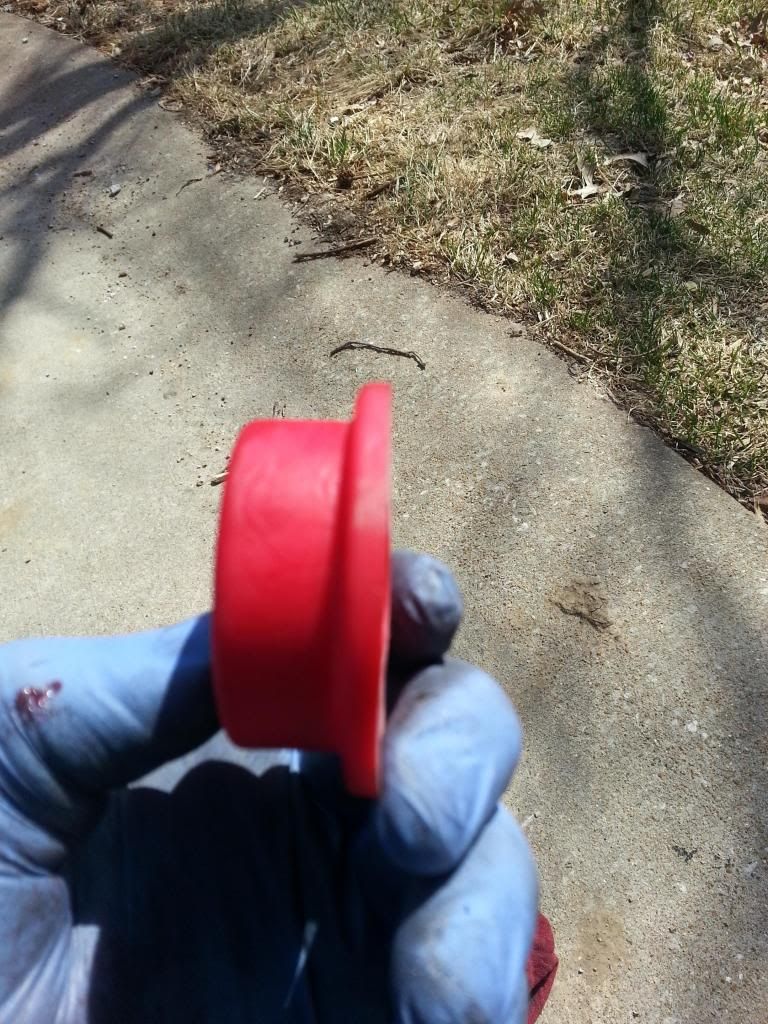
    Next, we will need to trim the bushing flange down. For the front 2 bushings I removed about 3/4 of the flange on my bench grinder


    and about 1/2 for the rear bushings on the Y plate.


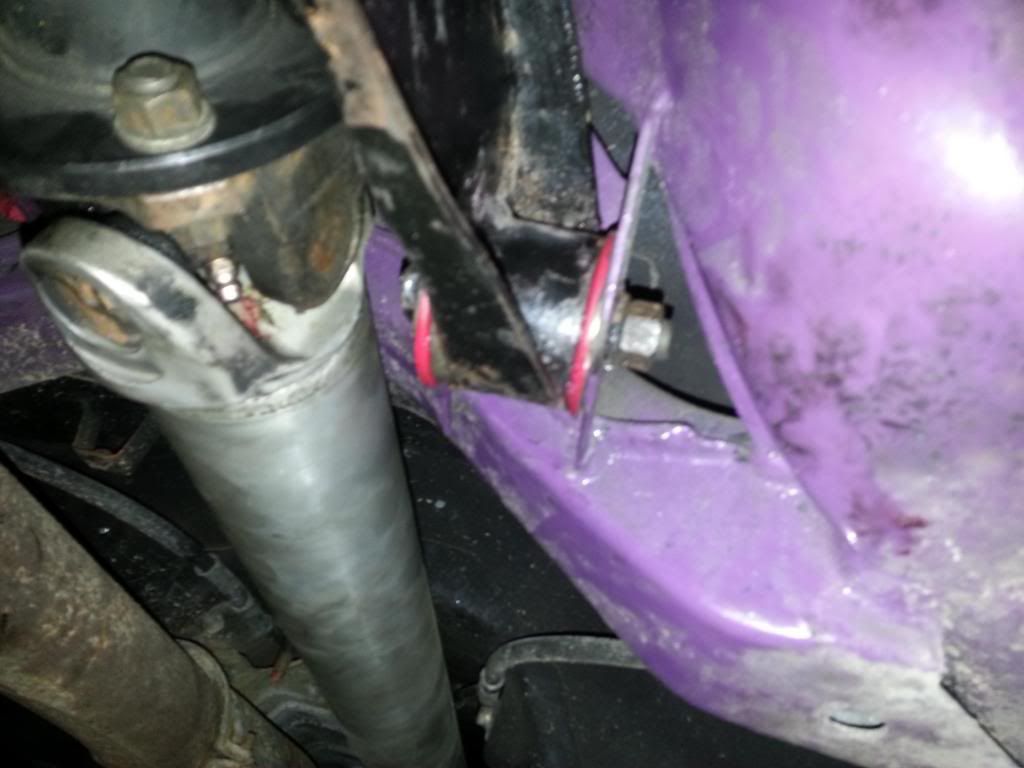
    From here the bushings should slide easily into the mount holes. There is a gap between the 2 bushings, but I just fill it with grease and also grease the bushing prior to instillation too.

    Here is one of the side mounts mounted to the diff/subframe


    Y plate


    With shipping, this cost me about $55 when all said and done. After listing up my solid bushings for sale I have received a few pm's asking why I was switching from solid aluminum to poly. I originally had a stock drive shaft with the Aluminum bushings. Surprisingly, the rear drive shaft dampener did a very good job keeping the rear diff quiet with the solid mounts. Shortly after installing the bushings my oem drive shaft u joint on the front yoke decided to go out. Decided to upgrade to a 2-piece aluminum/steel hybrid shaft I found for $450 shipped. Put the drive shaft in and I couldn't stand the whining from the drive train. With poly mounts now the whine is gone. Car feels solid when accelerating and is less harsh DD-ing.
    Last edited by Bloodlust182; 03-29-2014 at 01:44 AM.
    93 Stealth ES - 3000GT conversion,AWD conversion, ACPT 1 piece CFDS, Operable AA wing, 99 rear garnish, R/T sails, ABS delete, SS Clutch line, SS braided brake lines, Vac clutch assist, 2G TT brakes all around, Kyb Gr-2 shocks, Megan Springs up front Tein S tech's in the rear, Cusco rear strut bar, Ebay front strut bar, TT cat back exhaust , K&N cone filter, Poly motor mounts, Poly front suspension bushings, and poly rear diff bushings.

  2. The Following 3 Users Say Thank You to Bloodlust182 For This Useful Post:


  3. #2
    Forum User
    Join Date
    Jun 2013
    Owner Since
    1999

    Posts
    8
    Thanks
    0
    Thanked 0 Times in 0 Posts
    1) How bad were your original rear diff bushings? Were they badly shot?
    2) Were you able to wedge a metal bar down there and find play in the rear differential?
    3) Were you previously clunking every time you let off the throttle?

    Can you do a write-up on how you installed these rear diff bushings? Was dropping the rear differential necessary?
    I have a set of new OEM rubber bushings that needs to go in. Debating if I should do it myself.

  4. #3
    1st ever COTM and COTY verified
    Join Date
    Aug 2010
    Owner Since
    Birth

    Location
    Tennessee
    Posts
    7,077
    Thanks
    649
    Thanked 451 Times in 347 Posts
    Can you post the sale link to the polly mounts?

    Quote Originally Posted by HilbillyHomeboy View Post
    I bet she smells of old mustard and sawdust.
    Jeremy

  5. #4
    I don't bite
    Join Date
    Sep 2010
    Owner Since
    2001

    Location
    Southern IN
    Posts
    1,996
    Thanks
    59
    Thanked 98 Times in 80 Posts
    Nice work! Too bad you didn't post this when I had my subframe out for AWS delete and diff swap.
    1992 Kilder Green VR4 - First 4G swap in a 3S. 2.0, auto, awd. 9.65 at 143mph. Now LS swapped. 8.52 at 162.

  6. #5
    Forum User verified
    Join Date
    Sep 2010
    Owner Since
    2008

    Location
    St.Louis
    Posts
    501
    Thanks
    22
    Thanked 31 Times in 20 Posts
    Quote Originally Posted by pipebomb View Post
    1) How bad were your original rear diff bushings? Were they badly shot?
    2) Were you able to wedge a metal bar down there and find play in the rear differential?
    3) Were you previously clunking every time you let off the throttle?

    Can you do a write-up on how you installed these rear diff bushings? Was dropping the rear differential necessary?
    I have a set of new OEM rubber bushings that needs to go in. Debating if I should do it myself.

    1. Bad
    2. Didnt try.
    3. Mine clunked every time I got on the throttle hard or shifted gears.

    You do not need to drop the rear diff to swap the bushings out. I swapped out the mounts 1 at a time and had my jack supporting the diff. The only thing you need to disconnect really is the drive shaft to get the bolts out for the side mounts. If you are putting stock bushings back in; I recommend taking your mounts to a machine shop and having them press the bushings in if you do not have a press.

    Quote Originally Posted by green-lantern View Post
    Can you post the sale link to the polly mounts?
    It is hyper-linked to the part number. Just click on the part number and it should take you to where I bought mine.


    Quote Originally Posted by familyMAN View Post
    Nice work! Too bad you didn't post this when I had my subframe out for AWS delete and diff swap.
    Thanks, I wish I would have just went with poly bushings to begin with and made the w/u a few months ago =/.

  7. #6
    1st ever COTM and COTY verified
    Join Date
    Aug 2010
    Owner Since
    Birth

    Location
    Tennessee
    Posts
    7,077
    Thanks
    649
    Thanked 451 Times in 347 Posts
    Quote Originally Posted by Bloodlust182 View Post

    It is hyper-linked to the part number. Just click on the part number and it should take you to where I bought mine.
    OK thanks, didn't see that

  8. #7
    Forum User verified
    Join Date
    Sep 2010
    Owner Since
    August 2003

    Location
    Uniontown
    Posts
    467
    Thanks
    8
    Thanked 12 Times in 11 Posts
    That's pretty cool. I'm curious of the durability of the copper.

  9. #8
    Forum User verified
    Join Date
    Sep 2010
    Owner Since
    2008

    Location
    St.Louis
    Posts
    501
    Thanks
    22
    Thanked 31 Times in 20 Posts
    The copper isnt really taking much of the beating from the drivetrain. It is just used to correctly center the bushings. The steel sleeve is pinched between the flanges on the subframe. I tighten the bolts fairly tight to keep everything from moving much.

  10. #9
    Forum User verified
    Join Date
    Oct 2013
    Owner Since
    2013

    Location
    SW Michigan
    Posts
    436
    Thanks
    24
    Thanked 9 Times in 7 Posts
    Are those inserts hardened? I ask because it would be easy to make pins on a lathe. If they hardened would add extra step. Given that the poly is much more ridged does the thicker pin matter?

    Will be interesting to see if 3SX gets the kits anytime soon, they bought the molds and are in the hands of a manufacture.

  11. #10
    Forum User verified
    Join Date
    Sep 2010
    Owner Since
    2008

    Location
    St.Louis
    Posts
    501
    Thanks
    22
    Thanked 31 Times in 20 Posts
    Thicker pin? I don't understand. The center of the poly(between the 2 pieces) could use a spacer, but I just fill it with grease.

Bookmarks

Posting Permissions

  • You may not post new threads
  • You may not post replies
  • You may not post attachments
  • You may not edit your posts
  •  
The 3000GT/Stealth/GTO Web History Project
3000gt.com
3000GT / Stealth International WWWboard Archive
Jim's (RED3KGT) Reststop
3000GT/Stealth/GTO Information and Resources
Team 3S
3000GT / Stealth / GTO Information
daveblack.net
3000GT/Stealth/GTO Clubs and Groups
Michigan 3S
MInnesota 3S
Wisconsin 3S
Iowa, Nebraska, Kansas 3S
North California 3000GT/Stealth
United Society of 3S Owners
3000GT/Stealth/GTO Forums
3000GT/Stealth International
3000GT/Stealth/GTO Event Pages
3S National Gathering
East Coast Gathering
Upper Mid-West Gathering
Blue Ridge Gathering