Page 1 of 2 12 LastLast
Results 1 to 10 of 13

Thread: Sailboat restoration project

  1. #1

    Sailboat restoration project

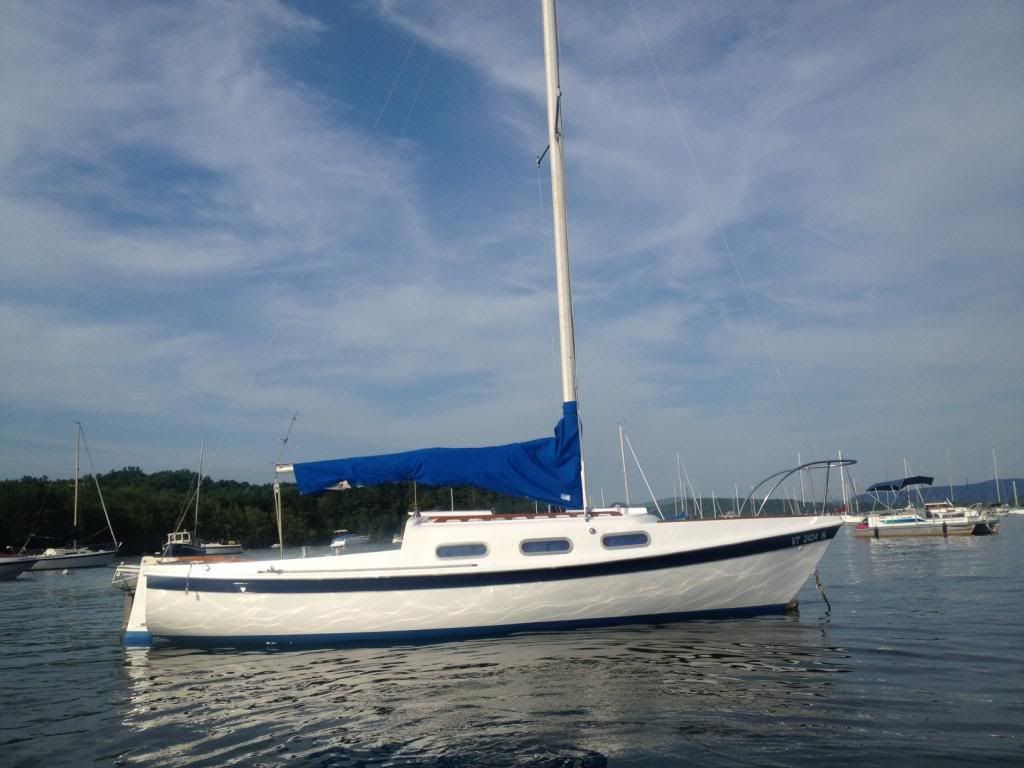
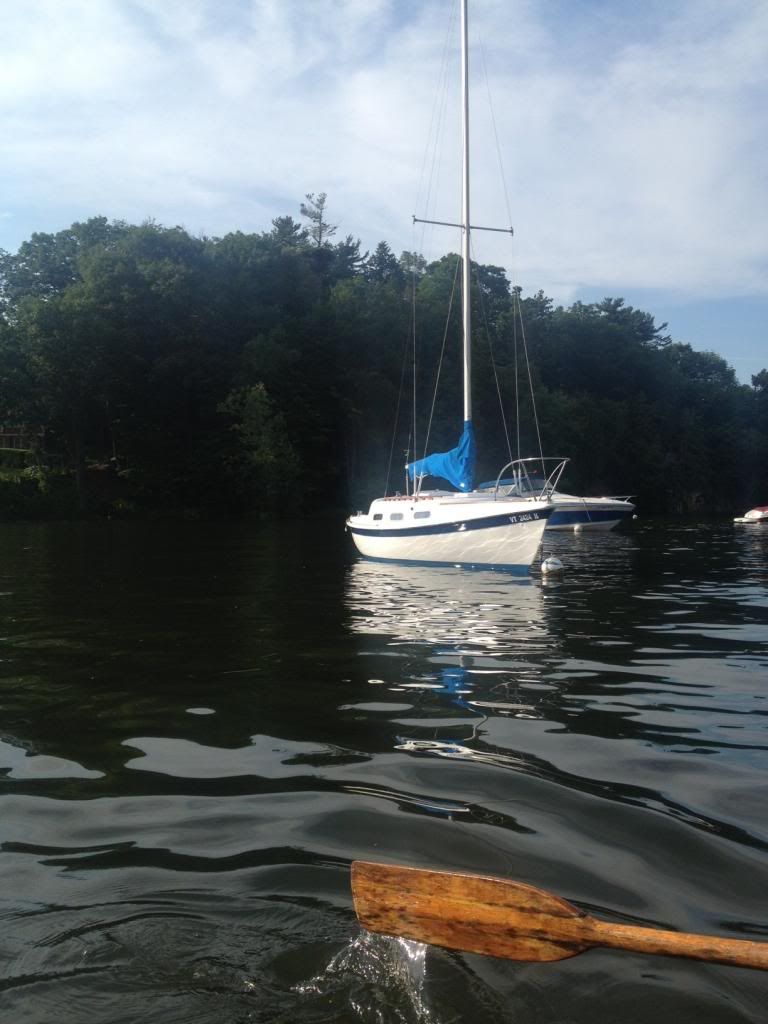
    I bought this boat from my old boss. It is a 1972 Tanzer. I really didn't know anything about boats, let alone sailing; but I've always thought it would be cool to try it. Just about everything cosmetically that could be wrong with a boat... was wrong with this boat It was probalby the biggest eye sore on the water. The only things I really liked about it were that it floated, came with a trailer, had a collasable centerboard, and had good sails. Here is a shot of me sailing it on Lake Champlain. I had my friend with me who knows how to sail. I need practice.


    I don't know if this URL will work, but it's a 10 minute before video I made of the "before". I will make another one when it's all done.

    [IMG]http://i1192.photobucket.com/albums/aa327/fastfalcon94/sailboat/th_2013-04-14_14-

    56-36_439_zps58b7bb07.jpg[/IMG]


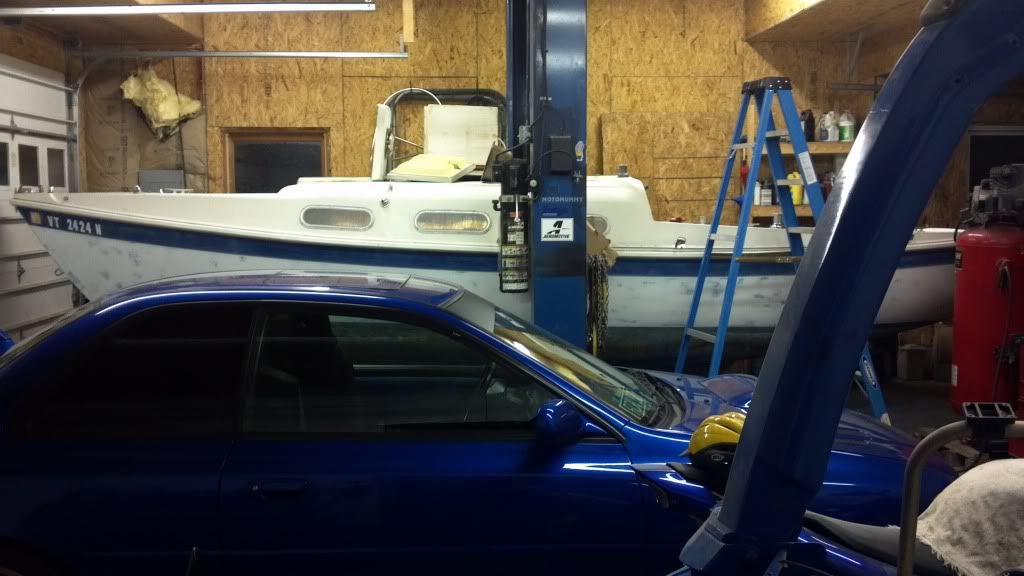
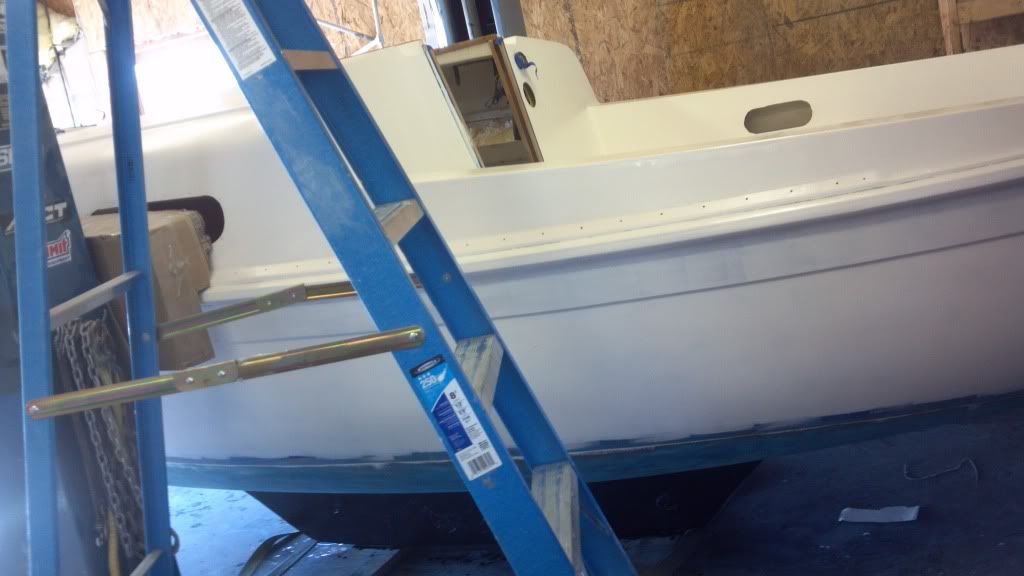
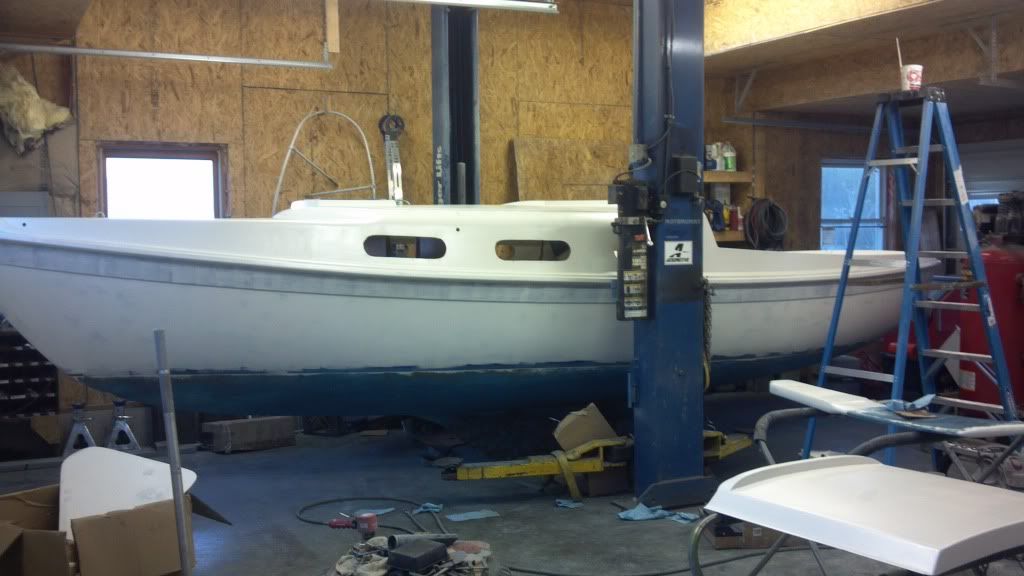
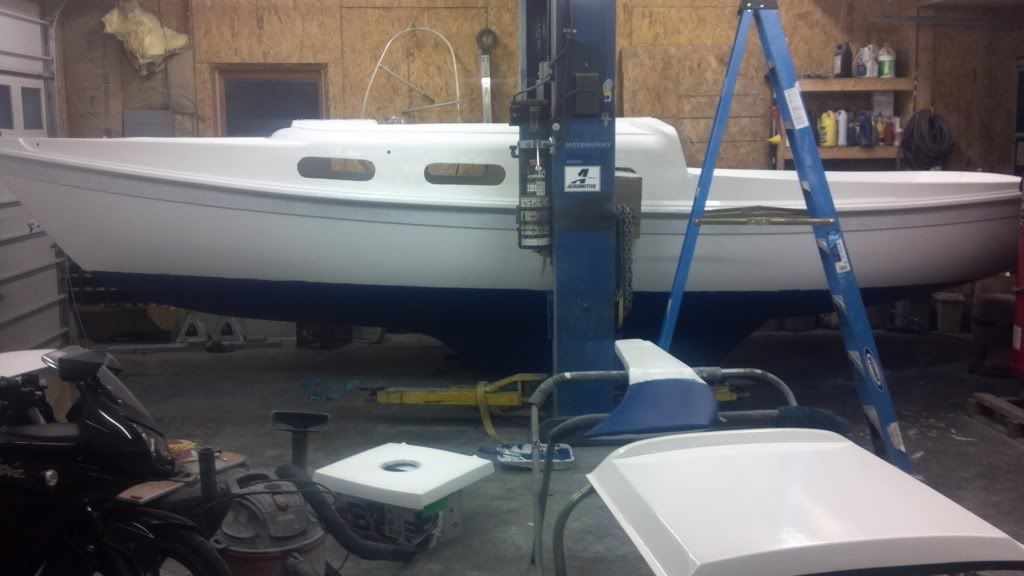
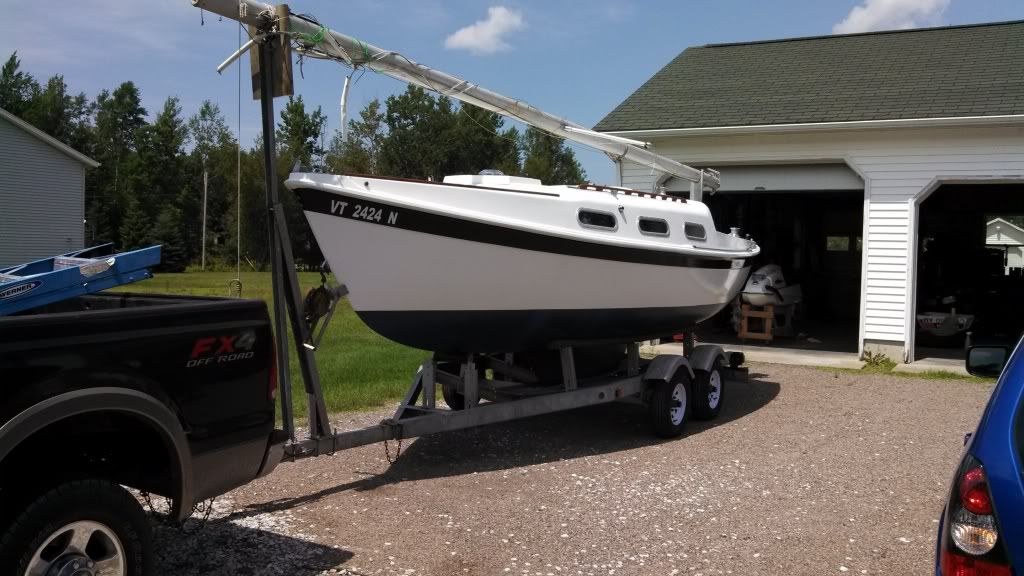
    Here it is in the garage. I was able to use my lift to hoist it up in the air. Then I drove the trailer out from it. Because it has a collapsable centerboard it sits flat on the ground. I have it braced between the lift posts, but even without the bracing it would stand straight up.


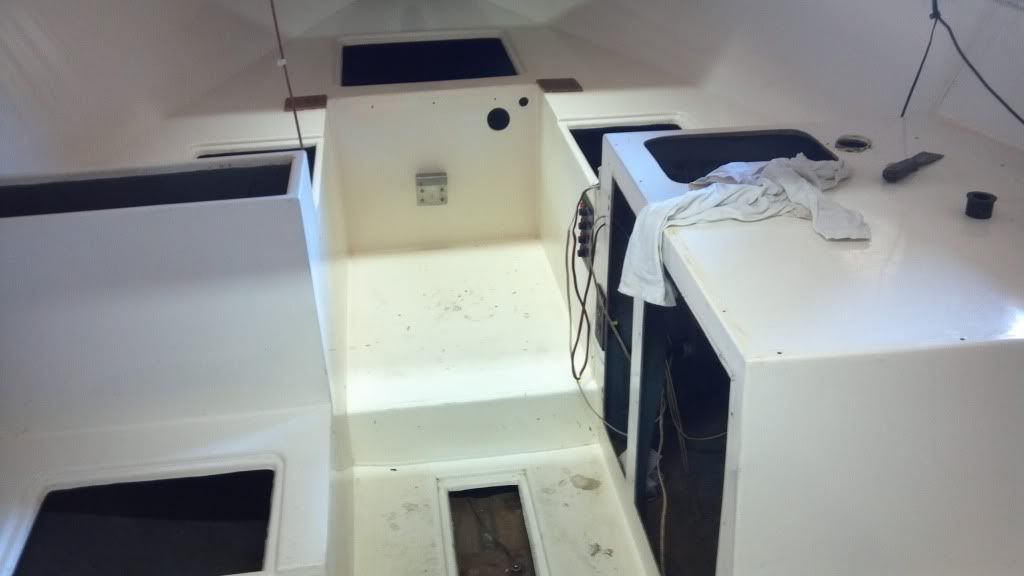
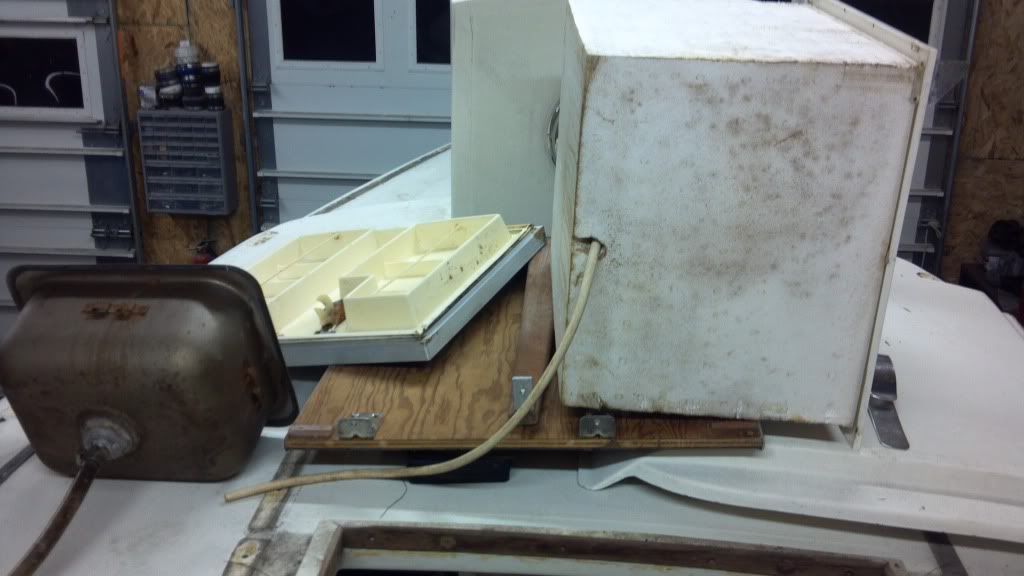
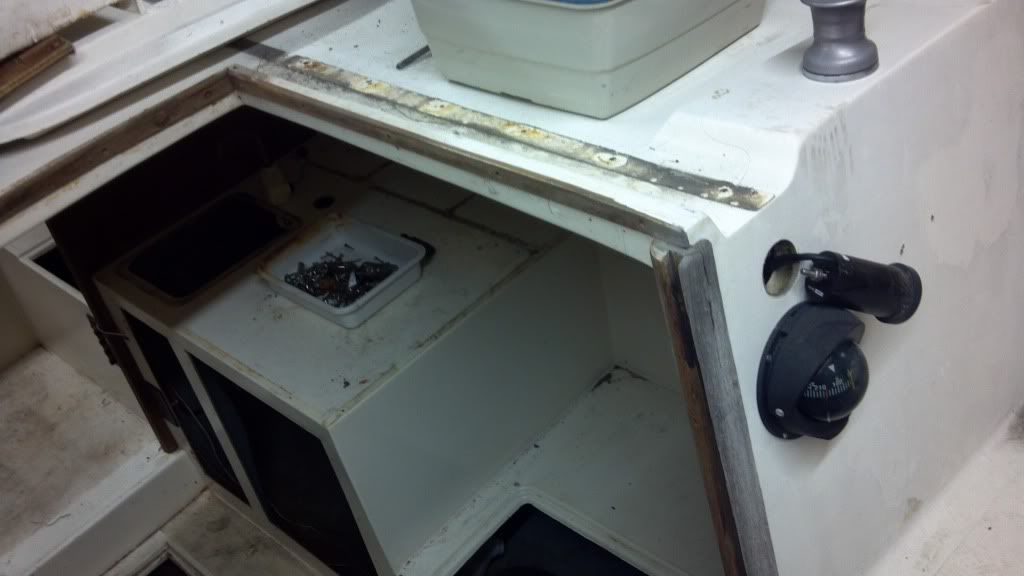
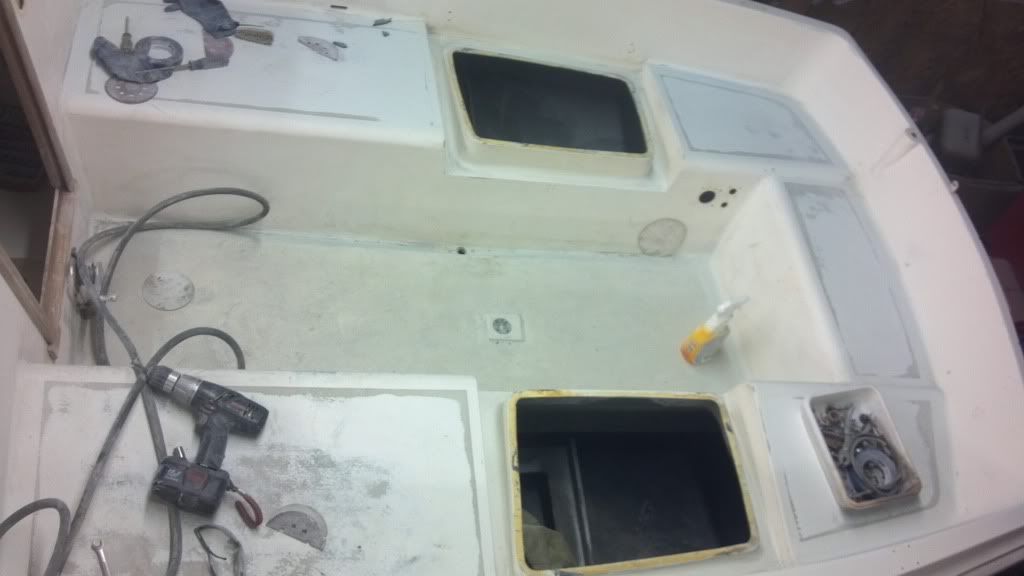
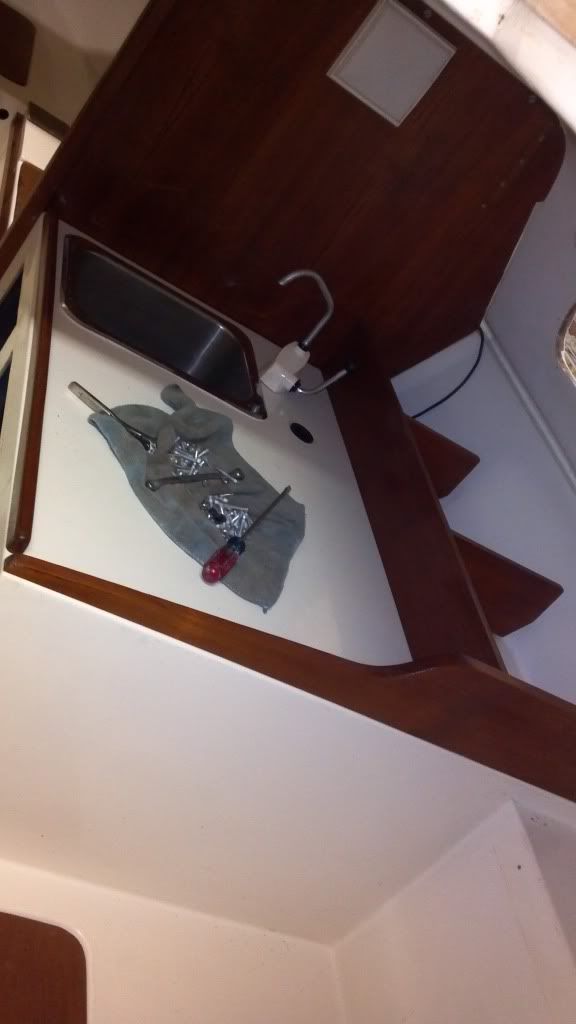
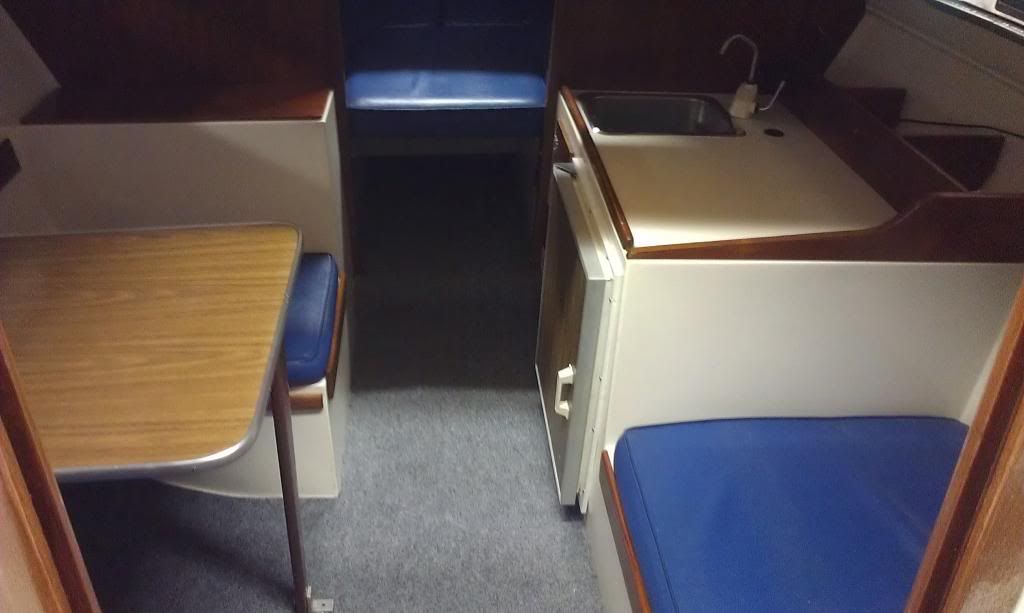
    I began with gutting EVERTHING out of it. All the wood trim/metal brackets, cushions, ice box, sink, table etc.. Then I vacuumed/wiped all the lose dirt out of it.


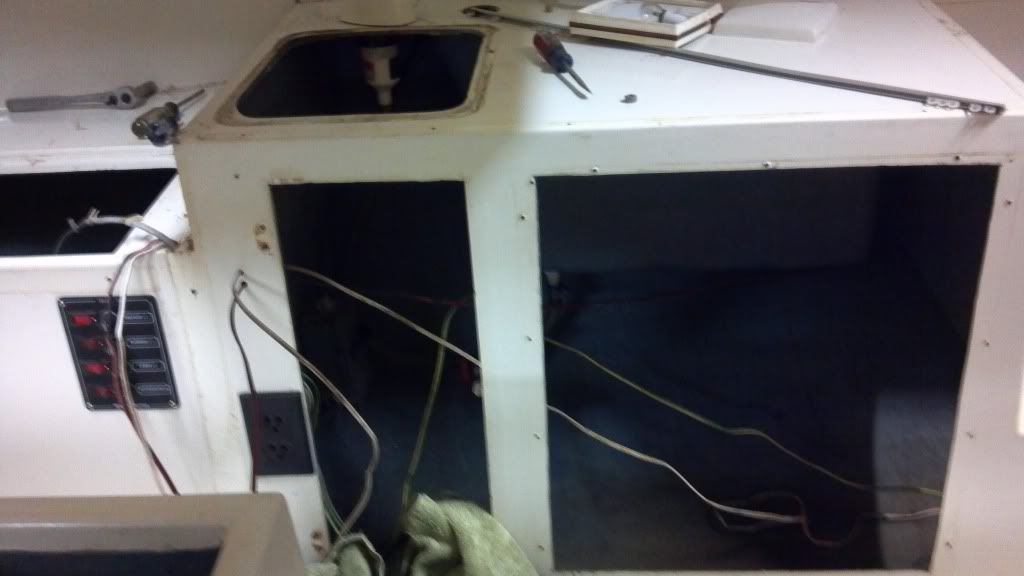
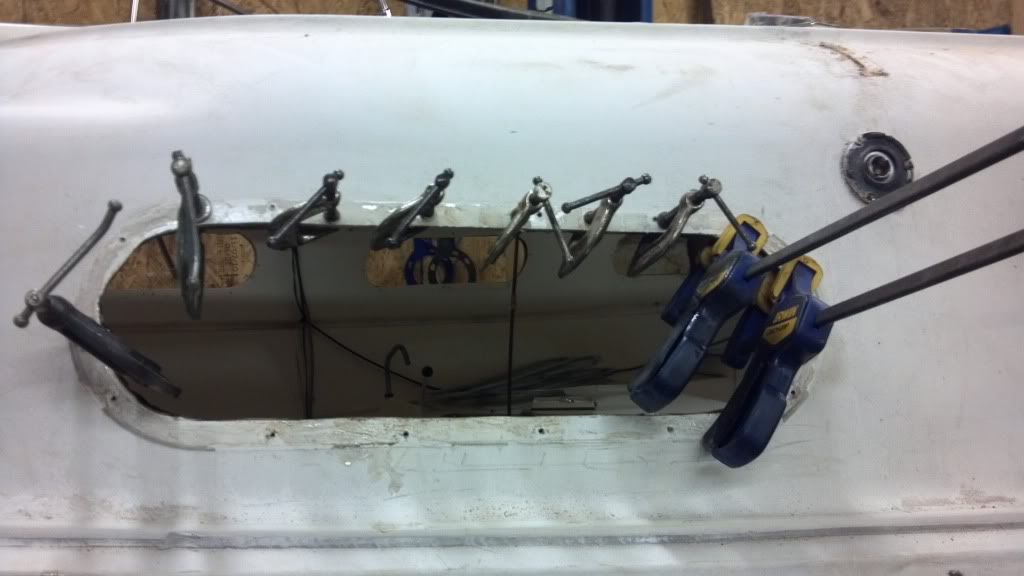
    Here is a shot of the electrical stuff. A lot of it will be removed. I haven't dealt with the wiring yet, but my boss had some extra gadgets wired into it that I don't really need. I'm going to make it look original with the exception of the compass and lean gauge.


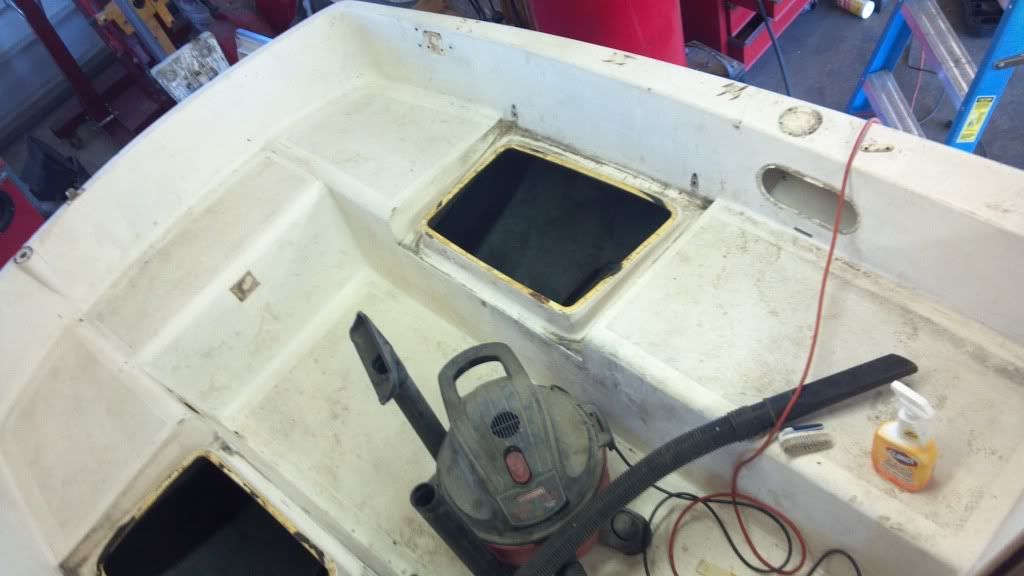
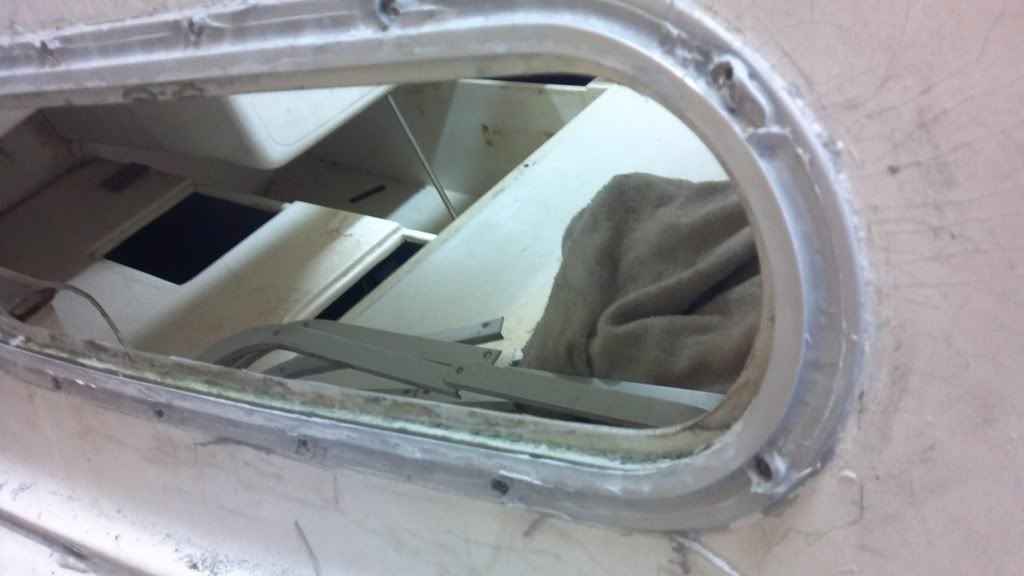
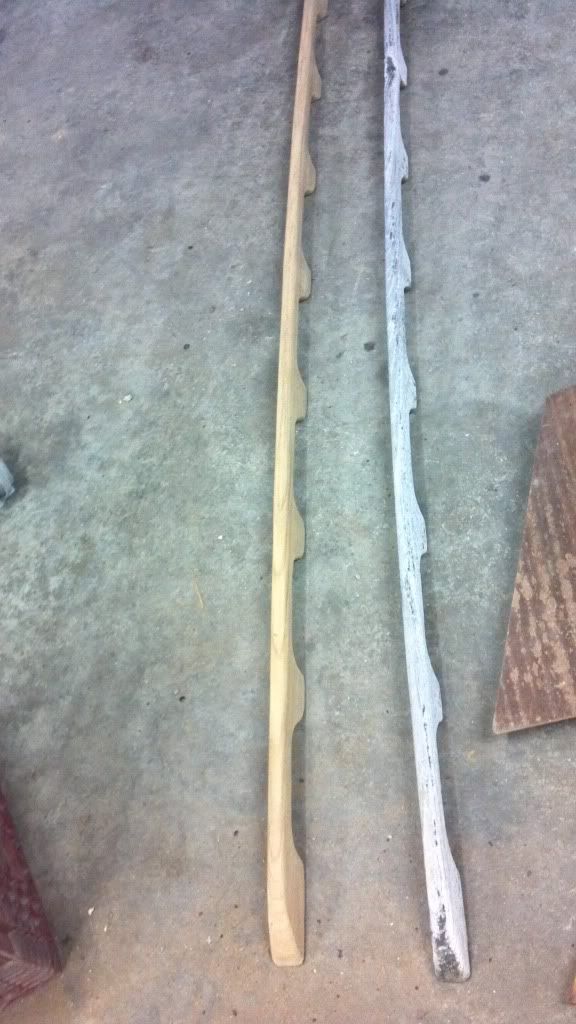
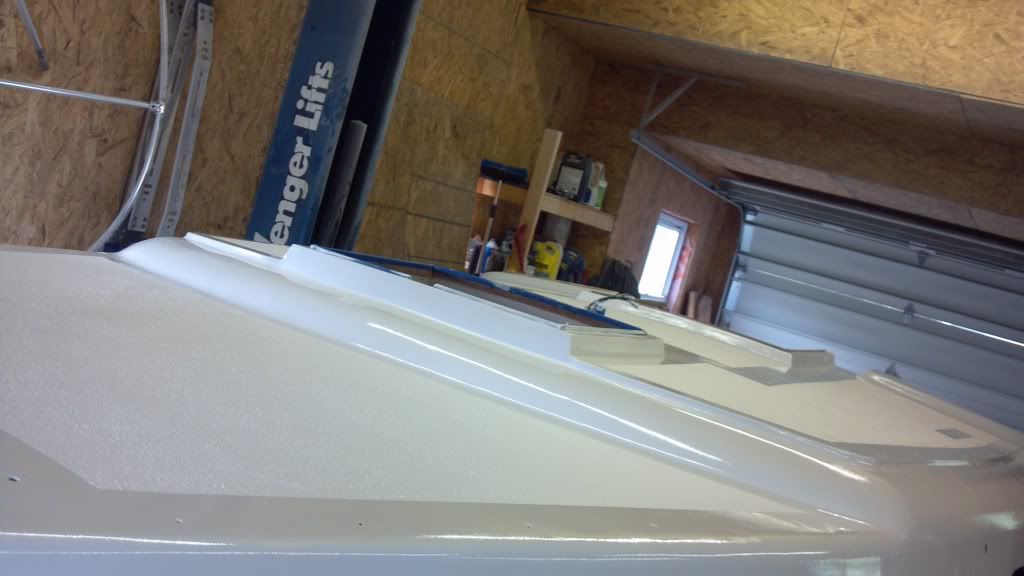
    Then I removed the inner wooden supports (I think they are called bulkheads) to refinish. I wanted to get those done and back in before I really walked around on the top. I also bleached the entire inside. I'm going to redo it again when it's all done, but it made a big difference.

    Last edited by fastfalcon94; 05-14-2013 at 11:23 PM.

  2. #2
    Here they are all done. I used Redwood deck stain and then 2 coats of clear exterior marine stain.


    Here's the step I also did. THe remaining wood pieces have all been stained with redwood. I still need to do the clear.


    THe windows were really brutal to remove. I don't know if my boss did it or the previous owner, but they must have leaked at one point. SOmeone smeared caulking all over them. It took me about an hour to remove each window and clean up all the caulking on the frames. I am going to replace the lexan. I need to get new seals for the windows too and those will cost about $100. I'm lucky I can still get them.


    Some of the fiberglass was pealing away from the window edges. I used some west marine epoxy to seal them back up.


    I sanded down all of the wood. It is amazing that grey teak wood looks like it's beyond saving. THen you sand it and it brings it right back to life. THere were some cracks and chips that I had to fix. I used west marine clear epoxy again. For filling I just mixed in the collected sanding sawdust until it was the consistency of peanut butter.


    So now it was sanding time. The outside sanded pretty easily. It had been painted before and there were some runs I had to sand out. The bottom paint on the boat is actually soft paint. It's meant to wear off over time. SO it sanded really easily but I looked like a smurf when I was done. THis pic is before I sanded the bottom.


    The top was a real pain to sand. The gelcoat is pretty thick and there was a ton of crazing. I sanded most of it down. I was going to regelcoat the top, but decided not to. I've dealt with gelcoat in the past and it is kind of a pain. I did some research and interlux made a special epoxy primer that was meant to be thinned and painted over crazing. I could have jsut painted over it, but I still sanded most if it down.

    Last edited by fastfalcon94; 05-14-2013 at 11:27 PM.

  3. #3
    In the pic above you can also see the factory antiskid surface. While this was cool, I had a ton of crazing that occured in this anti skid area. There were also areas where chunks of the antiskid were missing. There was no way I could fix it and keep the factory pattern. So the best solution I had was to sand away ALL of the factory antiskid material. You can see all the squarish rings where teh antiskid was.


    After it was all sanded I had a few areas to apply some epoxy filler. Here is a pic of the entire top half of the boat primered. You can also see that the bottom has been sanded.


    So now it was time to redo the antiskid. Kiwigrip is what I used. It's a really thick paint that has a special roller. It had really good reviews. I guess they redid the entire boardwalk in florida with this stuff. It was around $140 for a gallon. I only used half. All masked.


    Now here is the outside after a single coat of paint on the outside and 1 coat of the bottom done. I used some PCL bottom paint from west marine. It was around $180 but I have a $50 mail in rebate I still need to fill out. The side paint is interlux gloss white.


    Here is the boat after 3 coats of white on the side, 1 coat on the top, and 2 coats of blue on the bottom. I still need to do one more coat on the bottom (tomorrow), then 2 more coats on the top. ONce that is done I need to paint my blue stripe around the top portion of the side. THen install all the brackets and stained wood. When that is done I need to tackle the seat hatches. The wood in them is rotted so they are really spongy. I need to cut them open, replace the wood, seal them back up, primer/kiwigrip/paint them.


  4. #4


    Then I have the stupid trailer to deal with. I started tearing it apart. I need to sandblast the non galvanized parts (or I may just wirewheel). Then I'm painting it with silverseal roof paint. THen it needs new brake lines, new tires, painting the rims white, and some kind of fender flares. I've been working on this boat for about 3 weeks straight now after work. I'll be glad when it's all done. I'll probably have around $1300-$1400 into the boat/trailer with this restore process.


    And here is a jetski I restored last year. It was kind of a mini project to see if I wanted to go through with restoring my boat. I have another jetski too that needs work that I'm going to fix up for my gf someday. She wants it world rally blue. THis was my 1989 js550. My neighbor had it for sale. I negotiated with him and got it for $250 as is. It didn't want to start. Had a bad stater wire and some other things. CLeaned the carb, got it running, took it out on the lake and made sure it worked, then I made it nice. I sanded it all down to bare fiberglass and regelcoated the entire thing. It was my first time dealing with gelcoat. THen I sanded the gelcoat, polished it. I put on new hydroturf, a new chin guard, new hood seal, eye hooks and new decals. It already came with an aftermarket ride plate, but I got an aftermarket intake grate for it, and quicksteer. I put the newer start/stop switch on it to which has the safety switch. That way when I fall off the ski stops.


  5. #5
    I don't own a VR4! Not Verified
    Join Date
    Sep 2010
    Owner Since
    2007

    Location
    Andover, MN
    Posts
    529
    Blog Entries
    1
    Thanks
    3
    Thanked 19 Times in 17 Posts
    Nice project. I have pics to post tomorrow, check my thread as I have some updates.
    Your 1993 Dodge Stealth is one of 6351 that received VIN numbers. Based on the order of the serial numbers, your car was the 5212nd out of the 6351 that were made that year.
    Your car was built in the 3rd week of February 1993. Of the 47380 vehicles made at the Nayoga plant, your car was the 40537th vehicle to be created that year.
    There are 281 other cars that were made with both the same interior and exterior color. There are 779 cars with the same exterior color and 2316 cars with the same interior color.
    Note: The production order is assigned based on the order of the serial number.

  6. #6
    It's been a while since I posted pics. It's just about all together now with the exception of the windows and a few misc things. I should have it in the water by the end of the month if I can get the trailer figured out. One of the wheel bearings was really bad and it wore the inside of the drum out. I can find replacement bearings, but not drums 
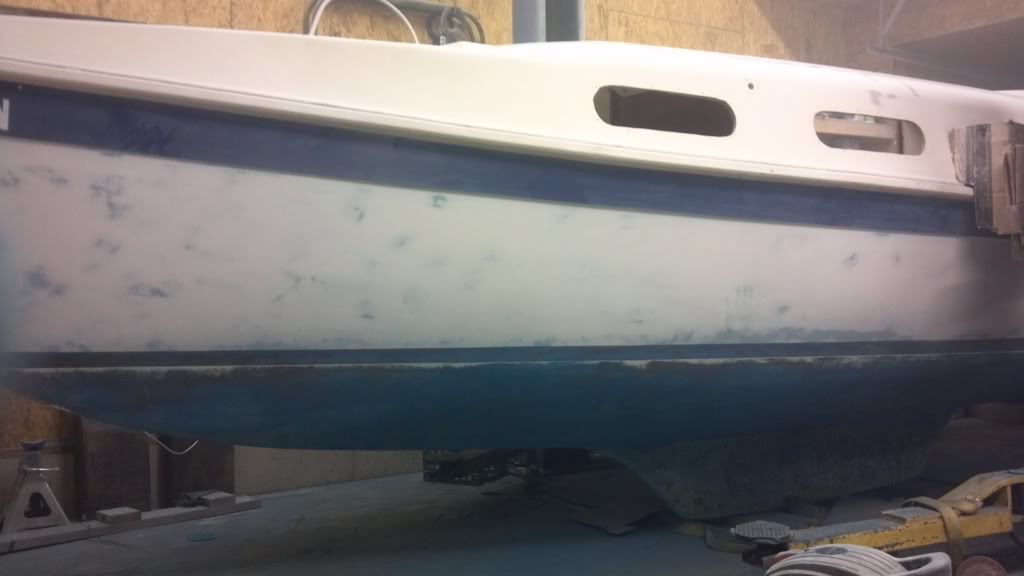
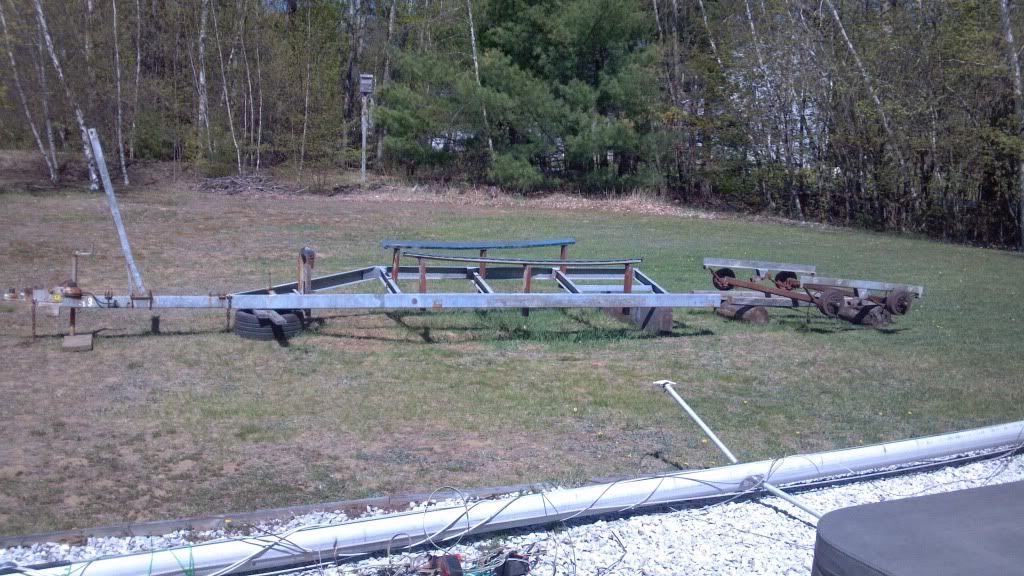
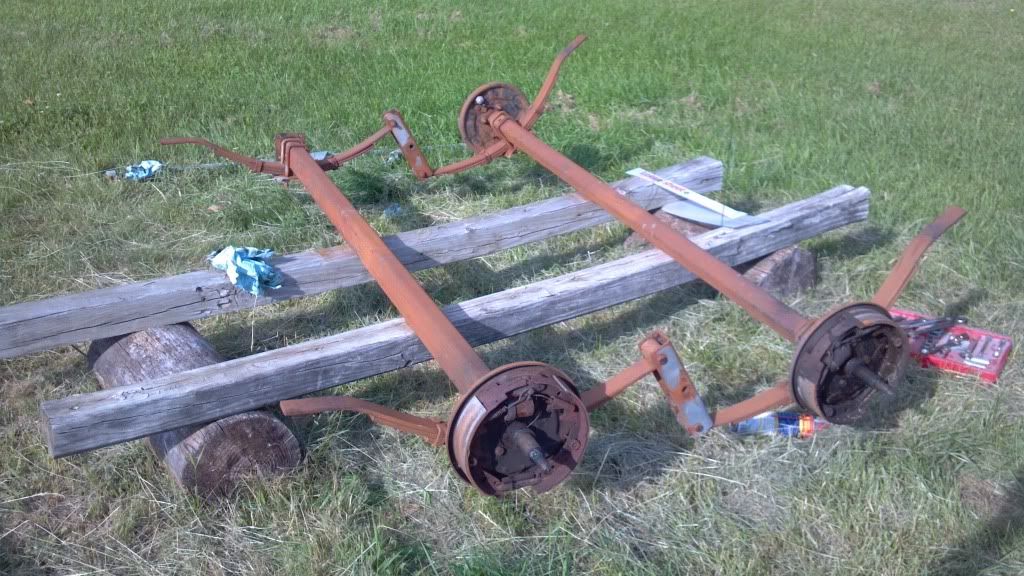
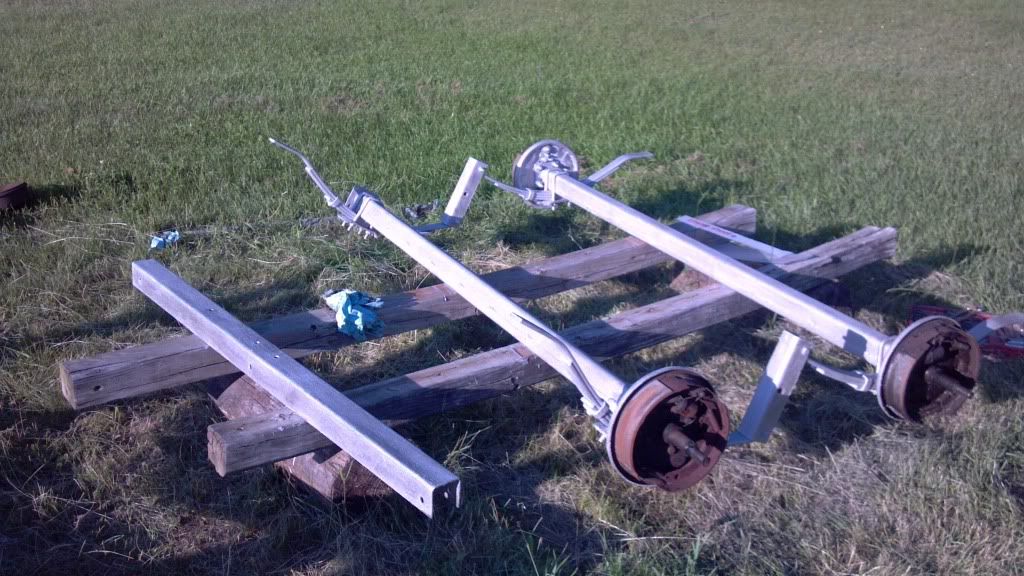
It's nothing standard. I may have to replace one of the axles because of it. The trailer is made by shoreline and they went out of business many years ago.
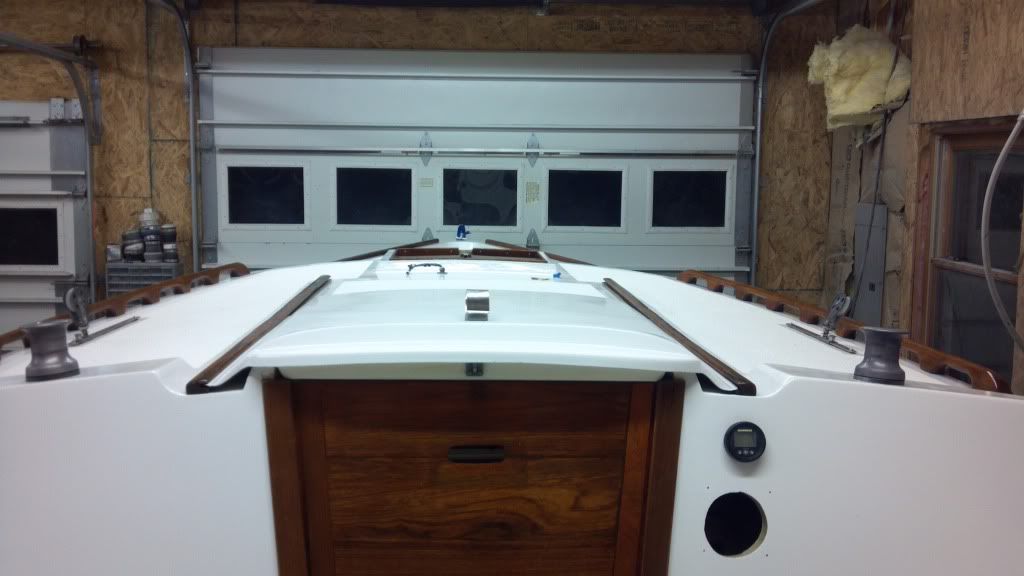


  7. #7
    BAD ASS - I've got one Not Verified
    Join Date
    Sep 2010
    Owner Since
    2/2010

    Location
    L'Anse, MI
    Posts
    2,476
    Thanks
    1,262
    Thanked 594 Times in 488 Posts
    Looking really good, Falcon.

    Brings back memories, slaving away on my Dad's various floating reclamation projects...
    Ranked No. #1 in initial quality

    Idiots, simply by being idiots, seem capable of achieving randomly bad things that are beyond the imaginings of sensible people.

  8. #8
    For my 2 followers:P The boat is done and in the water. Also gave the trailer a lot of tlc


    painted axles with silver seal roofing paint


    cut out new lexan, and bought new window seals


    I also cut open the locker seats, removed the rotten wood, replaced it with new wood, fiberglassed them shut, painted/anti-skid them.

    Did a whole lot of work to interior. New carpet, sewed my own curtains, ran all new wiring, new breaker box, made a new battery mount, added a ground plate, cleaned up the ice box


    Carefully got it back on the trailer using the lift.


    And got her in the water


    Built motor, DR750s, AEM and Meth
    http://www.802projects.com

  9. #9
    Forum User Not Verified
    Join Date
    Sep 2010
    Owner Since
    2009

    Location
    The Big House.
    Posts
    282
    Thanks
    53
    Thanked 126 Times in 98 Posts
    Wow man, very impressive. She turned out incredible.

  10. #10
    BAD ASS - I've got one Not Verified
    Join Date
    Sep 2010
    Owner Since
    2/2010

    Location
    L'Anse, MI
    Posts
    2,476
    Thanks
    1,262
    Thanked 594 Times in 488 Posts
    Gorgeous!

Bookmarks

Posting Permissions

  • You may not post new threads
  • You may not post replies
  • You may not post attachments
  • You may not edit your posts
  •  
The 3000GT/Stealth/GTO Web History Project
3000gt.com
3000GT / Stealth International WWWboard Archive
Jim's (RED3KGT) Reststop
3000GT/Stealth/GTO Information and Resources
Team 3S
3000GT / Stealth / GTO Information
daveblack.net
3000GT/Stealth/GTO Clubs and Groups
Michigan 3S
MInnesota 3S
Wisconsin 3S
Iowa, Nebraska, Kansas 3S
North California 3000GT/Stealth
United Society of 3S Owners
3000GT/Stealth/GTO Forums
3000GT/Stealth International
3000GT/Stealth/GTO Event Pages
3S National Gathering
East Coast Gathering
Upper Mid-West Gathering
Blue Ridge Gathering