
In for the build!


In for the build!

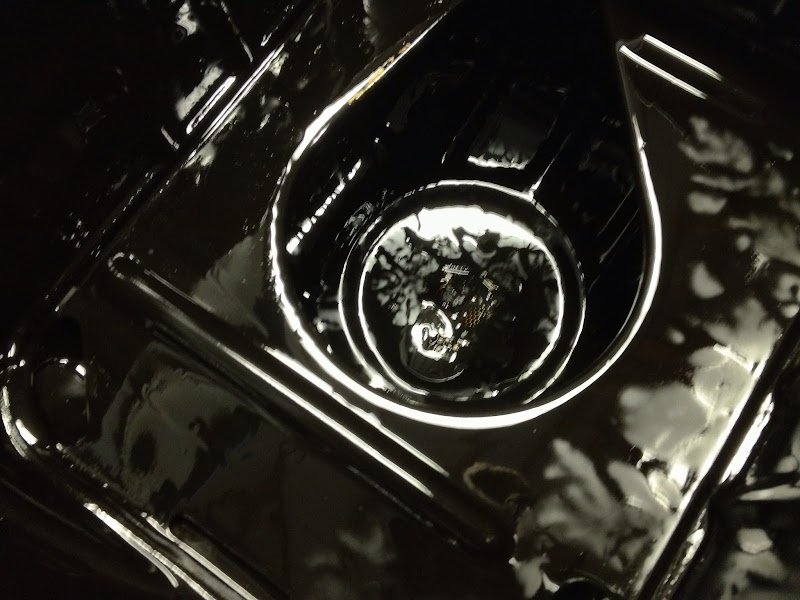
Found a part swimming in the concrete ocean.
Released the hounds... finally! Had one hellava time getting the passenger side axle to let go. Bigger hammer, and watch the knuckles.
Pile-O-Parts 2!
Ode to Mugambo! A little explanation of this pic. That f-in screw driver has been the best friend a 3s mechanic can have. Every time we have had an issue, on this car, or any other car we have worked on, this damn screwdriver would get us out of a pinch... EVERY TIME! It became a theme. Once someone started swearing, Mugambo came out.
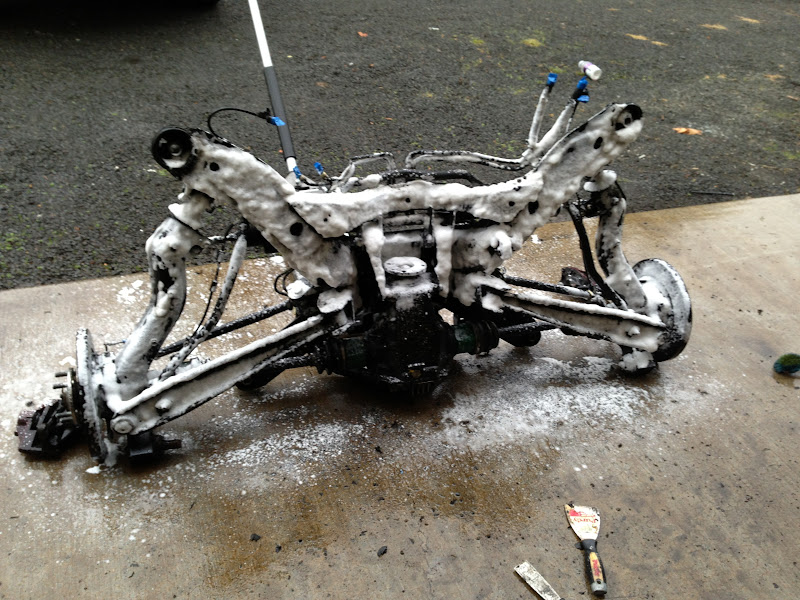
On the floor!
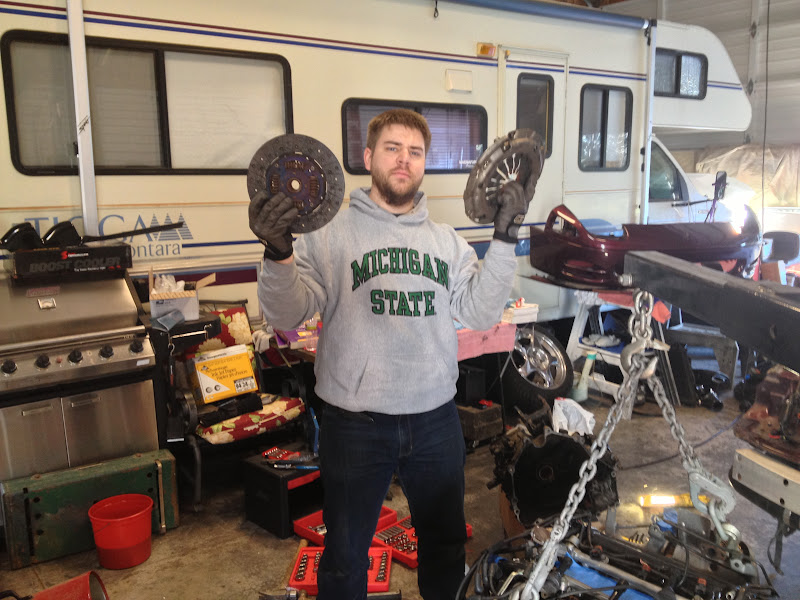
A mile stone to get to the damn clutch. Nathan holds the trophy, lmao!
So that was around 9 hrs day 1 bagging, cataloging every part removed. (I hope!)
Day 2 was a little more organizing parts, and the rear sub-frame removal. I am swapping the diff, and installing sway bars. The diff removed had a slight bearing whine, or at least I believe it was the diff. I changed the wheel bearings out, and swapped to a 2 piece drive shaft with no change.
Oh word to the wise, Check Manual if you get to a spot that you can't figure out a logical way to remove something. We ended up tearing the e-brakes out to get the cable free of the sub-frame. Come to find out a day later there are disconnects...(Much easier way)
Last edited by CoopKill; 03-15-2013 at 05:53 PM.
Help them, for they know not that which they do not know!
CoopKill's Mistress Makeover Thread!
"Punk, Nutswinging, Small Time, Asshat, Monkey, Jerkoff, Loser that rides on other peoples accomplishments!" ..
That would be me with my pure NW look, beard and flannel.
From the phone.
93 R/T - Modded, Full Suspension, Full Exhaust, Quaife Diff, Turbo brakes, Alpine/Boston Sound One of 25
98 VR-4 - Billet 13t's, Downpipe, Blitz EBC, Ohlins R/T coil overs, SCE center differential, SCE oil pan, Pampena braced trans, TEC Rear Strut Bar, Custom Front Strut Bar, Camber Arms, Alum Driveshaft, 2" Koyo, Maximal oil cooler, SAFC2, Defi Gauges, RC 550's, Supra Pump, Skillard Splitter, Hardpipes, XYZ 14" front brakes/Carbotech, 255 Dunlop Z2's, AMR 18x9's, Alpine/Infinity/JL Sound. One of 13
3SNG15 Best overall
"I explode 1 piece rotors" -- ABM --
Runs 12's (12.98's!!!!!!)
My Garage
NathanOriginally Posted by j2k4

Powder coat, water film dip transfer, clear coat.
So these next 3 pics are a reminder that it only takes a small dent in the pan to affect oil flow. Notice the pickup screen marks in the bottom of the pan.
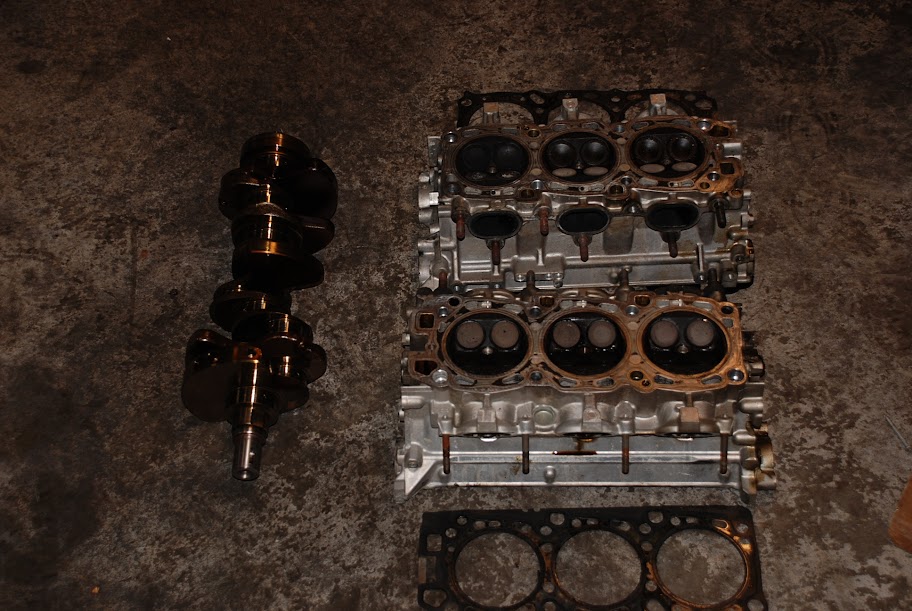
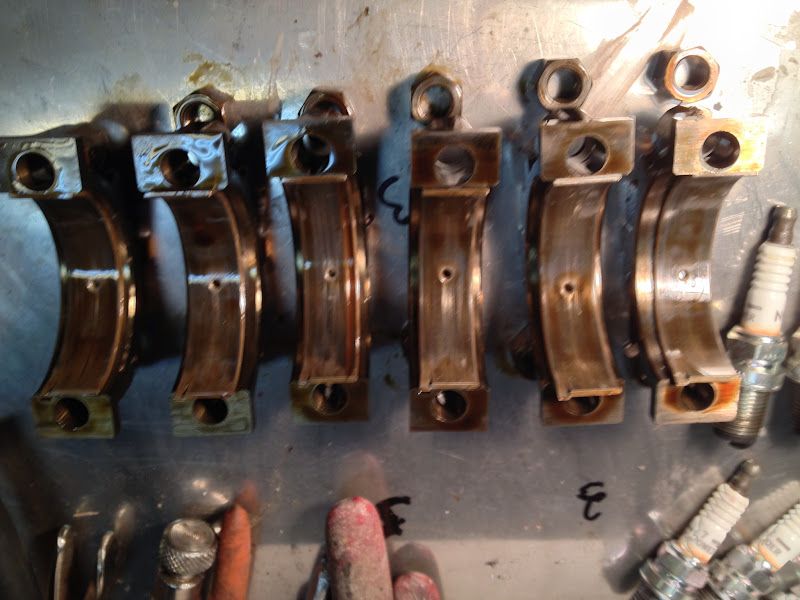
On to some bearing pics. This is with about 170k on them.
The crank was actually in great shape. It only needed a slight polish, and like new again. I have no pics after the polish. I decided to have the machine shop assemble the rotating assembly while it was there. They ended up turning me on to the coating company I linked in the parts list 1st post. They also talked me into the ring set in the 1st post as well. I did not realize at the time the price of said rings, but have found great reviews on the. The shop does leak down tests, and these are the best performing by far. So they say, we will see.
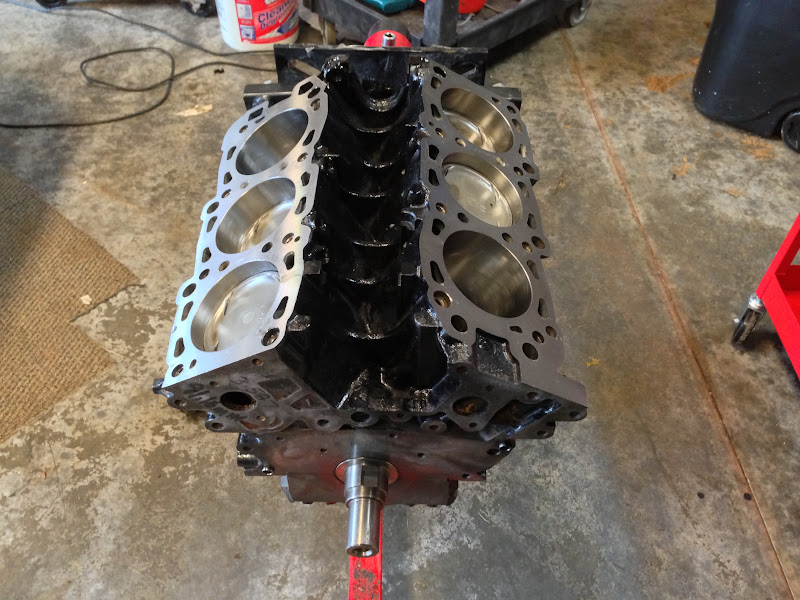
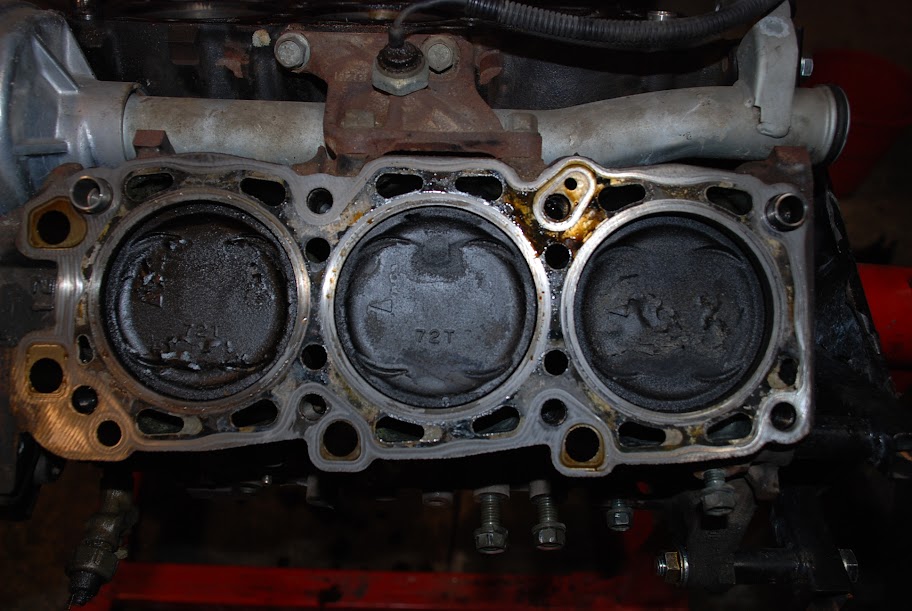
The block/cylinders were in great shape. The shop that did the work would not stop talking about the Mitsu blocks compared to any of the US stuff, and how much better materials they are made of.
The heads were decked less than .005, and had 2 bent intake valves on #6 cylinder. This happened a month after I got the car. So all are aware, the miles on a 60k DO NOT tell you if the maintenance is needed. You need to know if the car has sat for any length of time. This one sat for 3 years, 12k after having the 60k done. The water pump seized, and destroyed all of the tensioners, and the crank spun on the belt. I did a leak down after doing a 60k, and the springs were strong enough to get the bent valves sealed. I was lucky!
The miles have left their mark.
Notice the different looking valves. This is the cylinder the intakes were bent.
The cross hatching still visible on a 170k cylinder!
Little better pic of the rod bearings. This is why I decided to freshen her up before adding the powa.
Off to the machine shop we went
On to the clean up!
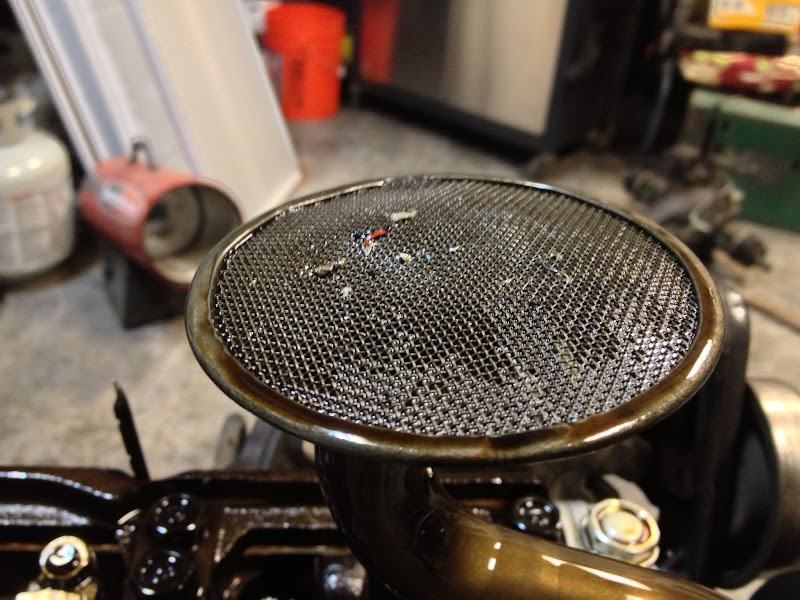
New addition to the tool shed
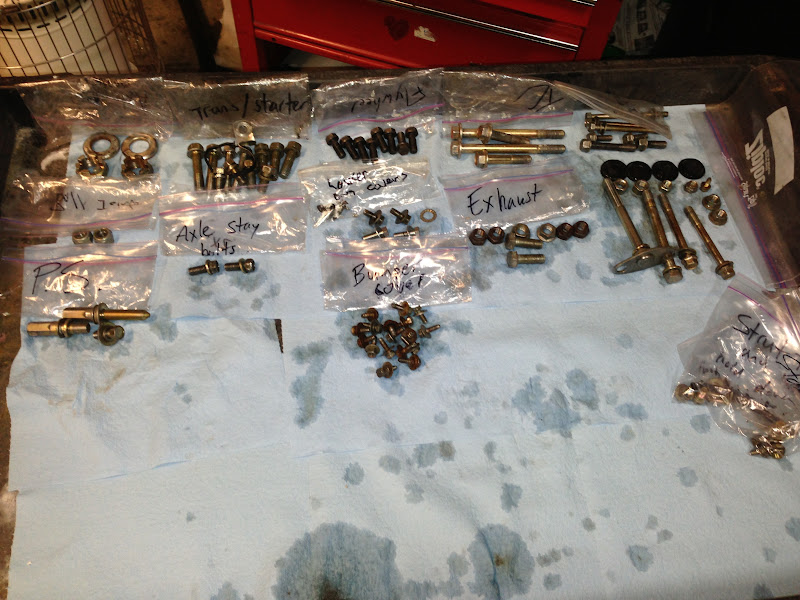
Clean dem bolts, I still have a lot of cleaning to do, but am mostly through it.
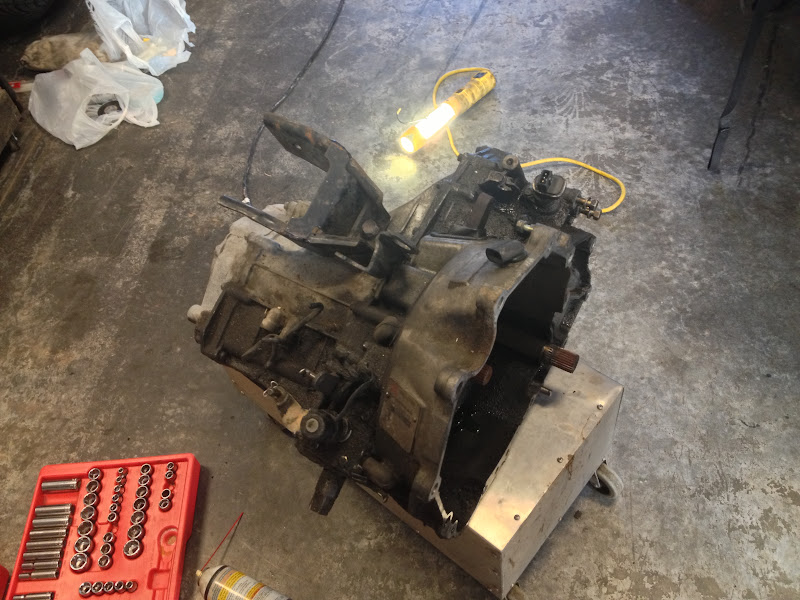
I am taking the bell housing off tonight to get this installed. Also in the pic is a new set of big bore lash adjusters. (ignore the sex toy in the pic)
Oh the beauty. I love fresh parts from the machine shop. Almost makes me not want to assemble them. Just stare and drool... Yes I am weird...
Those pistons look a bit better now
What was your processes on cleaning the rear subframe? Spray with cleaner then rinse with hose?
July 2014 COTMWe follow the earth. The earth follows the stars. The stars know their way and though the body dies. The stars will remain, like the waves of the sea and restless slate.
I so wish it were that easy. Engine brite foamy crap, a dish brush, sos pads, tooth brushes, scotch bright padS, plural. Rinse, repeat...
Oh, I forgot... Three different putty knives.
 Posting Permissions
|
3000gt.com 3000GT / Stealth International WWWboard Archive Jim's (RED3KGT) Reststop |
|
Team 3S 3000GT / Stealth / GTO Information daveblack.net |
|
Michigan 3S MInnesota 3S Wisconsin 3S Iowa, Nebraska, Kansas 3S |
North California 3000GT/Stealth United Society of 3S Owners 3000GT/Stealth/GTO Forums 3000GT/Stealth International |
|
3S National Gathering East Coast Gathering Upper Mid-West Gathering Blue Ridge Gathering |

 Reply With Quote


Bookmarks