Page 1 of 4 123 ... LastLast
Results 1 to 10 of 32

Thread: The How To On Mitoskas Seat Covers

  1. #1
    Secret Lurker Man! verified
    Join Date
    Sep 2010
    Owner Since
    7/10/06 or somethin

    Location
    Bend, Oregon
    Posts
    452
    Thanks
    13
    Thanked 20 Times in 14 Posts

    The How To On Mitoskas Seat Covers

    How's it goin, so this is my first real, extensive write-up so bare with me here, I'm gonna do my best at trying to explain everything as clearly as possible. The pics were taken with my cell phone, but it's an 8mp so they should be of decent quality. So, having said that, lets get started!

    First off, remove your seats from the car, I'm not going to get into that, it's basic, four bolts and an electronic plug here n there...

    Tools Required:
    Pliers x2
    12mm socket+Rachet
    Vice Grips x1
    An Awl or Ice pick x1
    Small flat head screwdriver x1
    Tin Snips and/or wire cutters (Tin Snips will require less effort, thus easier on the hands)
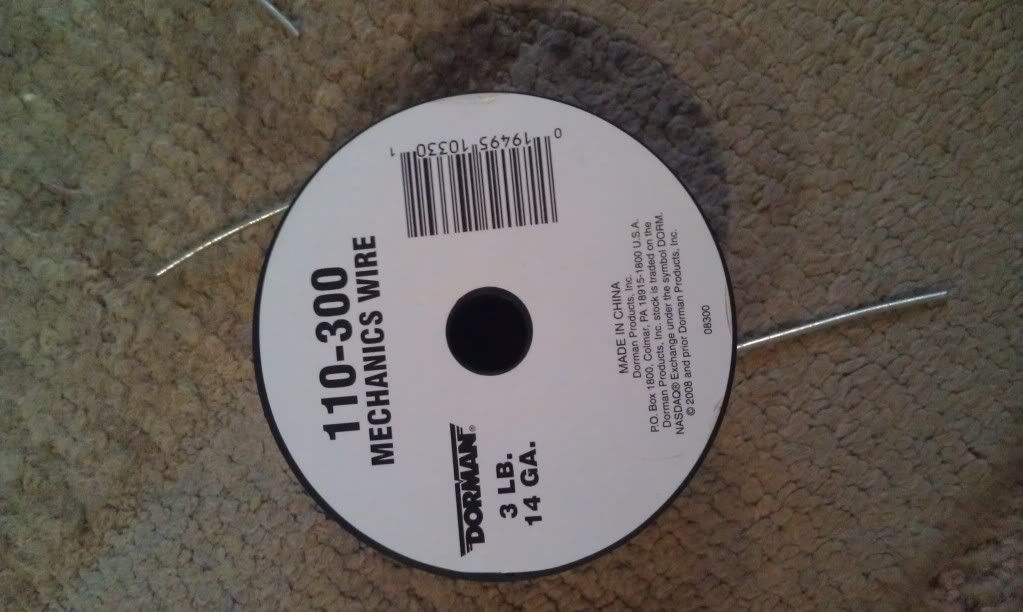
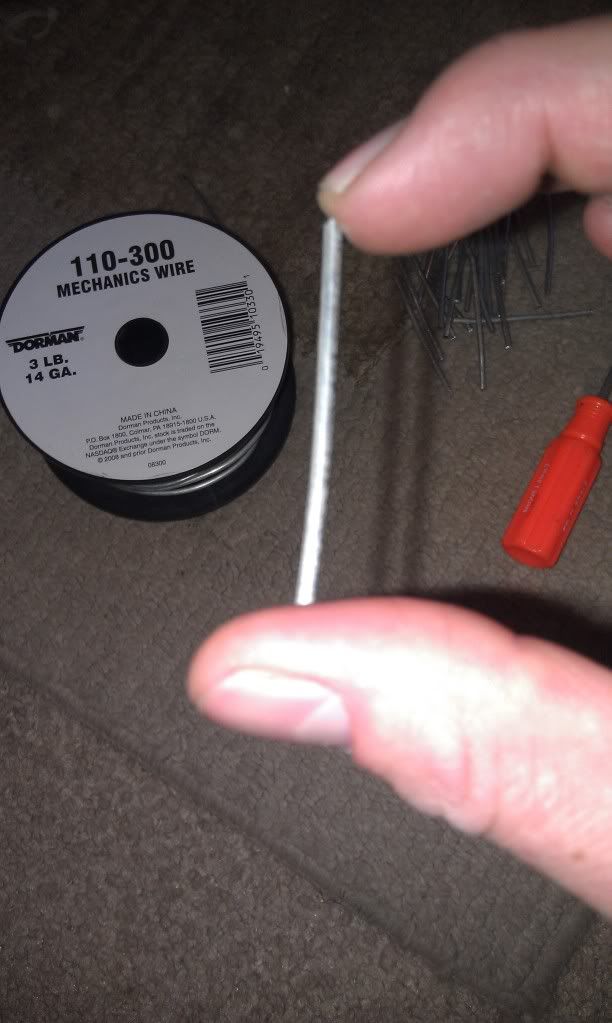
    14g wire or source hog rings
    Headliner/upholstery adhesive
    http://www.3sgto.org/f62/new-custom-...-etc-5200.html

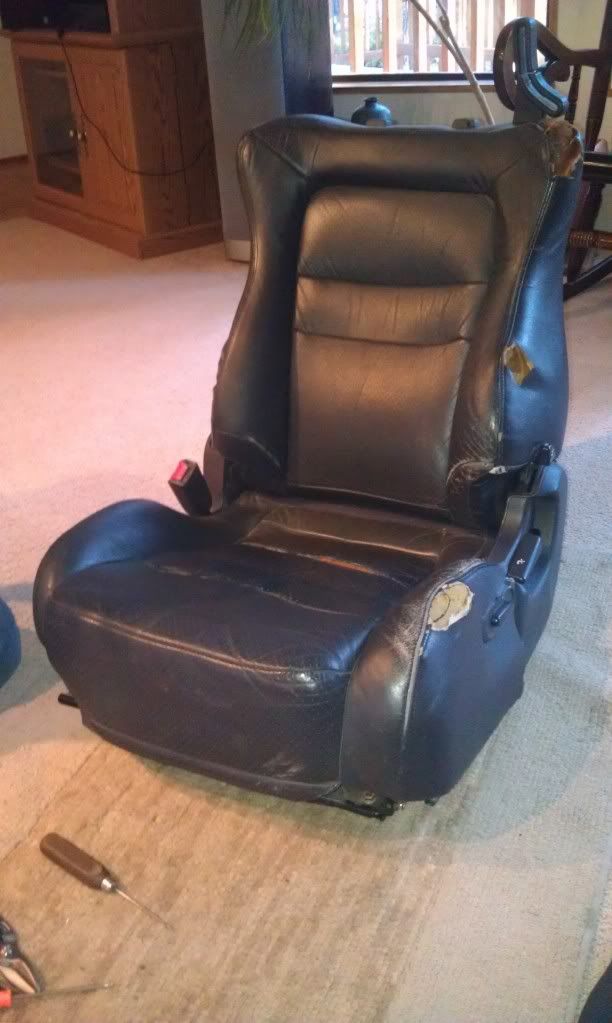
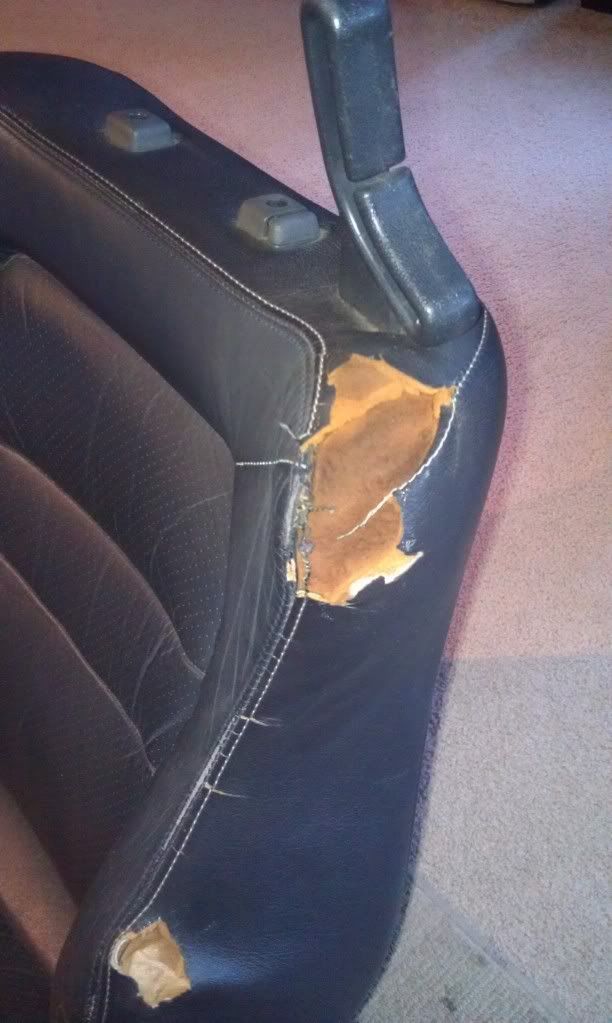
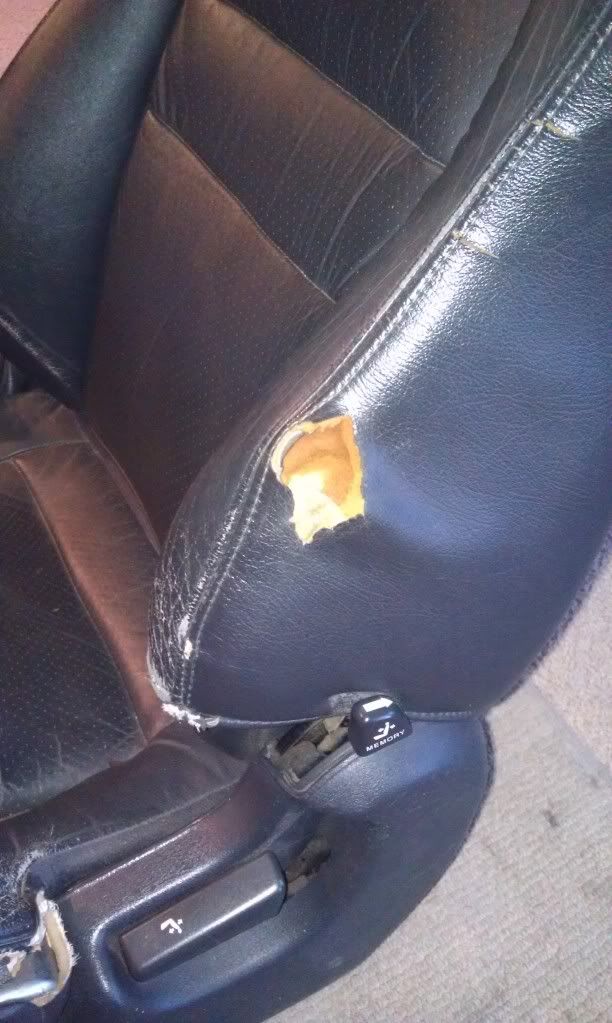
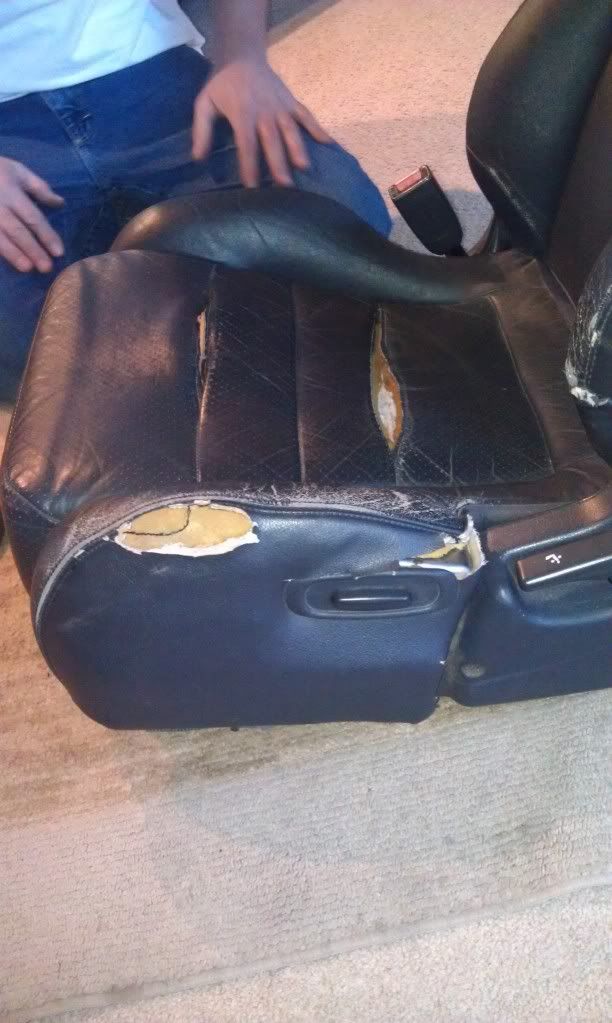
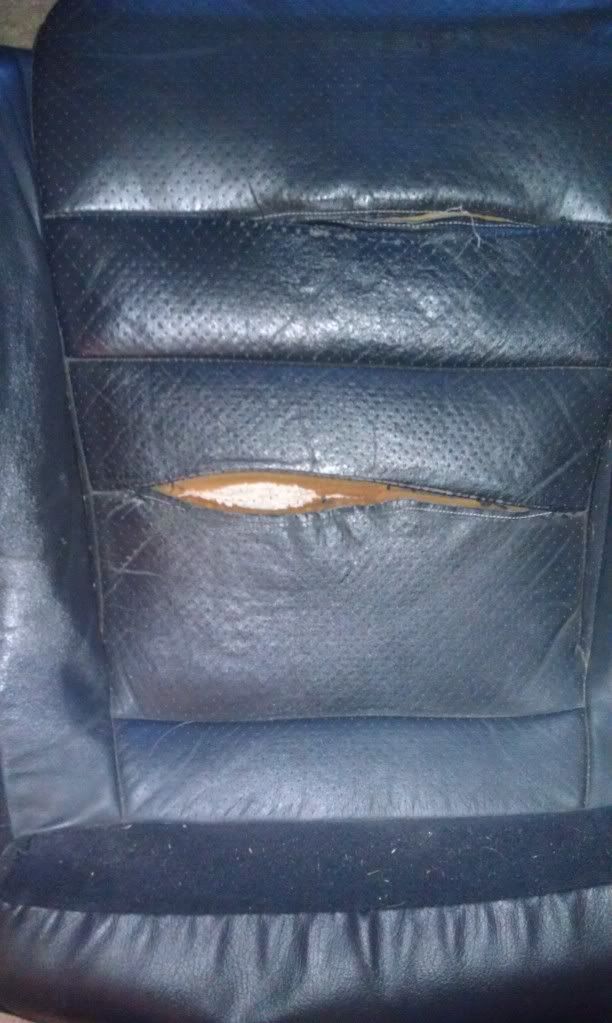
    Now that you've got all your supplies sitting in front of you, and you've got your raggedy ol' seats starin' ya down, lookin like that haggard chick at the bar that you shouldn't have taken home...kinda like this:


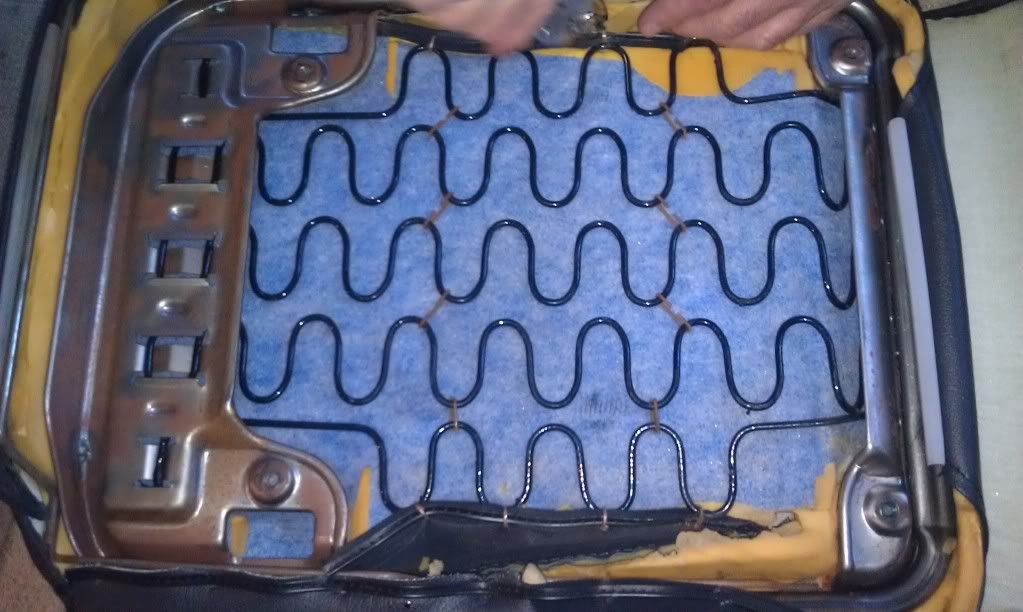
    It's time to dig in, we're gonna start off with the front seats first...I didn't get a picture of the bottom of the front seat, but this is where we're going to start, if you look at the underside of the bottom of the seat, there's four bolts I believe 12mm, that need to be removed, once removed, the base will be able to be removed from the frame of the seat, here's a picture of the base once it's removed, just for bolt location reference:


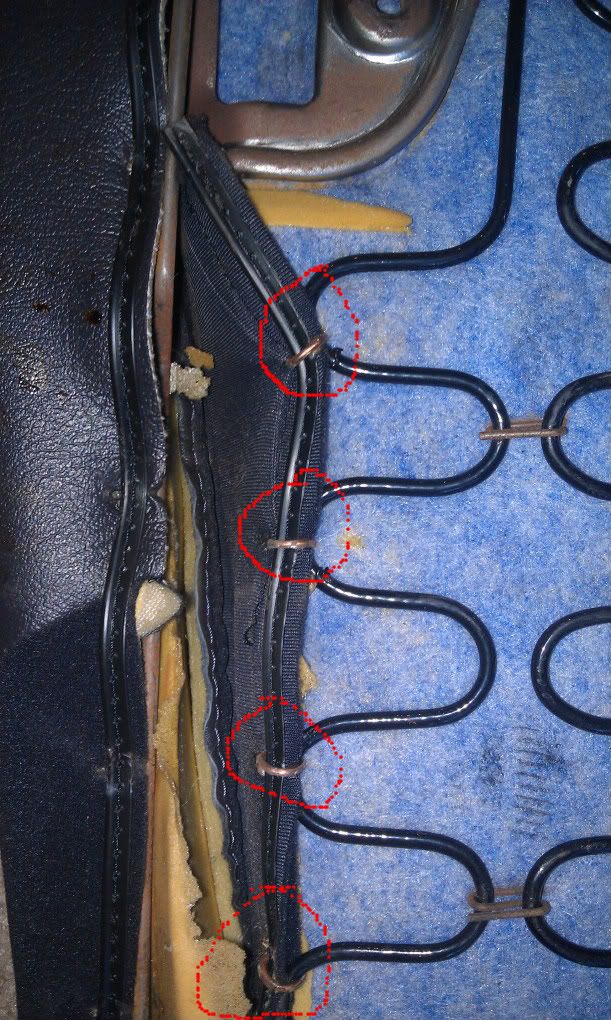
    Once removed, your first step is going to be cutting the old rings off, using your tin snips, have at it, follow the trail of rings, it's easy to recognize which ones are holding down the old covers, just take note as best as possible where their locations are because you'll want to put rings in the same spots when reinstalling:


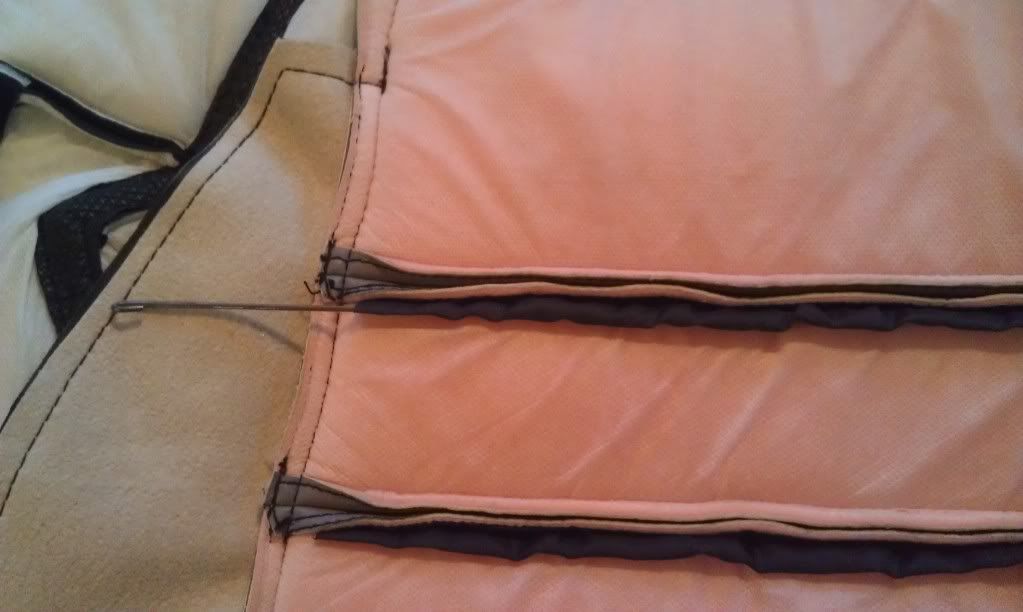
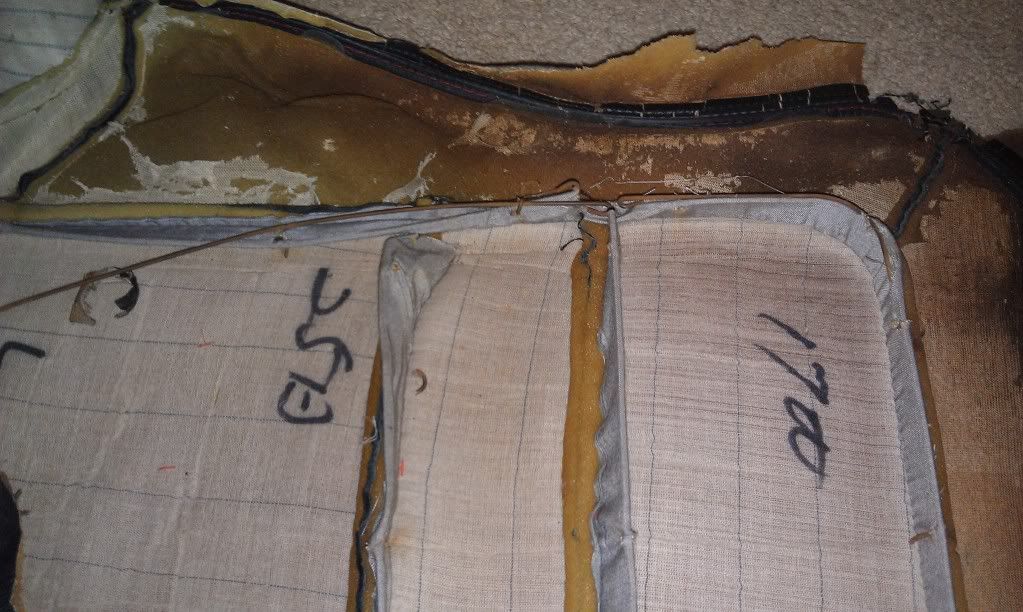
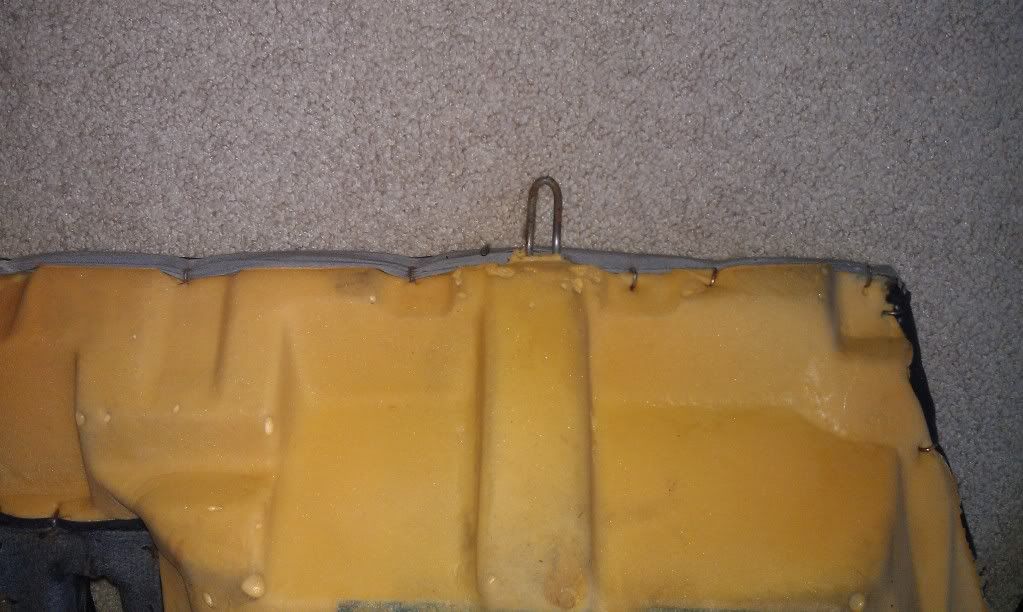
    Once all are removed from the bottom, the cover should be able to be pulled up and around to the top where we'll need to remove more rings, these ones aren't as noticable, and you'll want to be carefull not to force anything, if the cover isn't willingly coming off, you've missed a ring and if you force it, you'll tear the wire inside the foam and you'll have other issues to tend to, so don't do that! The rings are located at the seams, both vertical and horizontal so make sure you get all of them, some are burried in the foam and hard to see, but typically easy to find as the foam has spots where the rings would be, though I found a few that were pretty far off from the designated location...there's a metal wire in the seat cover itself that the rings go around, along with a metal wire in the foam the ring goes around to pull everything together.

    Horizontal


    Vertical


    You'll have to remove some from the sides then move to the next seem/row that runs horizontally and repeat until you've worked your way to all the rings enabling the removal of the cover. Once removed, it's time to intsall the new cover, you'll need to remove the wire from the old cover and install them into the new cover, they're all different lengths, depending on location, so be sure you have them all in the correct location, also, the wire in the old seat covers on mine were rusty and seemingly glued in and would NOT come out, I ended up using a razor blade and cut them out of the fabric. They're indeed, NOT glued in, just from age and moisture, they were rusted in, so to speak...

  2. The Following 2 Users Say Thank You to Nihil For This Useful Post:


  3. #2
    Secret Lurker Man! verified
    Join Date
    Sep 2010
    Owner Since
    7/10/06 or somethin

    Location
    Bend, Oregon
    Posts
    452
    Thanks
    13
    Thanked 20 Times in 14 Posts


    Next step is to make your "hog rings". This is what I used, not sure on price, I bought this awhile back with my discount for like 20 bucks for chain mail...yeah, laugh it up, but it came in use in real life!


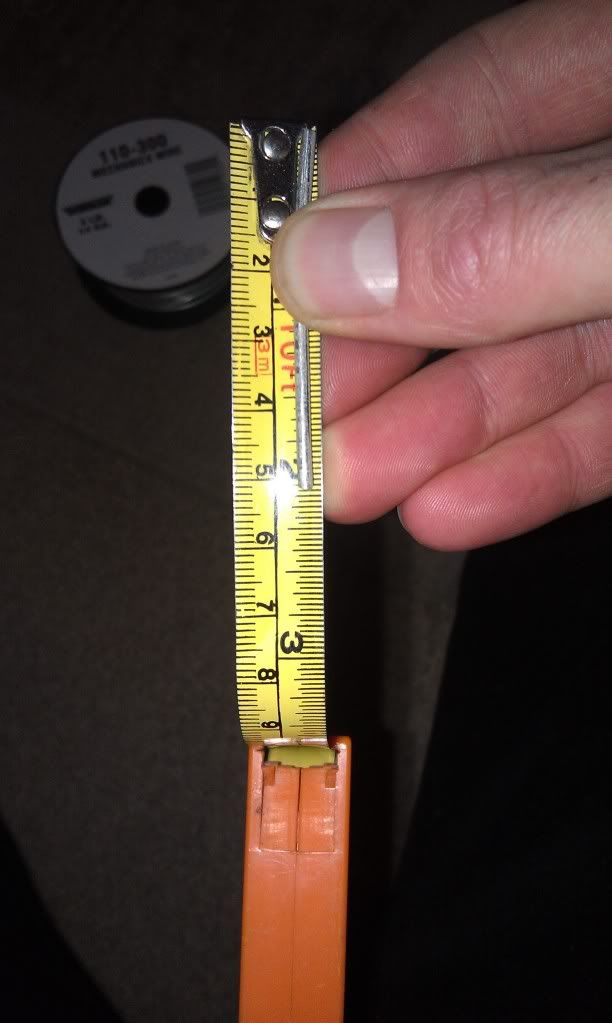
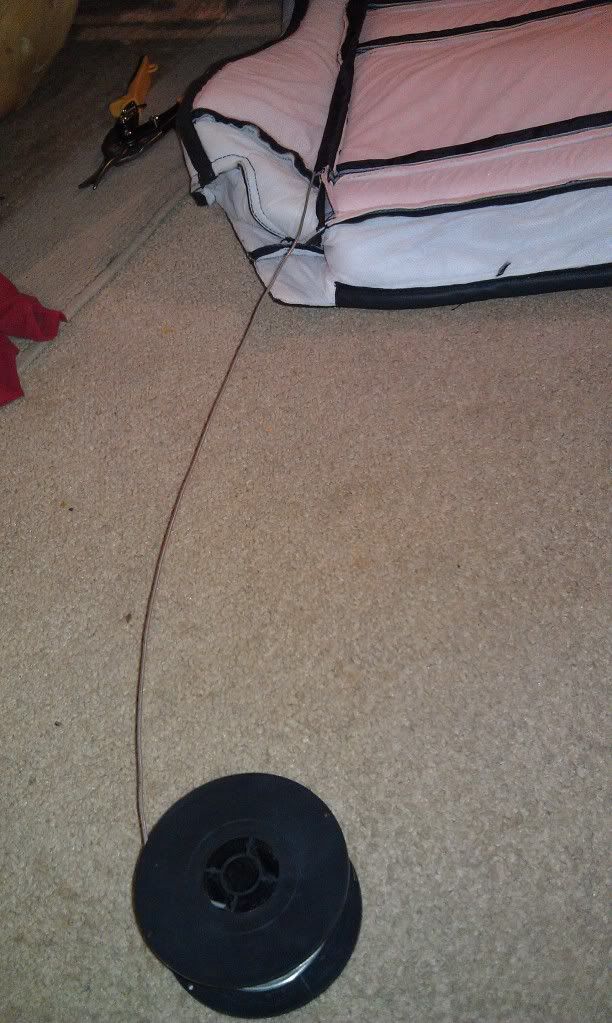
    Next cut a bunch of 2" lengths


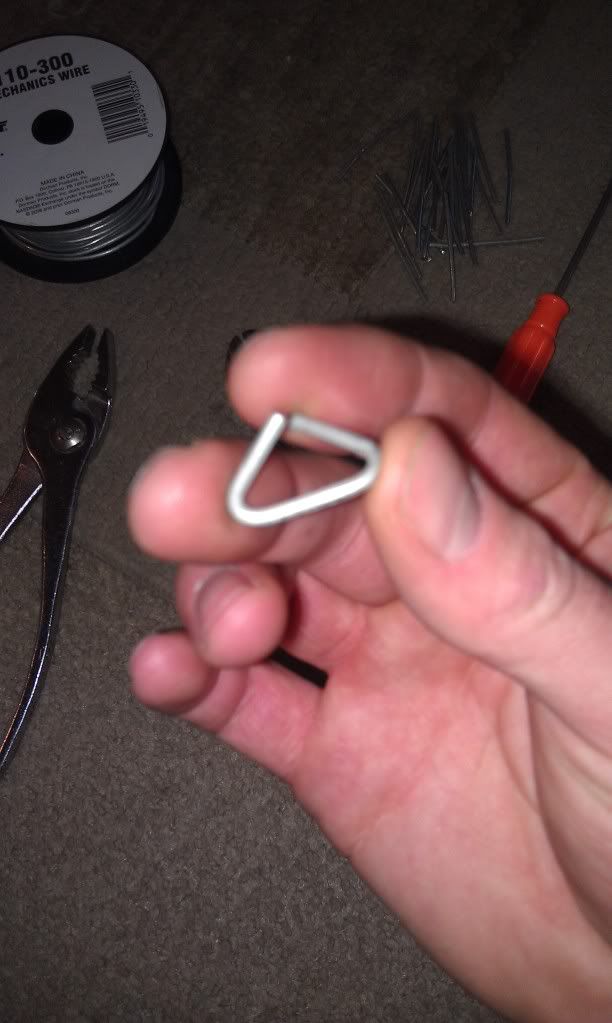
    Next, you'll want to bend the ends like so...probably about half an inch on each end


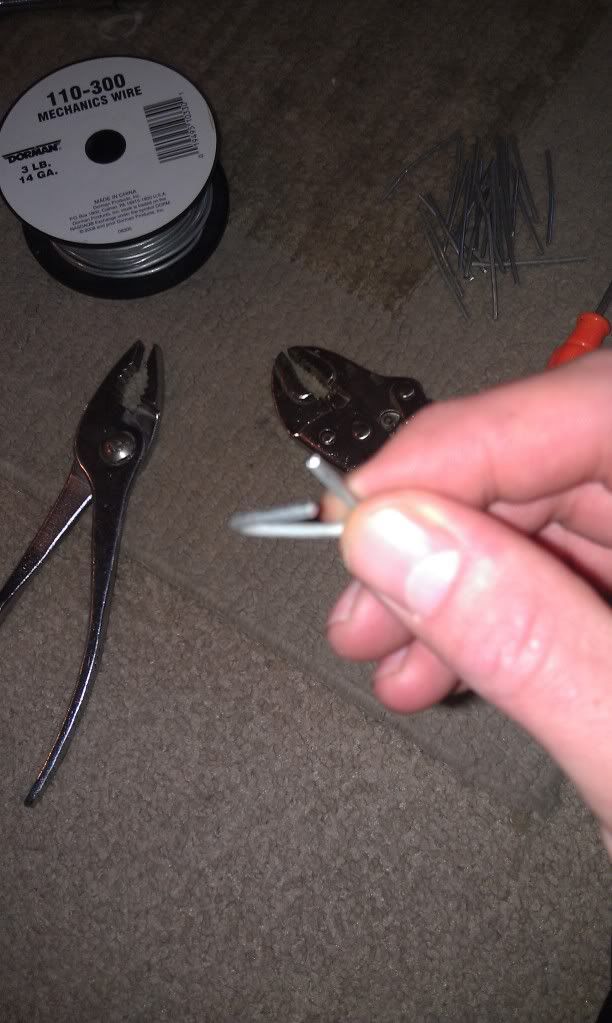
    Also note, you don't want the ends to line up, it should look like this


    Now, the way these work is, you'll fit them into the pliers and squeeze them closed with the mounting wires inside them, they'll close full circle holding the cover to the seat, I don't have any pics of this process in action though, sorry...this was just something I came up with off the top of my head that seemed to work perfectly. So, now once you've got a ton of these made up, and your mounting wires are installed into the new seat cover, it's time to re-install everything in the reverse process. For the most part, the tops will install where they will, there's not much for adjustments, they'll kinda just go back in place.

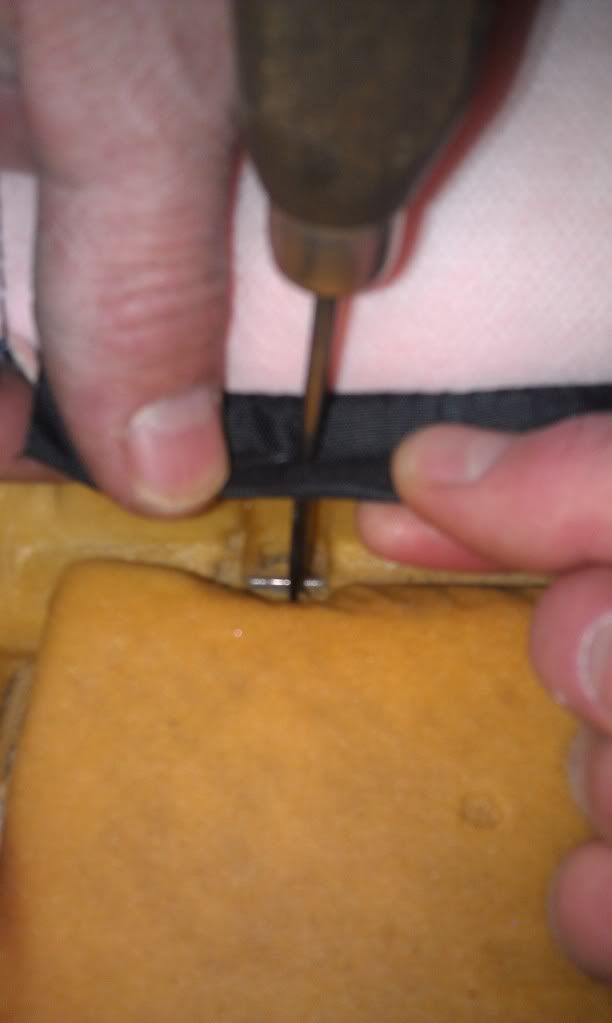
    Get everything lined up and use your awl to poke a hole in the spot where you want a ring to be placed


    Now, you can get a tiny bit of adjustment out of them by placing the hole you make in the seat cover closer to the end of the loop that the wire runs through (looser) or closer to the cover side (tighter). Seeing the very few other installs of seat covers, I tried to get everything as tight as possible because I wanted the tightest, closest to factory look I could get..So just work your way around in the reverse steps.

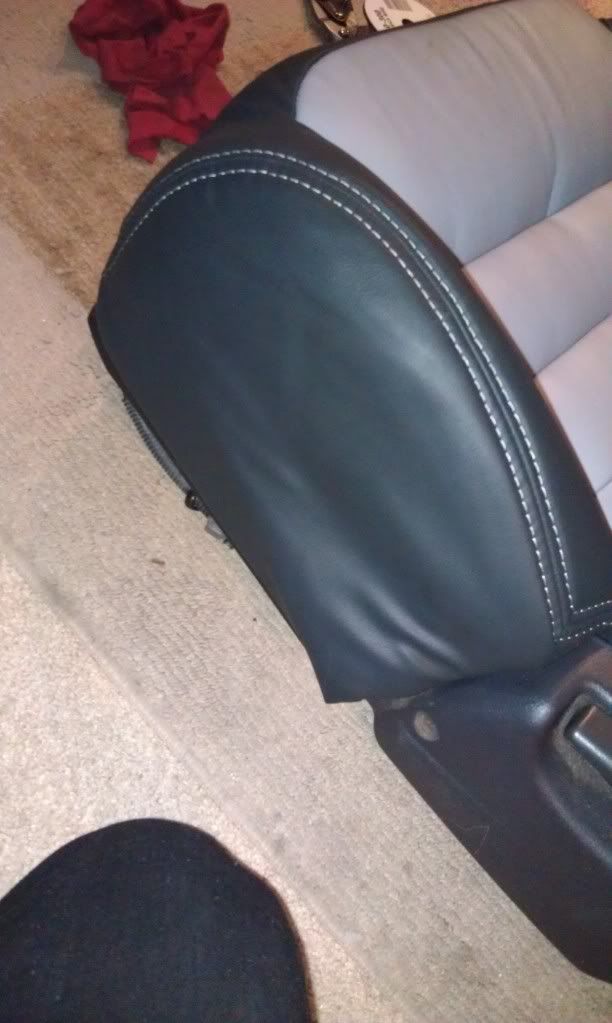
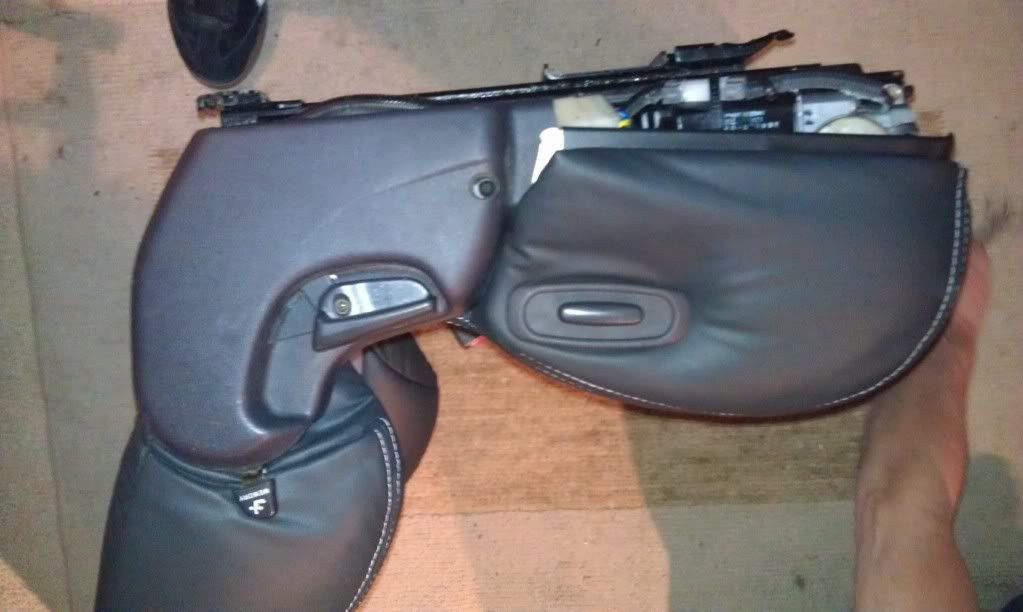
    Next up, the upper half of the front seat, first remove the back piece by removing the two screws toward the bottom
    (pic for reference)


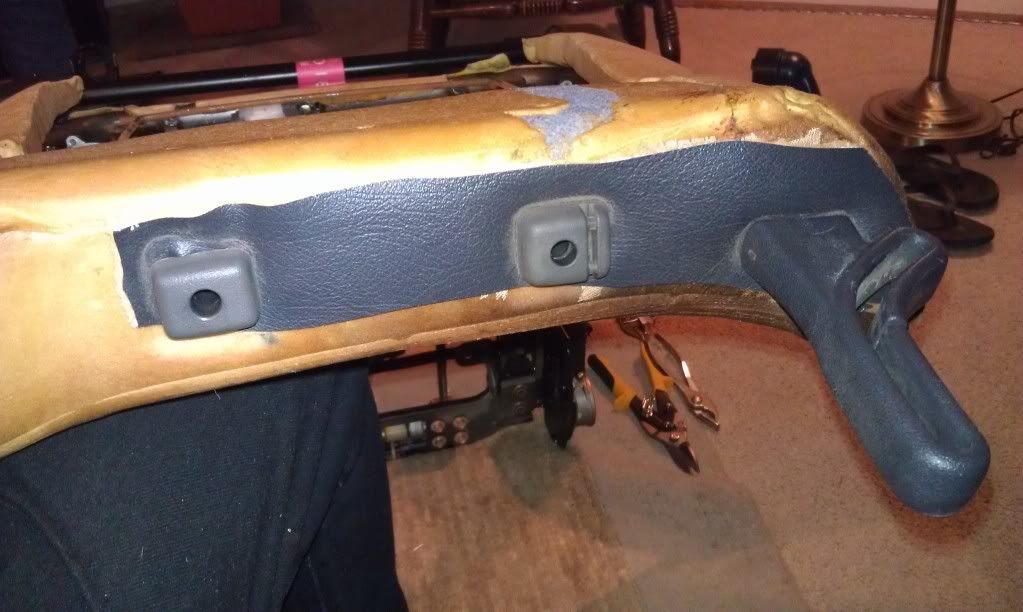
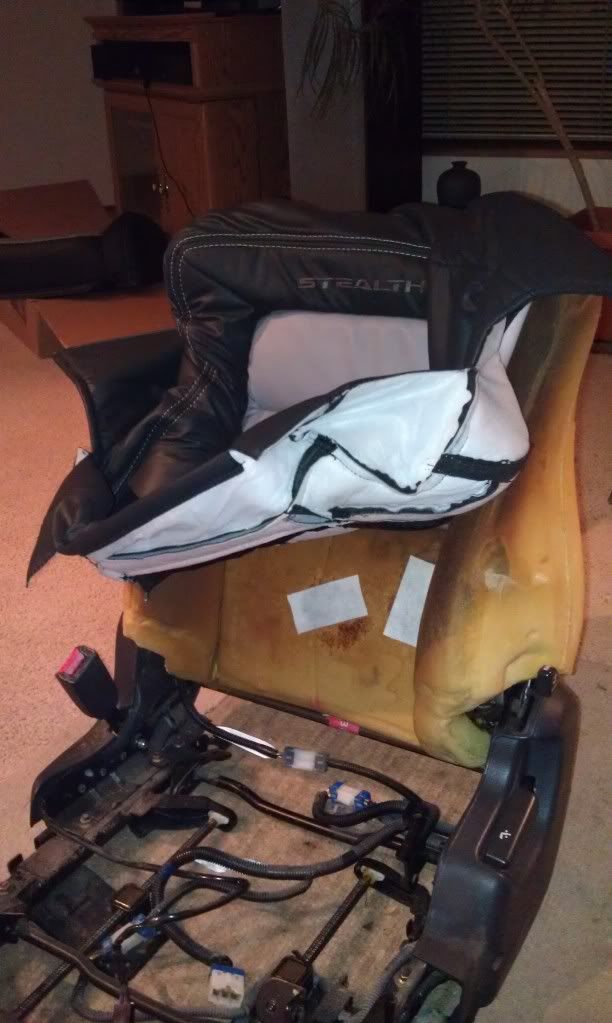
    Then, repeat the process, remove the old rings, pull the cover around to the front side and start with the vertical ones on the sides and work your way up with the horizontal ones, once you get towards the top, it fits pretty tight, I ended up cutting the top around the head rest slots and seatbelt holder...


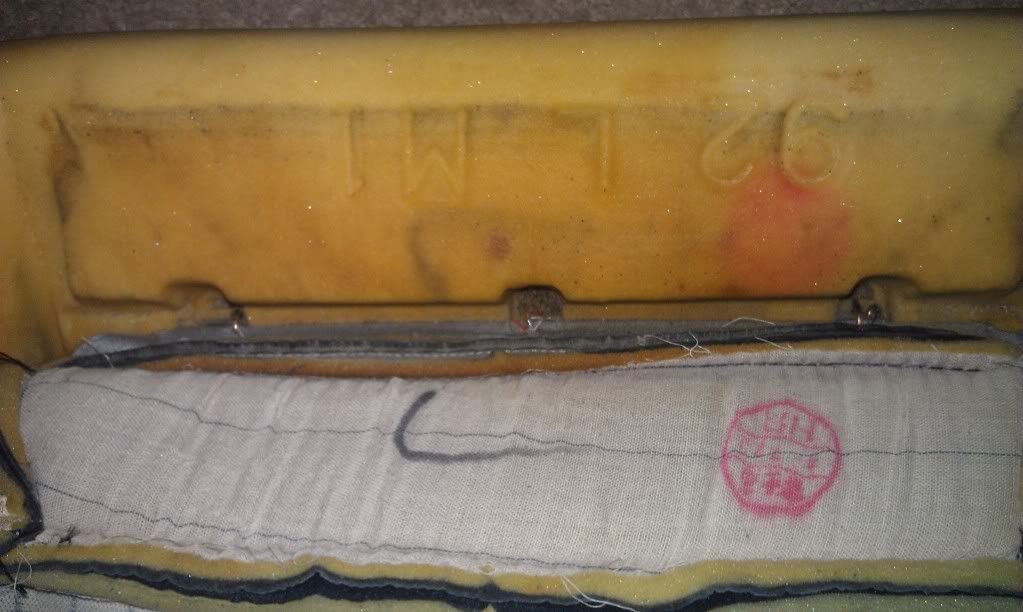
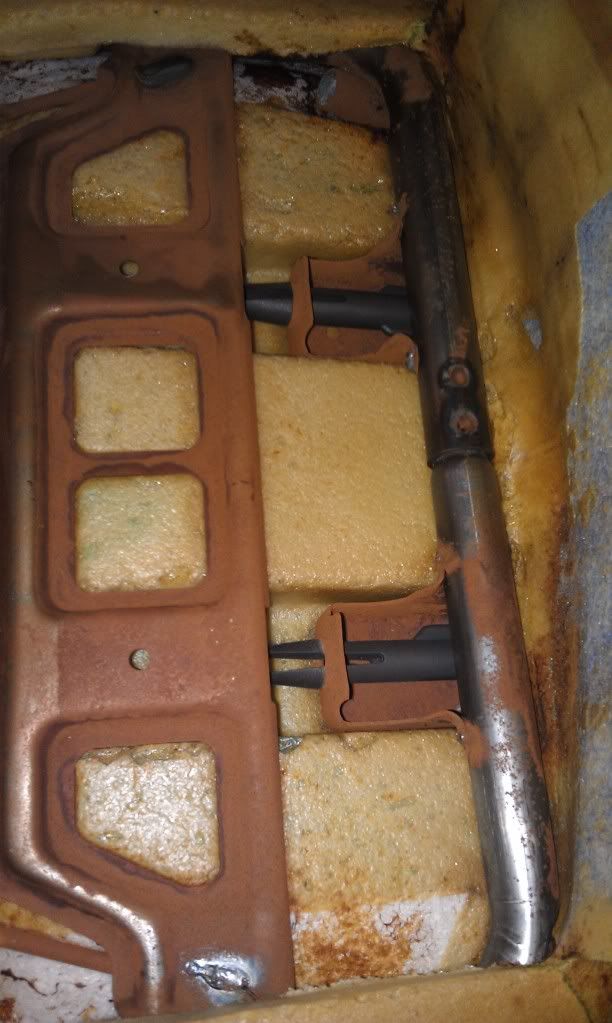
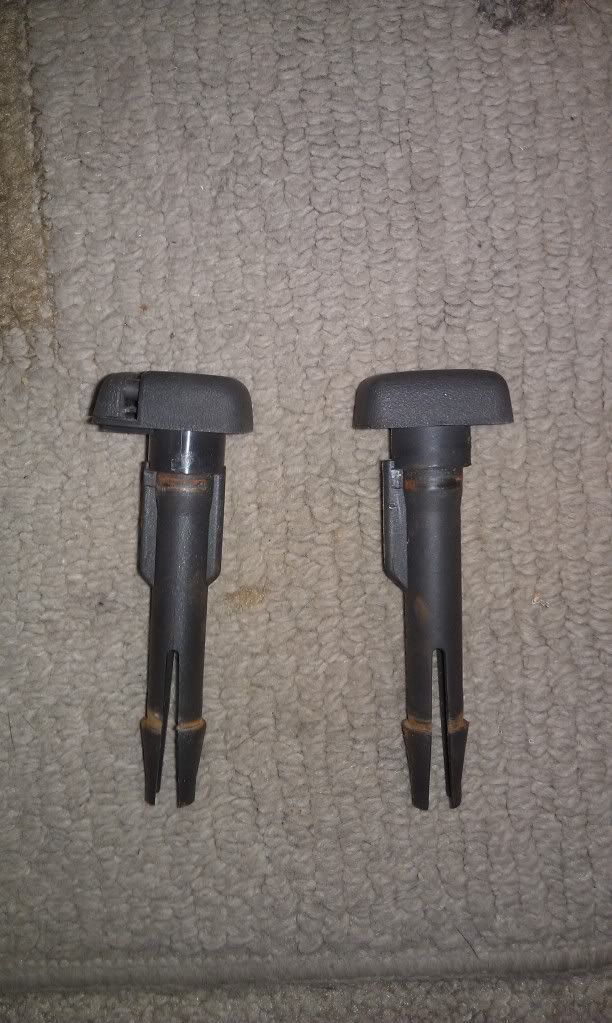
    There wasn't any info on removing these pieces to that's what I resorted to...so, on to removing these pieces now...On the back side, the foam has kind of a flap on the upper half that you can lift up and see the head rest pieces and how they clip in, just squeeze from this end and pull from the top.
    Last edited by Nihil; 03-20-2012 at 05:52 AM.

  4. #3
    Secret Lurker Man! verified
    Join Date
    Sep 2010
    Owner Since
    7/10/06 or somethin

    Location
    Bend, Oregon
    Posts
    452
    Thanks
    13
    Thanked 20 Times in 14 Posts
    Here's a pic of them removed


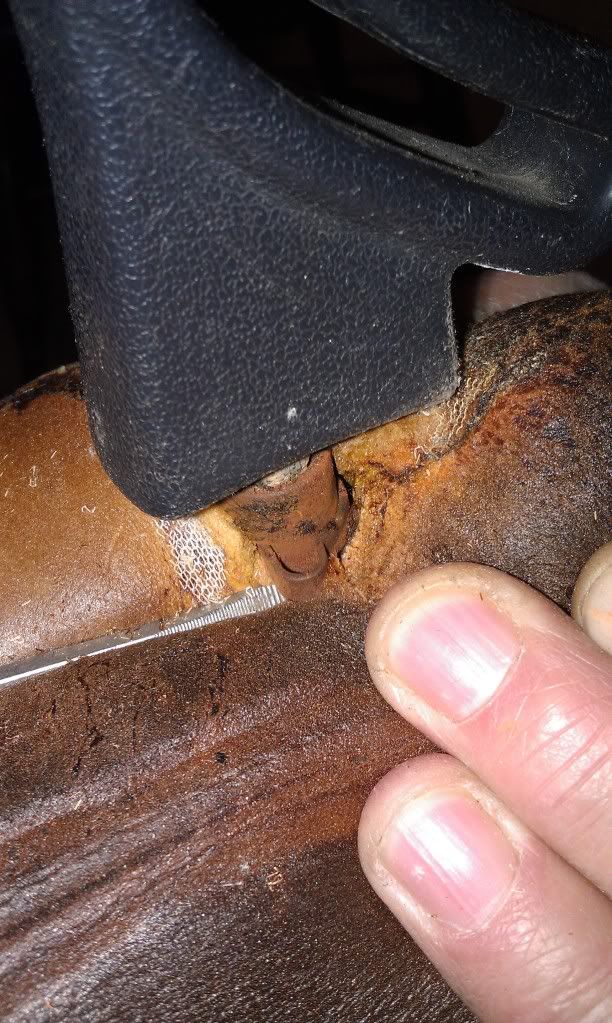
    Second is the seat belt holder, which does not just pull out like I had read...it's actually clipped in with a pretty strong clip, you can get at it from the top by pushing the foam down and out of the way enough...


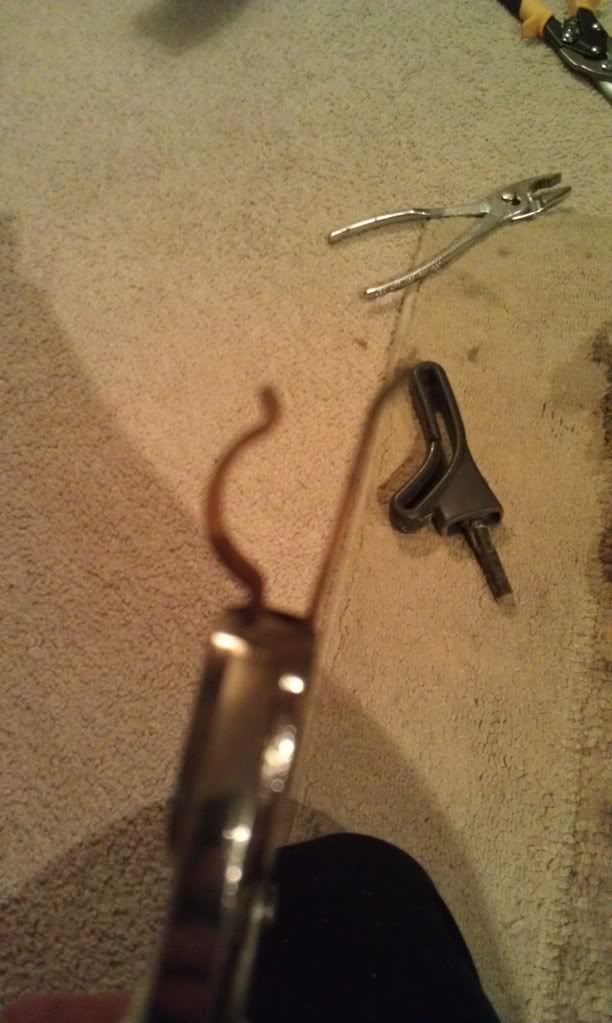
    I used vice grips clamped really tight and a good pull to remove the clip


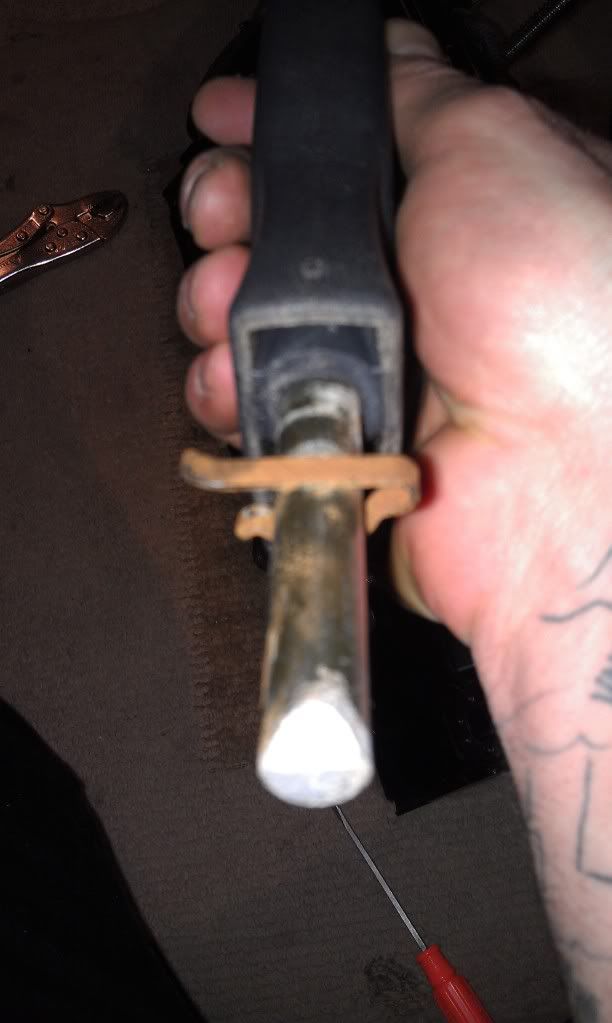
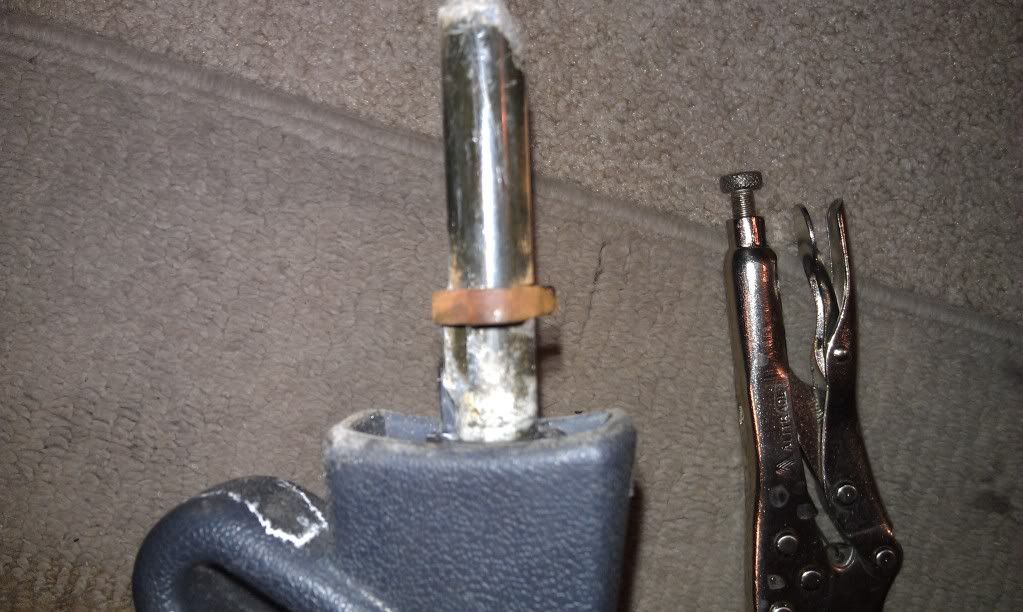
    Then just pull it out from the top...here's some more pics of it removed and with the clip...


    Next is to prep the new cover piece, on this piece, there's one continuous wire for the outter perimeter...


    I had to cut that one out and after contemplating, I decided it was too hard to get to fit right in the new cover so I just made a new one, shown here...


    I ran the wire in one end and bent it as I fed it through, I also bent the ends like stock, no picture to show, but you'll want to bend the end first before feeding it through, then bend the other end once you cut it to length. After that's all done you can start the install just like before, opposite of removal.

    With the install, you'll have no choice but to bend the wire as you work it onto the seat, but just make sure to work the cover around the foam nice and tight and bend the wire back and it'll pull down and fit just fine, just keep working your way down


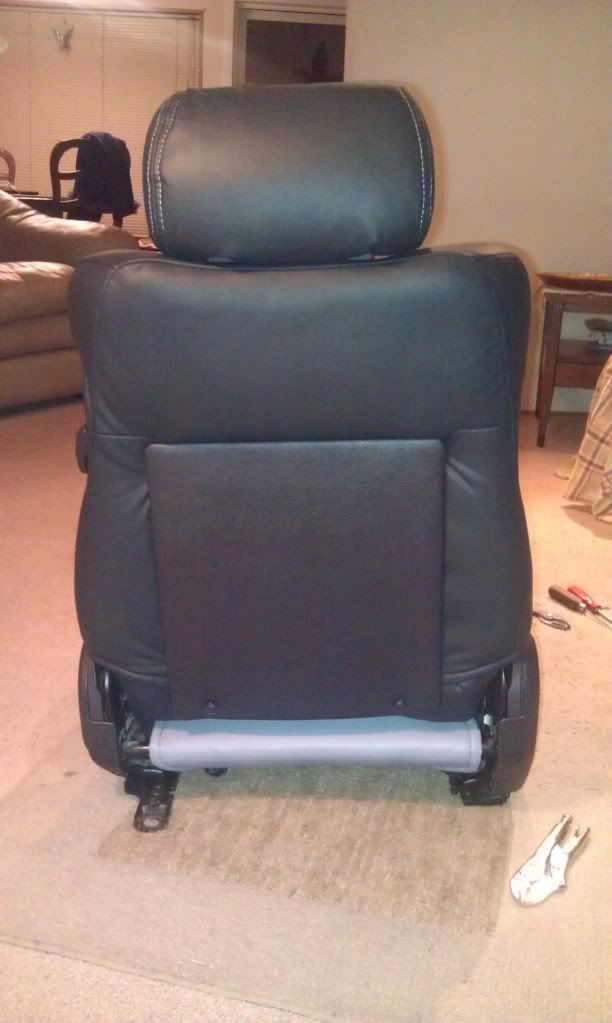
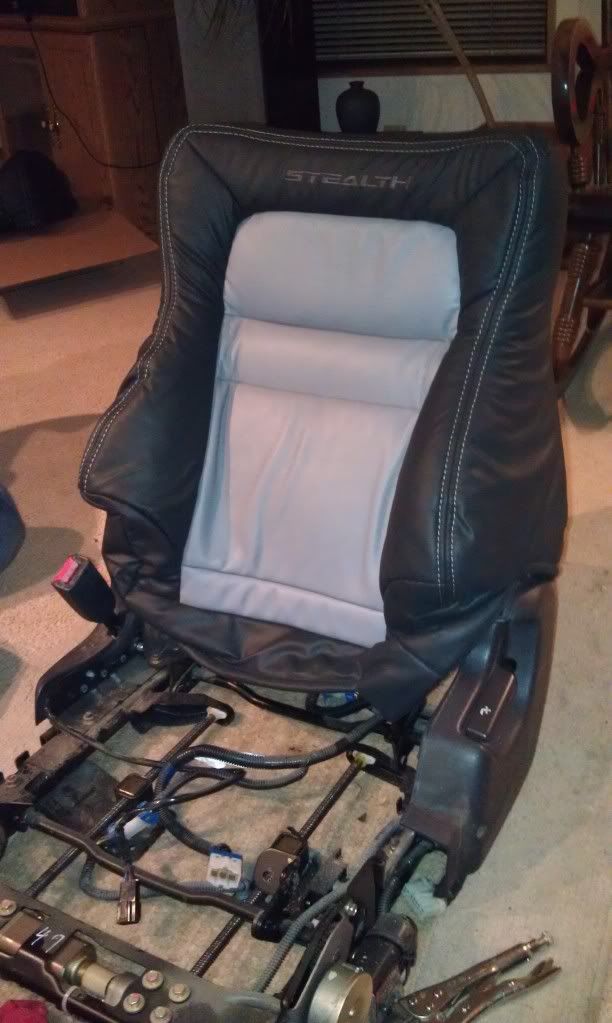
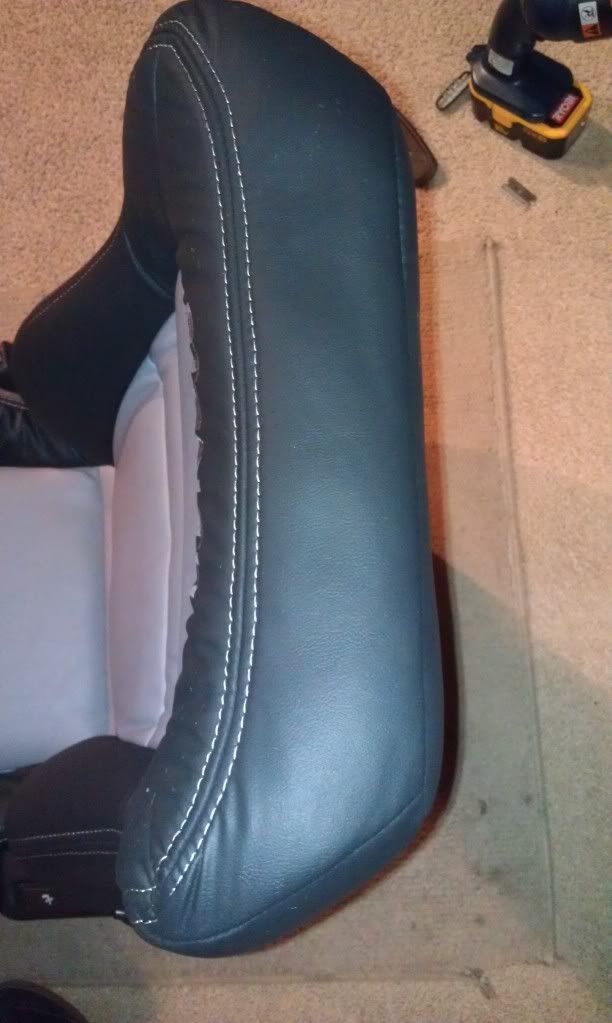
    Once it's fully installed it's time to install the bottom half so you'll have something like this...

  5. #4
    Secret Lurker Man! verified
    Join Date
    Sep 2010
    Owner Since
    7/10/06 or somethin

    Location
    Bend, Oregon
    Posts
    452
    Thanks
    13
    Thanked 20 Times in 14 Posts
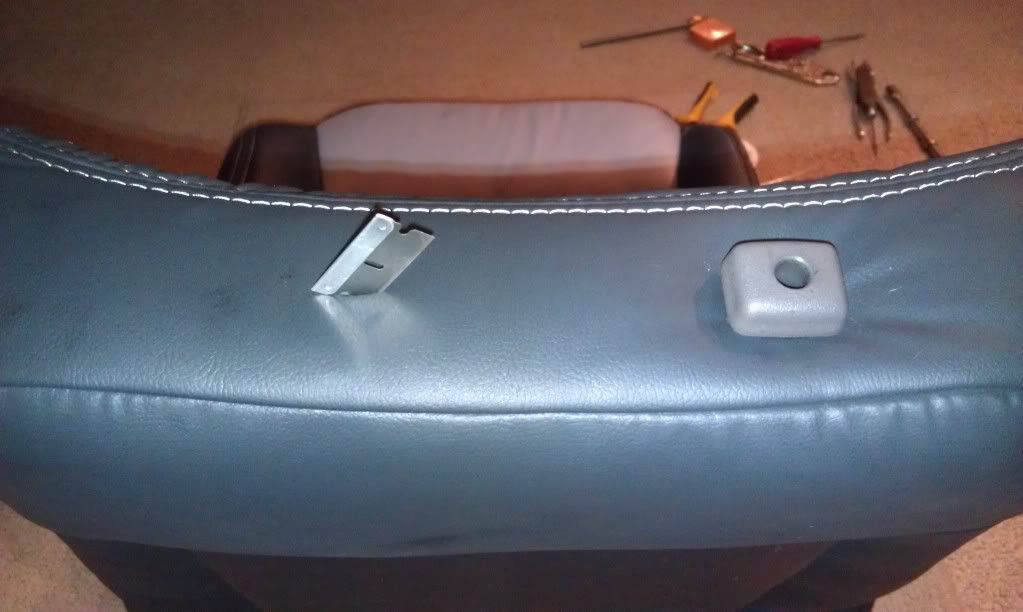
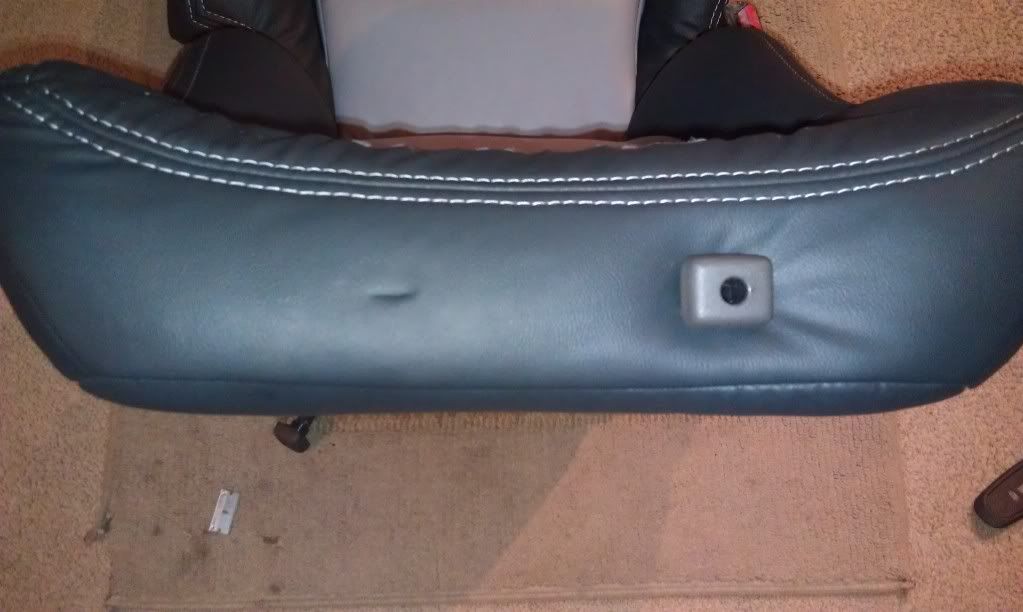
    Next up is cutting the holes for the rest of the hardware, just feel around for the holes, I used a new razor blade and made a small slit, less is more here, start small and go incrementally bigger as needed until you can get the pieces to fit, this will work for all pieces...I opted not to install the seatbelt holder so I didn't have to worry about this, but You'll want to work the top area first then cut and install that piece before you move any lower, or you'll have a hard time getting the clip in place as you'll have to get at it through the foam flap


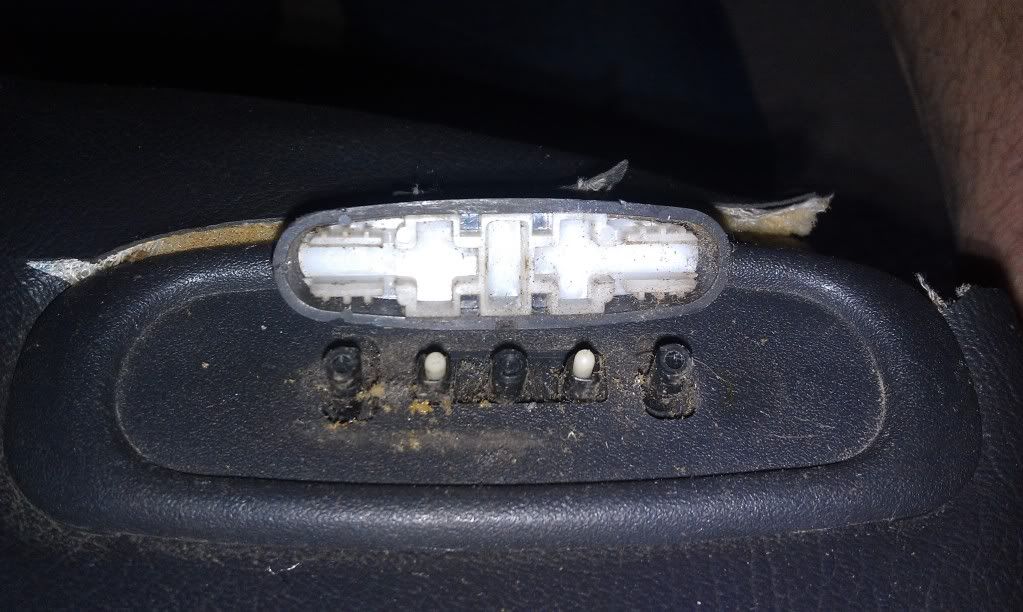
    Forgot to give details on this...these pieces just clip on, pry them off carefully...

    That's the only pic I have, the button comes right off, then the plastic finish piece has a fastener on each end...then there's a plug that needs to be undone

    So same thing here, cut and install


  6. #5
    Secret Lurker Man! verified
    Join Date
    Sep 2010
    Owner Since
    7/10/06 or somethin

    Location
    Bend, Oregon
    Posts
    452
    Thanks
    13
    Thanked 20 Times in 14 Posts
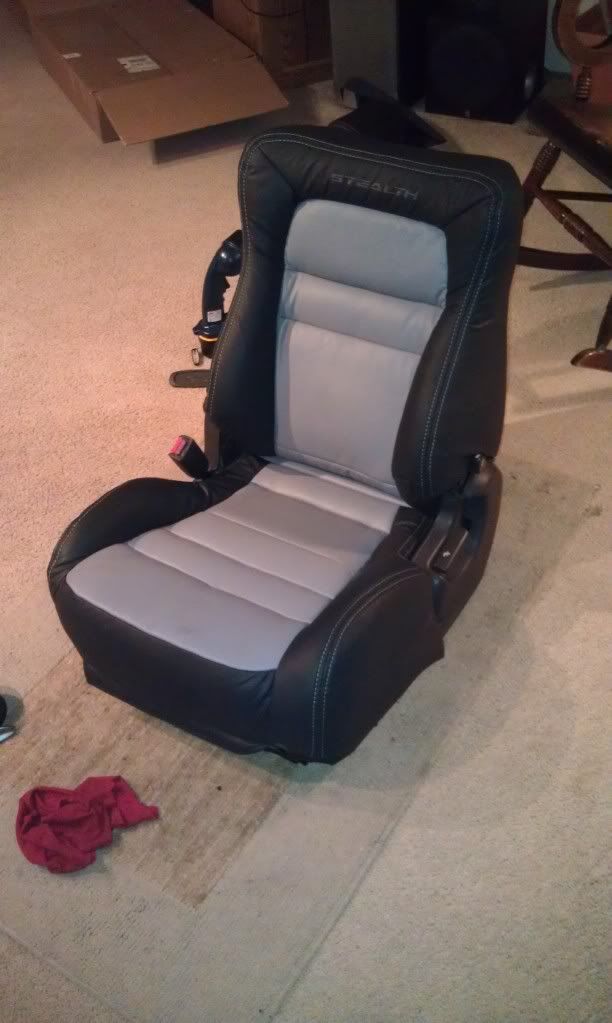
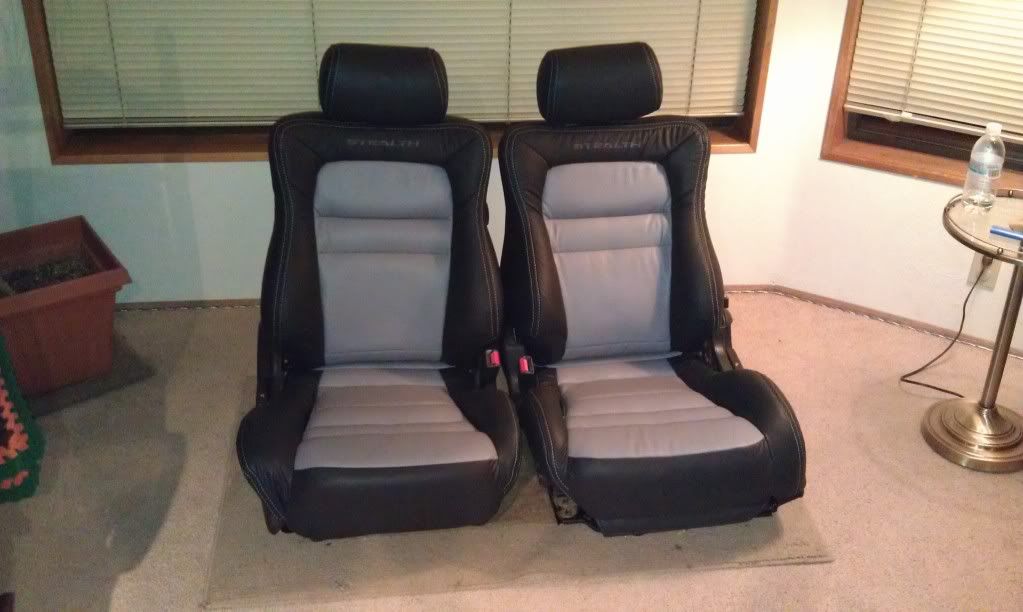
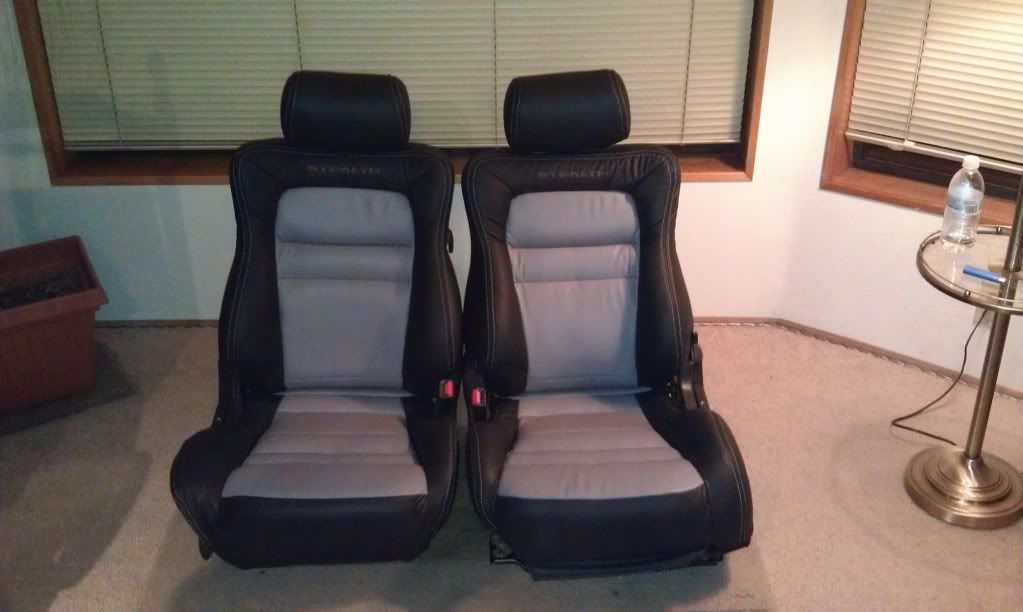
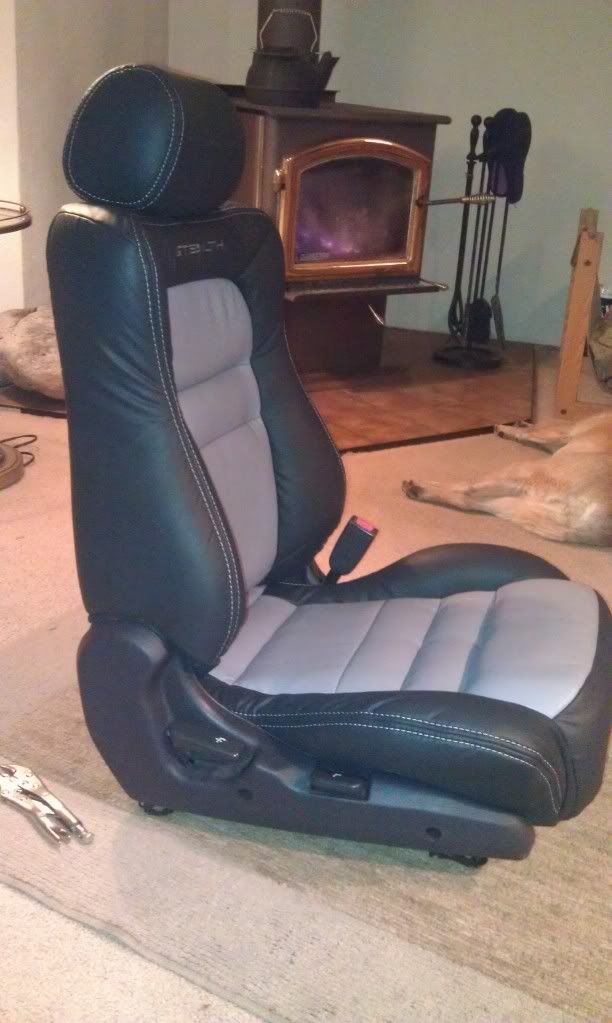
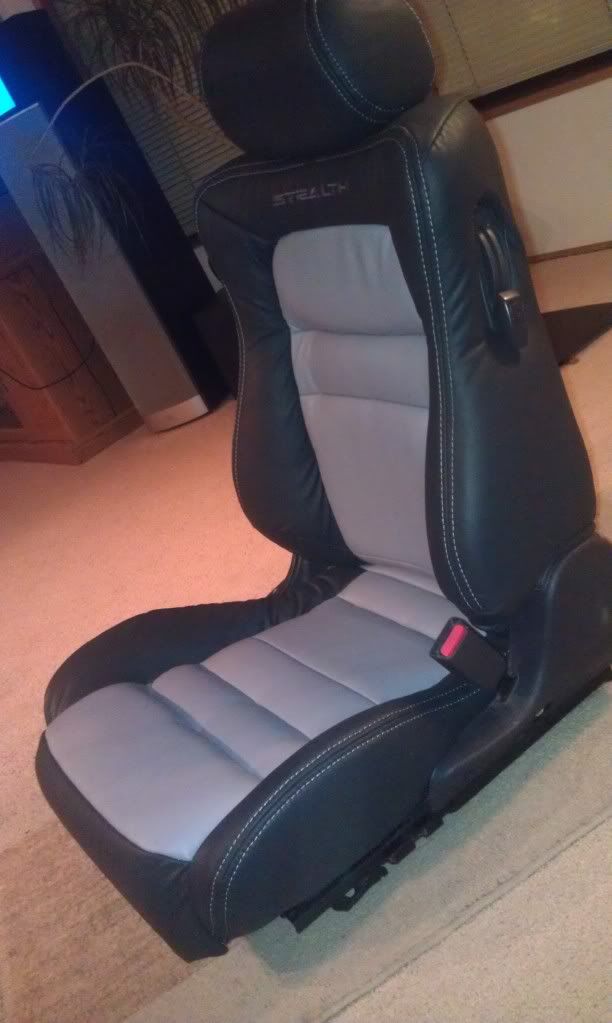
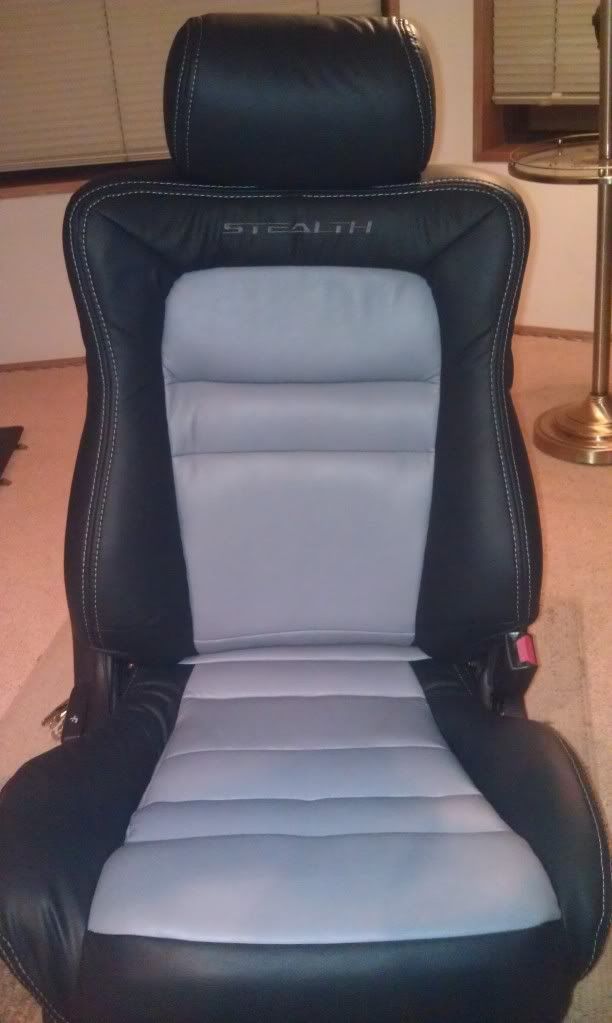
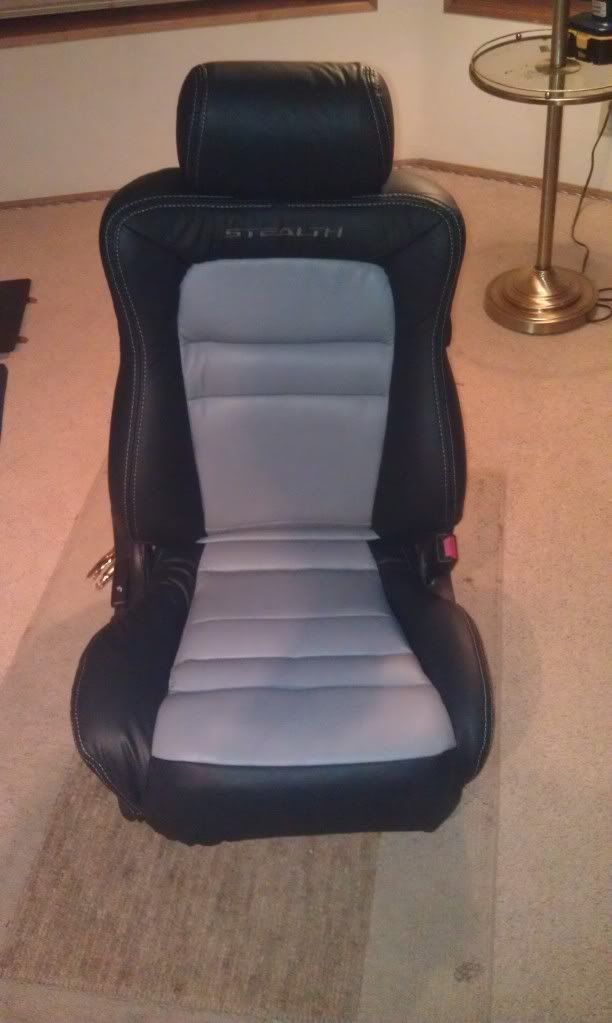
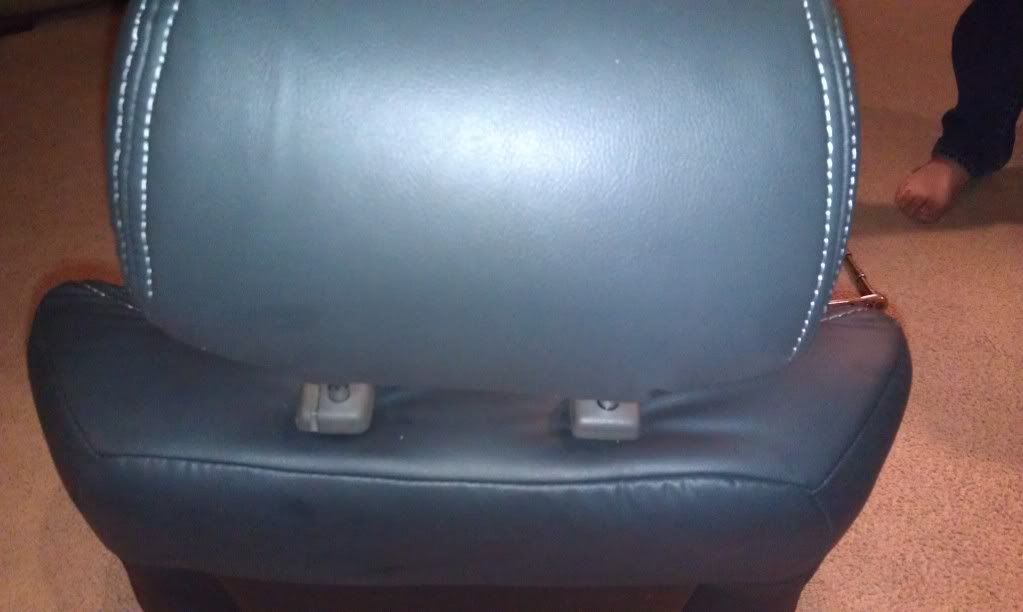
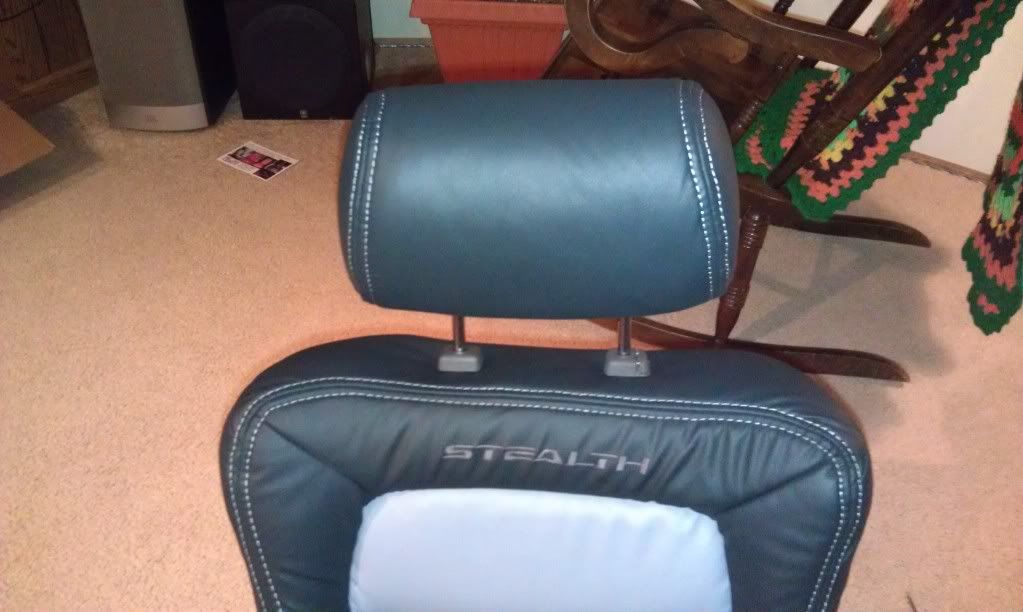
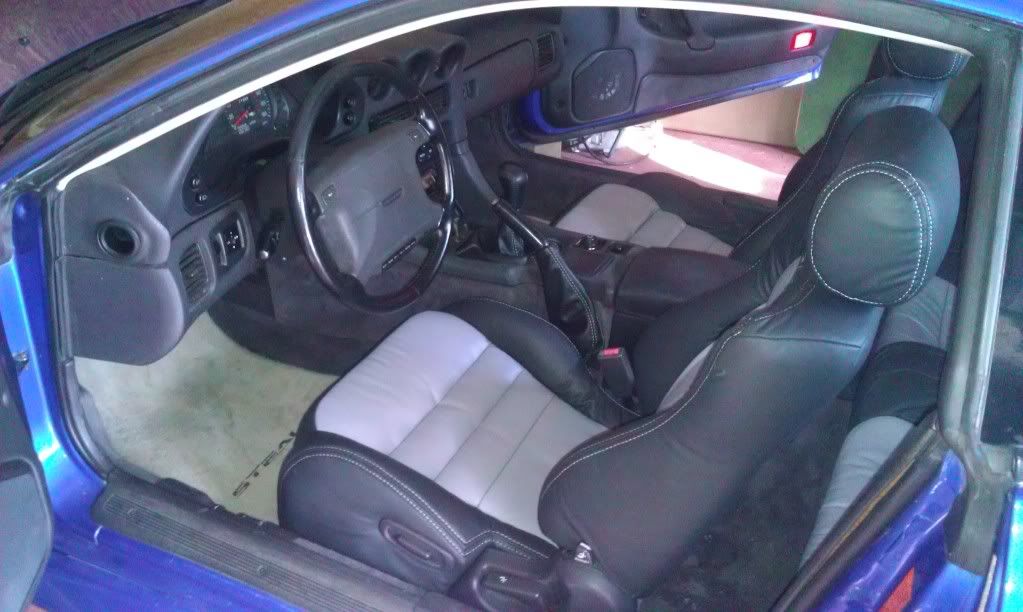
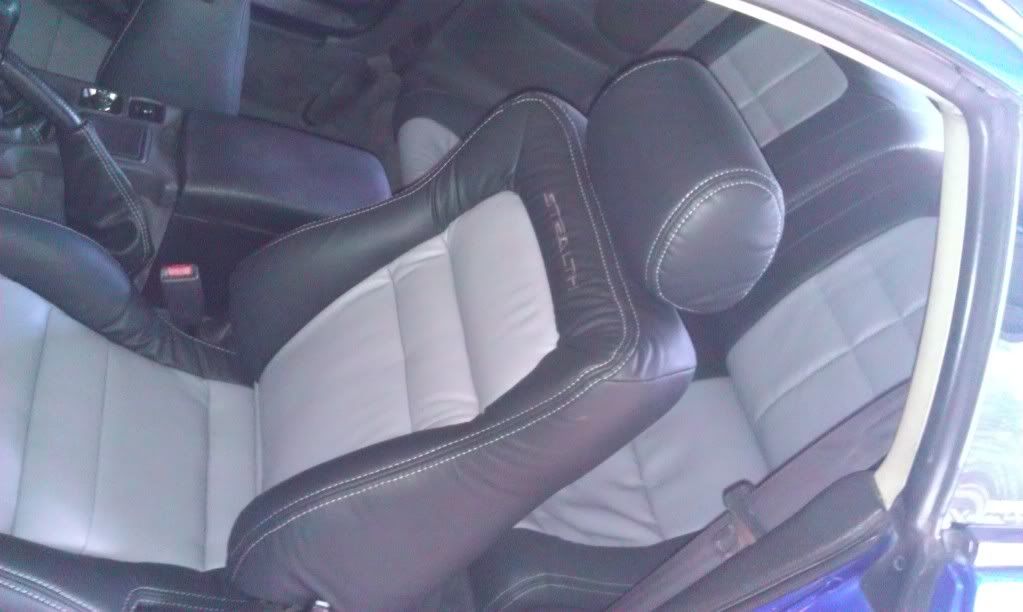
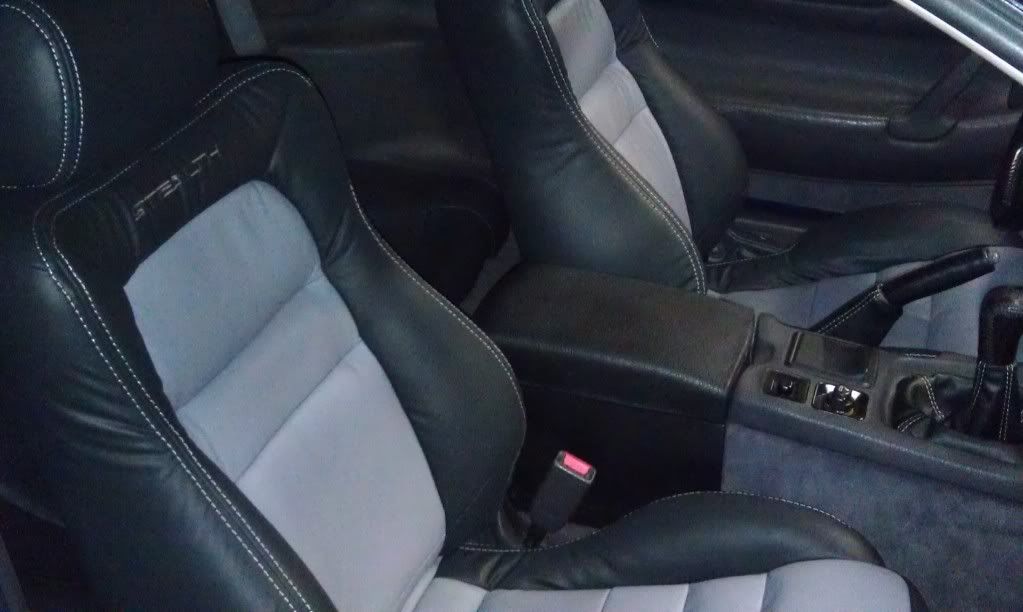
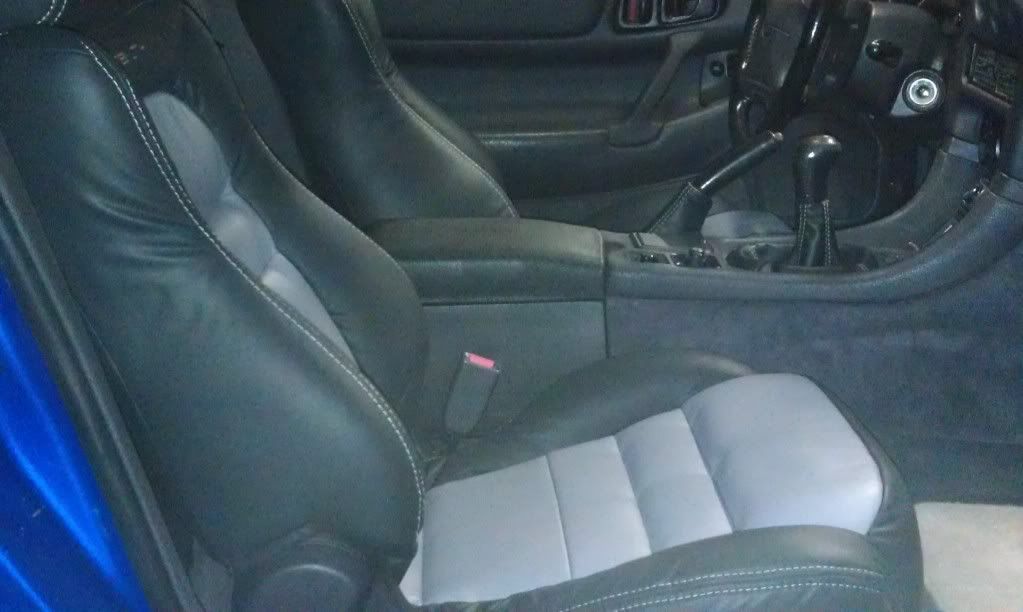
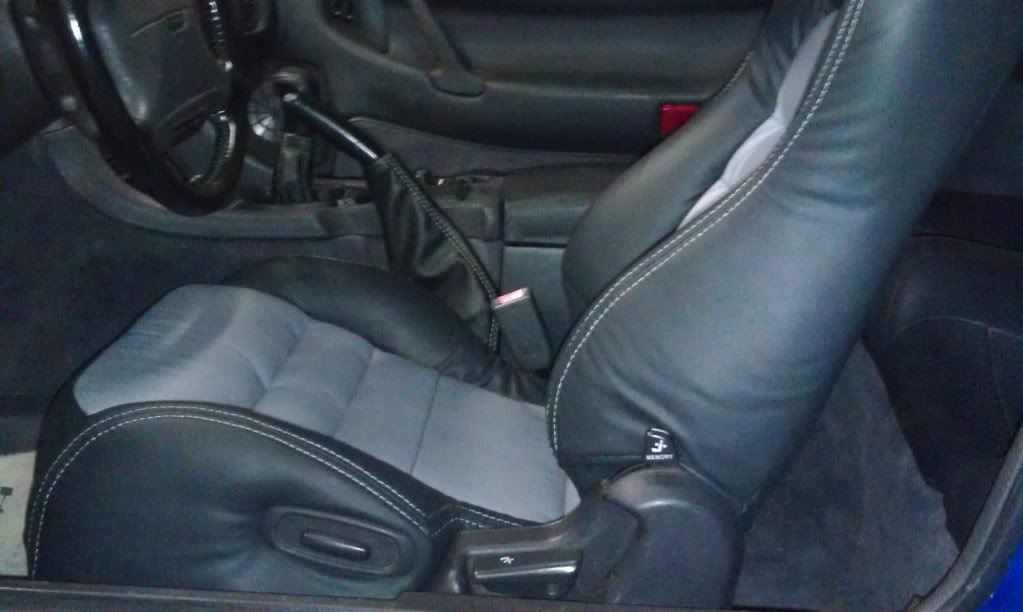
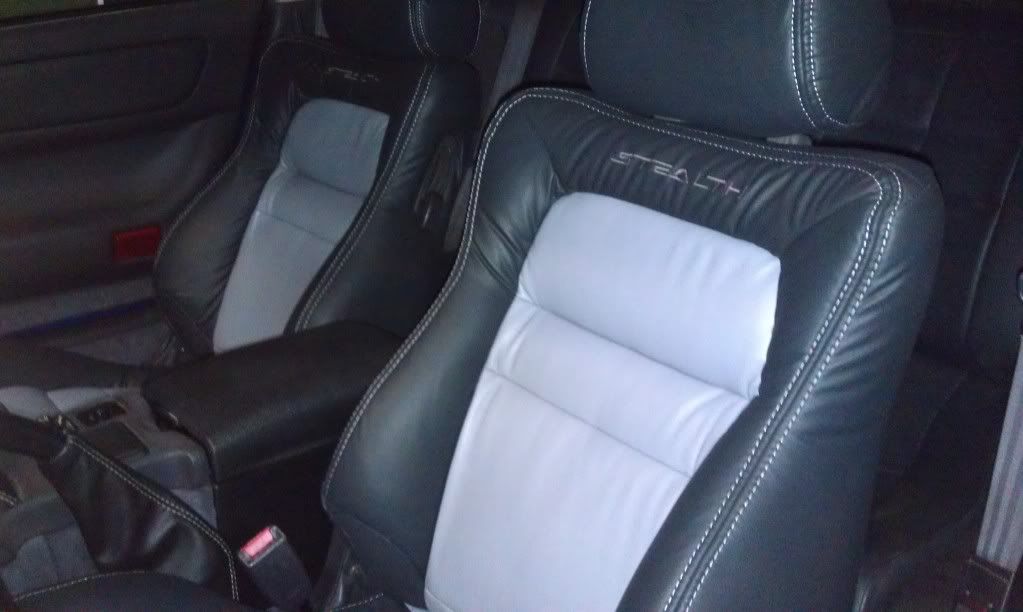
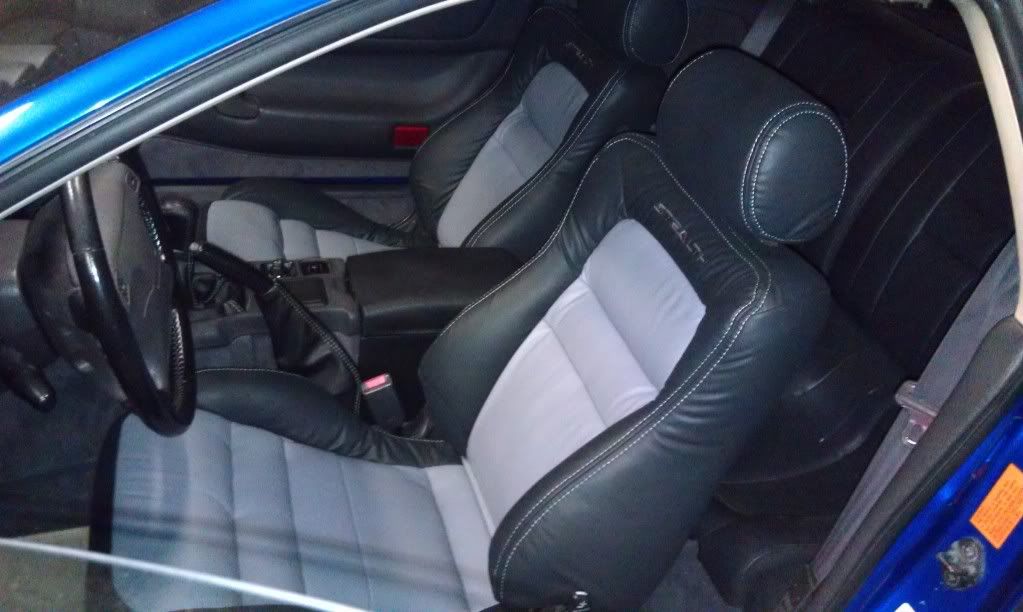
    So, you should be finished with one seat so off to the second seat, which should be a little easier since you have one under yer belt and after a couple hours you should be done and they should look somethin like this...


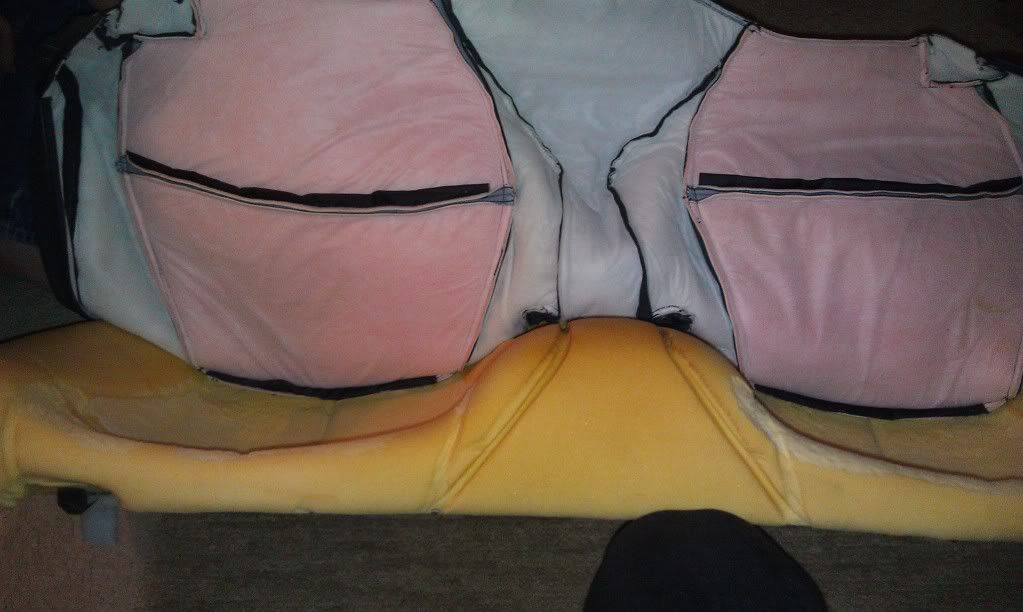
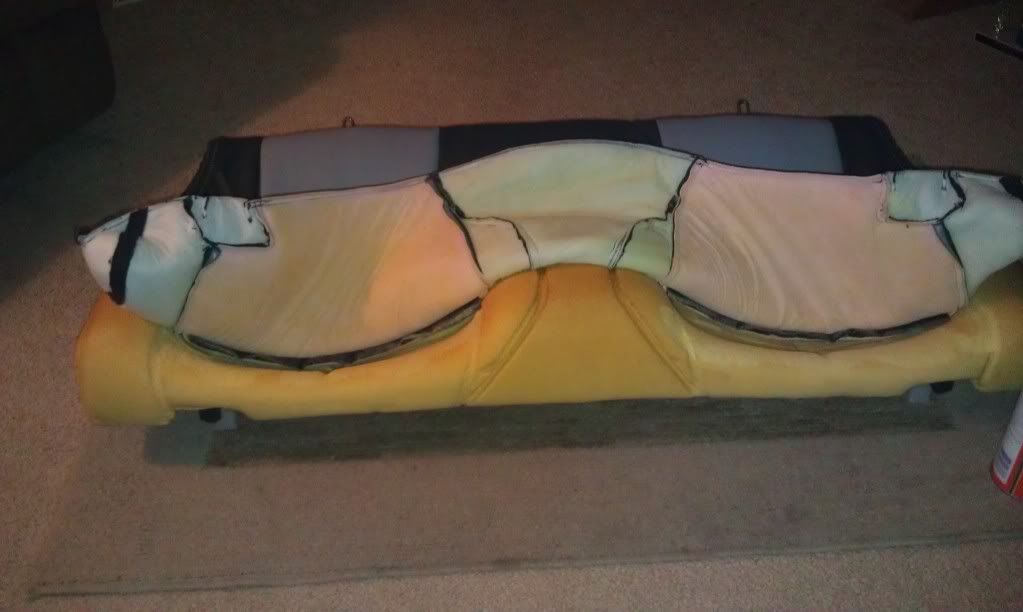
    Next up is the rear seats, I don't have any pics for the upper pieces, but they're basically the same as everything else, the releases need to be pulled off then remove the rear pieces and work away...the bottom is a little different as it's mostly glued on...

    There's rings on the outter perimeter, so remove those, then the inner around the seatbelt holes

  7. #6
    Secret Lurker Man! verified
    Join Date
    Sep 2010
    Owner Since
    7/10/06 or somethin

    Location
    Bend, Oregon
    Posts
    452
    Thanks
    13
    Thanked 20 Times in 14 Posts
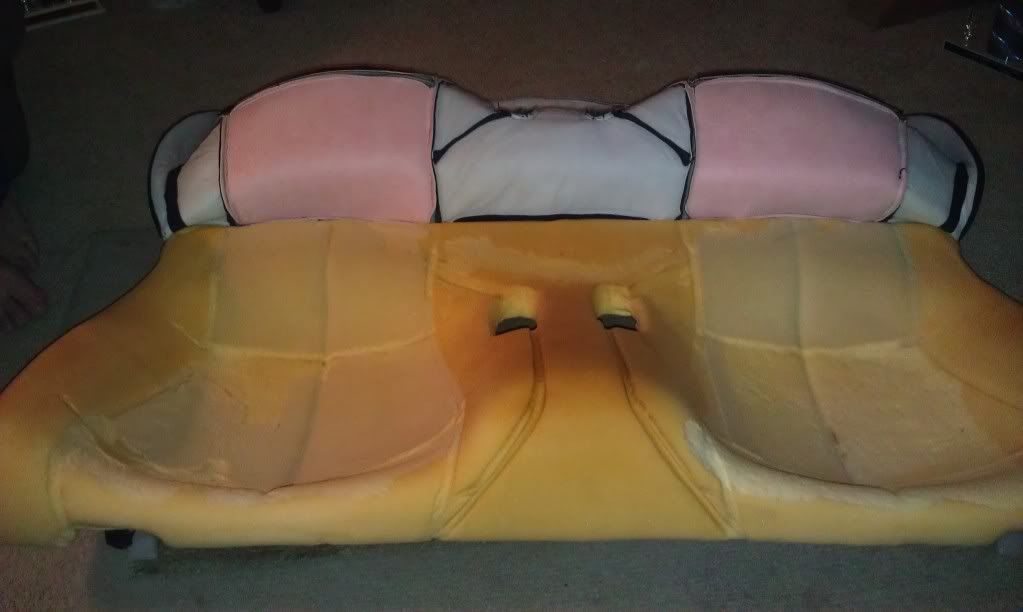
    After they're all removed, you'll have to carefully pull the cover off of the foam, be care not to ruin the foam, once removed, it's time to install...

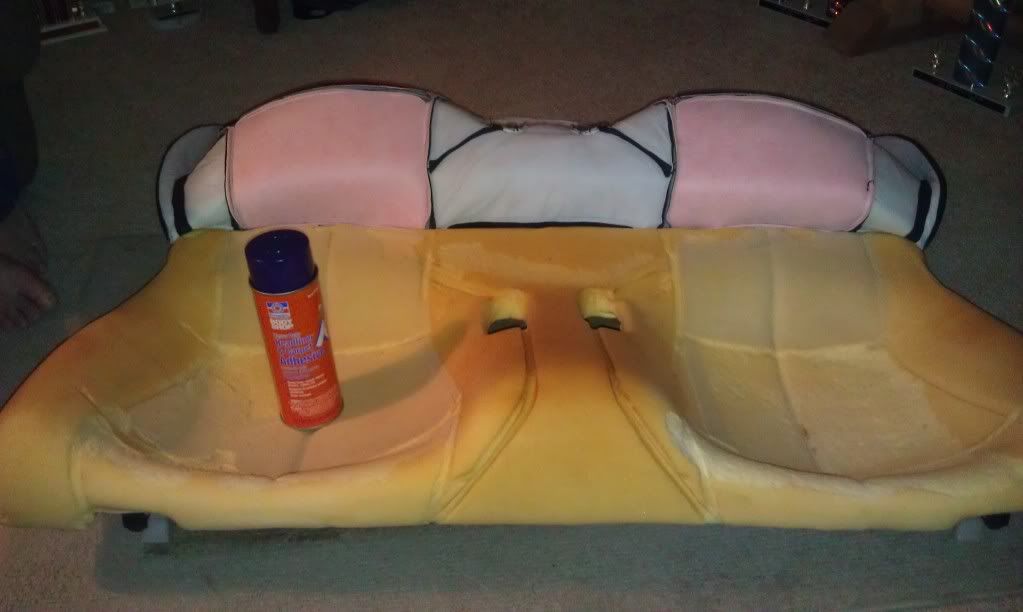
    First, I started from the back, installed rings to fasten the cover down, then moved forward with the glue...


    I sprayed the whole thing, per instructions, a few coats, overlapping and crossing, letting dry then folding down one section at a time...


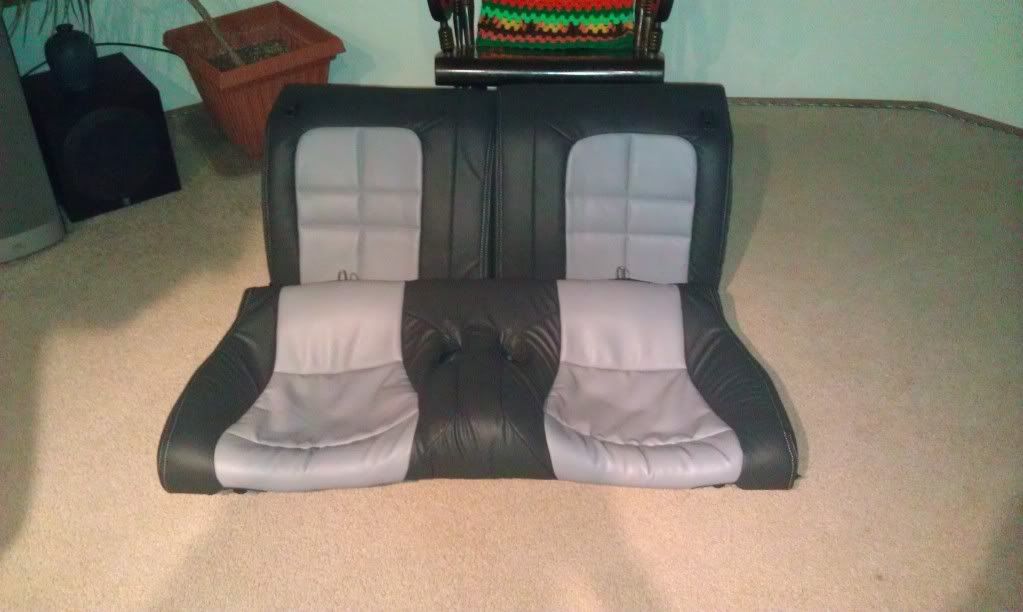
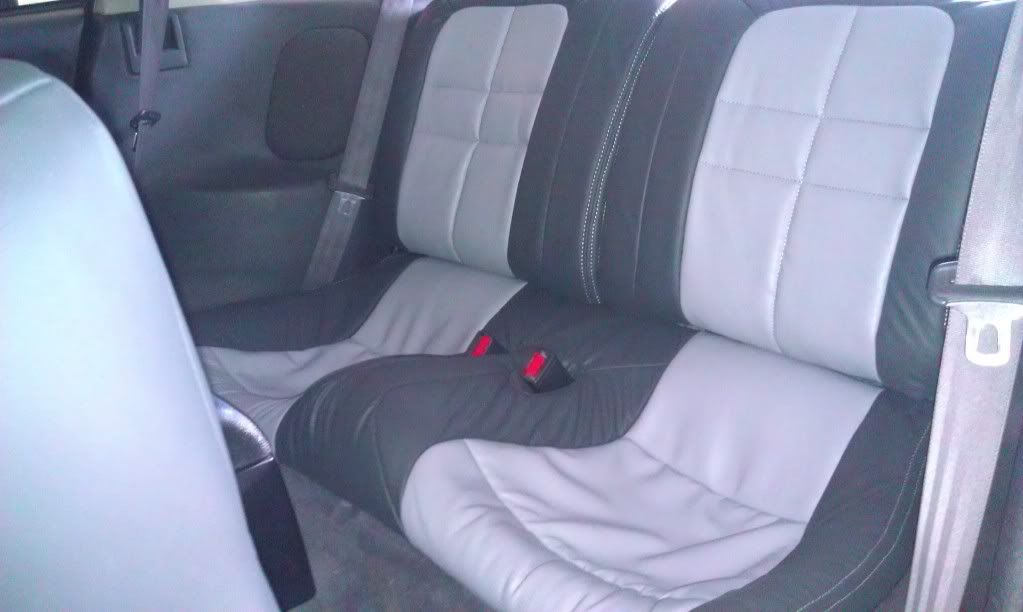
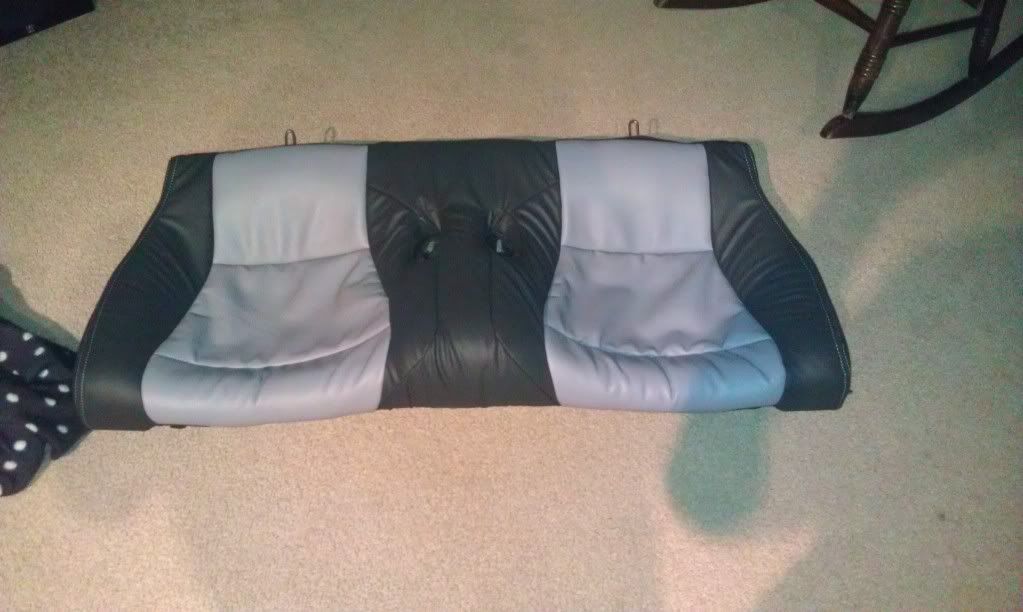
    Once I had it all layed down, I installed the rings and flipped it over n sat in each seat to make sure the cover was set into each bucket, it pretty much sticks where you lay it...The only thing I can say negative about these seats is the rears don't stay down, the covers are high quality, great seats and have a liner, but since the bottom piece of the rear seats is glued, you're actually only glueing the liner down, which enables the cover to lift up and be baggy n bunchy...my thoughts on this is to cut the liner and spray glue in there to glue the liner to the cover, or remove the liner all together...if I get to installing another set on the other car, I'll have to experiment...or if anyone else cares to experiment and post up pics of what you've done to cure the problem....but here's finished pics of the rear...


  8. #7
    Secret Lurker Man! verified
    Join Date
    Sep 2010
    Owner Since
    7/10/06 or somethin

    Location
    Bend, Oregon
    Posts
    452
    Thanks
    13
    Thanked 20 Times in 14 Posts
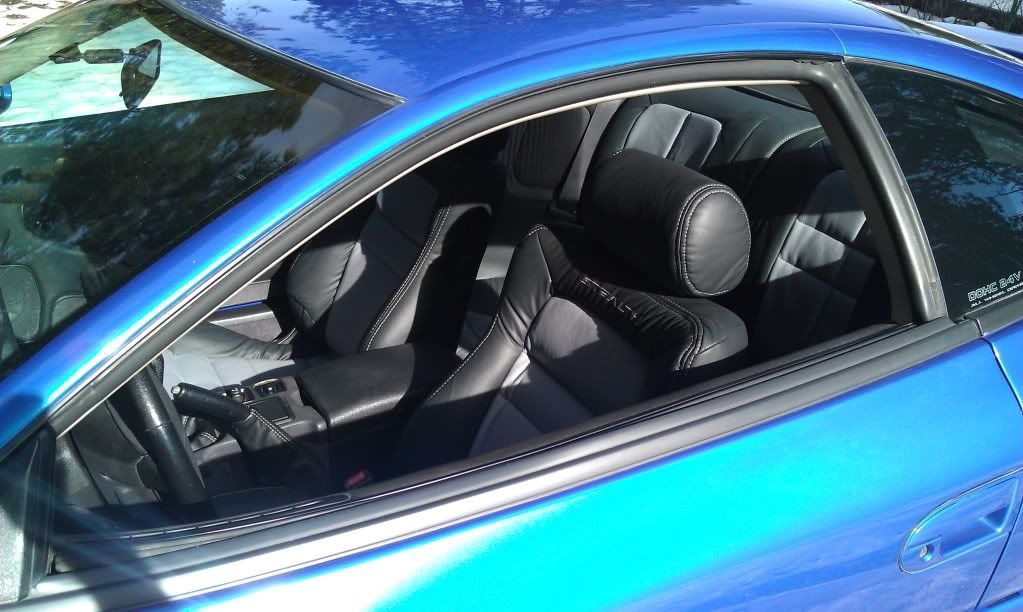
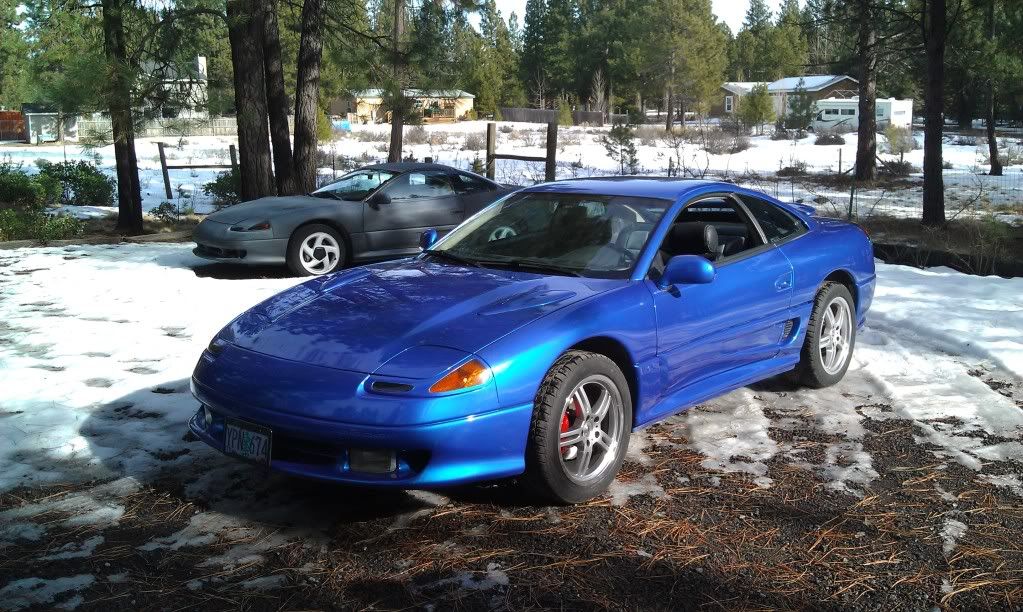
    And here's some finished pics, fully installed in the car...


  9. The Following User Says Thank You to Nihil For This Useful Post:


  10. #8
    Administrator Alan92RTTT's Avatar
    Join Date
    Jul 2010
    Owner Since
    02/1998

    Location
    Madison Heights, Mi
    Posts
    2,958
    Blog Entries
    7
    Thanks
    16
    Thanked 675 Times in 255 Posts
    Nice, Copied to the front page how-to section.

  11. #9
    Administrator Alan92RTTT's Avatar
    Join Date
    Jul 2010
    Owner Since
    02/1998

    Location
    Madison Heights, Mi
    Posts
    2,958
    Blog Entries
    7
    Thanks
    16
    Thanked 675 Times in 255 Posts
    Rather than making the hogrings you might want to save some time and get them from some place like Seating Applications

  12. #10
    1st ever COTM and COTY verified
    Join Date
    Aug 2010
    Owner Since
    Birth

    Location
    Tennessee
    Posts
    7,077
    Thanks
    649
    Thanked 451 Times in 347 Posts
    Thanks man! I was going to have somebody install mine when I got some but I'll probably just do it myself now.

    Quote Originally Posted by HilbillyHomeboy View Post
    I bet she smells of old mustard and sawdust.
    Jeremy

Bookmarks

Posting Permissions

  • You may not post new threads
  • You may not post replies
  • You may not post attachments
  • You may not edit your posts
  •  
The 3000GT/Stealth/GTO Web History Project
3000gt.com
3000GT / Stealth International WWWboard Archive
Jim's (RED3KGT) Reststop
3000GT/Stealth/GTO Information and Resources
Team 3S
3000GT / Stealth / GTO Information
daveblack.net
3000GT/Stealth/GTO Clubs and Groups
Michigan 3S
MInnesota 3S
Wisconsin 3S
Iowa, Nebraska, Kansas 3S
North California 3000GT/Stealth
United Society of 3S Owners
3000GT/Stealth/GTO Forums
3000GT/Stealth International
3000GT/Stealth/GTO Event Pages
3S National Gathering
East Coast Gathering
Upper Mid-West Gathering
Blue Ridge Gathering