


I took this from my thread on 3si in case anyone wanted to know about this MBC. No one's ever really mentioned it so I figured it's worth mentioning
I did this writeup because the only sources for installation were on Dejon's website. Dejon's instructions are very vague and contain no pictures... which doesn't really help too much. I get the feeling that almost no one uses this MBC since I couldn't find any info about it. Hopefully, this will bring some interest to this MBC.
Preface: Any time you install an aftermarket boost controller, you need one of two things... an aftermarket boost gauge or a datalogger. I recommend both, but I personally would choose a logger over a gauge. The reason for this is because you don't tune to boost... you tune to knock. A gauge is great though as you can see in real time what you're boosting at. Unfortunately, as you'll see in the video at the end of this how to, I didn't have a logger for the initial test. Instead, I used a gauge that I believe to be slightly inaccurate. So to be on the safe side, I set the high boost to 9psi.
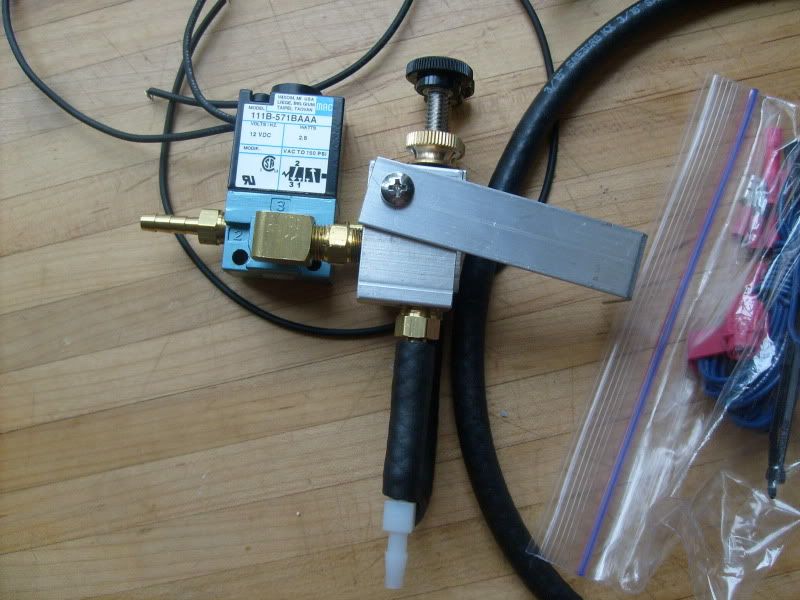
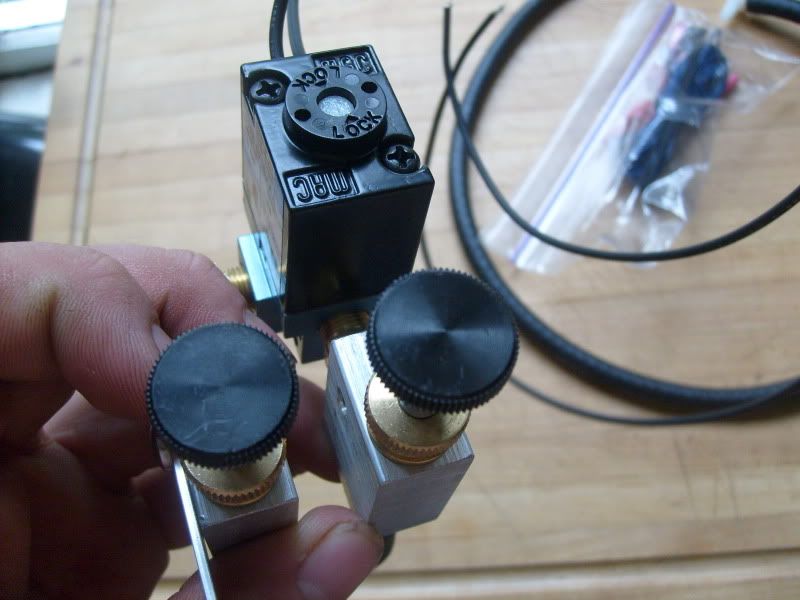
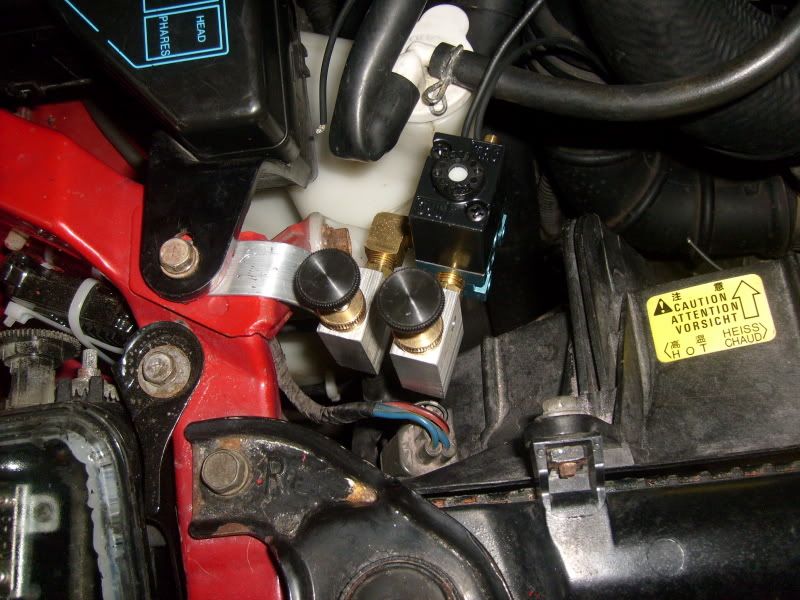
This is what I like to call a hybrid boost controller. It is the Dejon med/hi boost controller that sells for $129. It is said to be manual but it is partially electronic. This is the absolute simplest EBC/MBC combo you can buy... but I don't need any fancy interface to tell me what boost I'm running.
To start off, I did the electrical work first and got it out of the way. The actual mounting of the boost controller took forever... I couldn't figure out for the life of me where it would fit. It's not huge by any means but I wanted this to look as stock as possible.
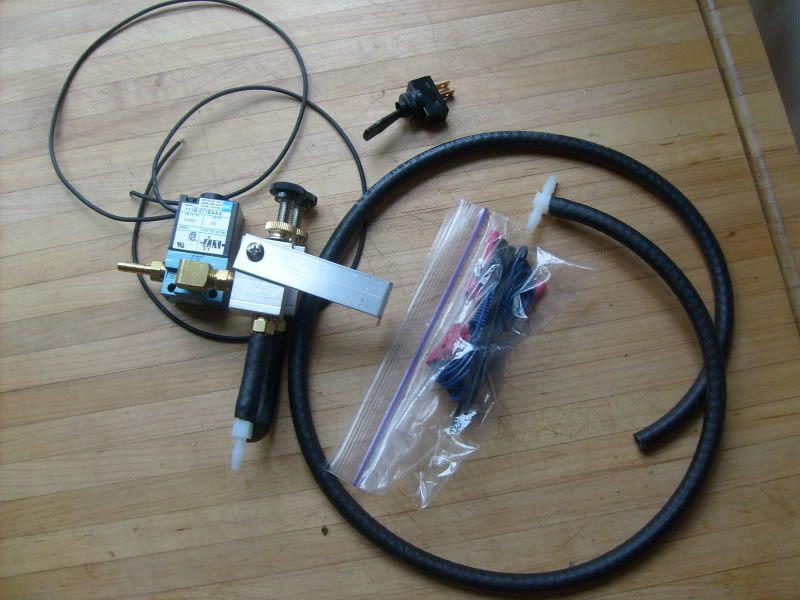
Here's some pictures of what the kit includes. Dejon packaged nearly everything I needed for the install. The only thing I needed to buy extra was some vacuum hose and wire loom.
After like an hour of test fitting, I finally found a nice location to mount the controller. The bracket they send is sturdy yet easily bendable aluminum. I bent it to where it would fit well and did a test fit.
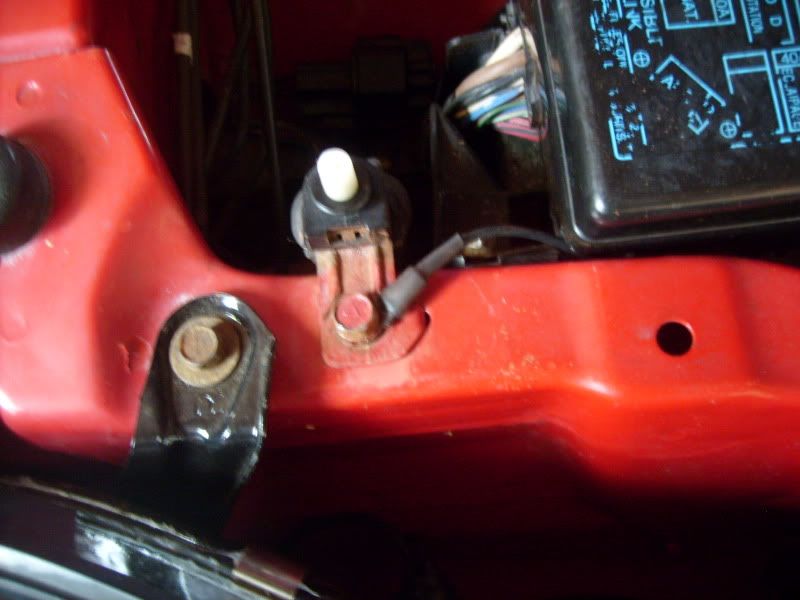
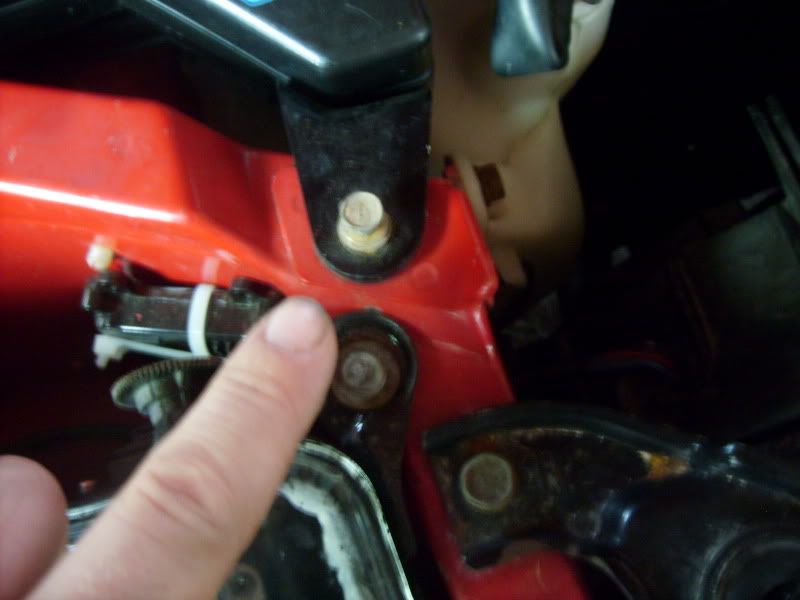
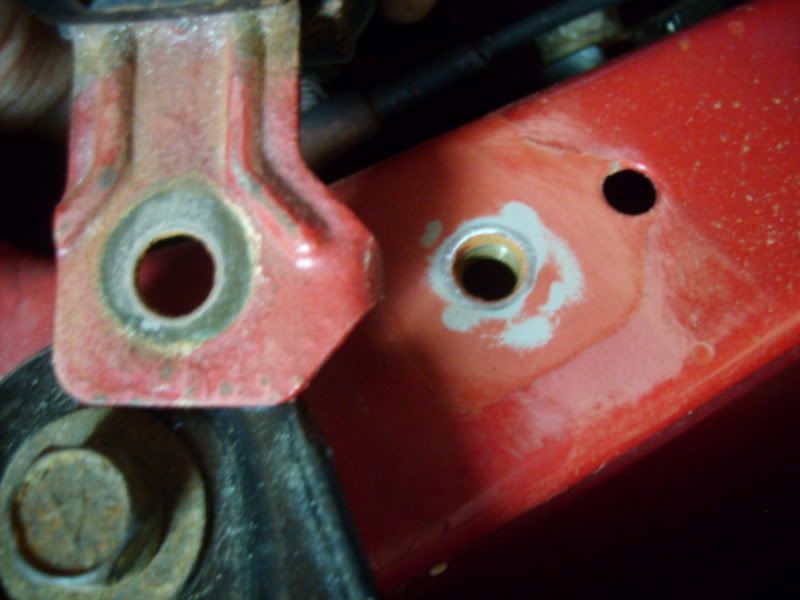
The bolt that held the hood sensor was close by and worked nicely for the ground wire.
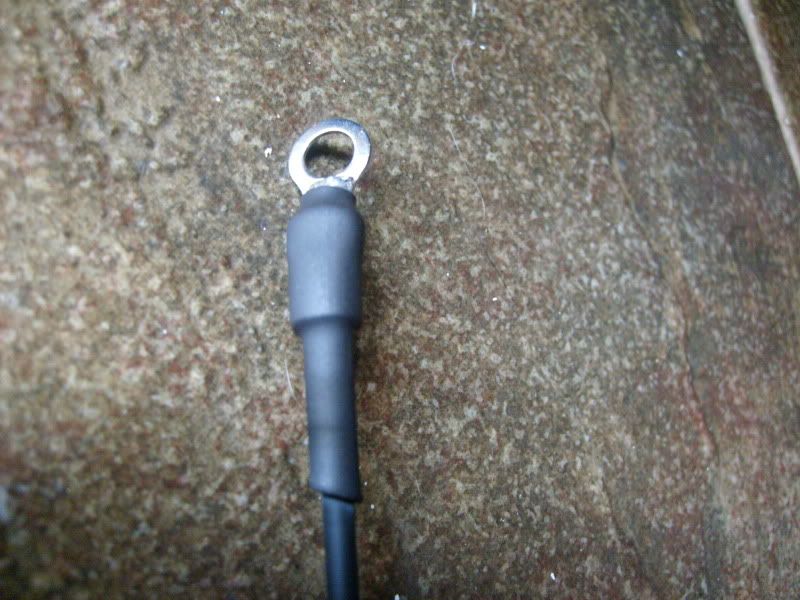
On to the solder. When I do electronics, I don't use butt connectors or screw on connectors... I use solder and heat shrink. It not only makes it look stock, but it also holds up well and later on down the road you don't have to wonder why the hell your equipment isn't working correctly. I soldered, crimped, and heat shrunk the ring terminal onto the ground wire on the controller. It doesn't matter which black wire you use coming off the controller... just pick one.
Here, I sanded down the area to bare metal as well as the bracket that holds the hood sensor to ensure that I had a good ground.


 Reply With Quote
Bookmarks