

First off, remove your seats from the car, I'm not going to get into that, it's basic, four bolts and an electronic plug here n there...
Tools Required:
Pliers x2
12mm socket+Rachet
Vice Grips x1
An Awl or Ice pick x1
Small flat head screwdriver x1
Tin Snips and/or wire cutters (Tin Snips will require less effort, thus easier on the hands)
14g wire or source hog rings
Headliner/upholstery adhesive
http://www.3sgto.org/f62/new-custom-...-etc-5200.html
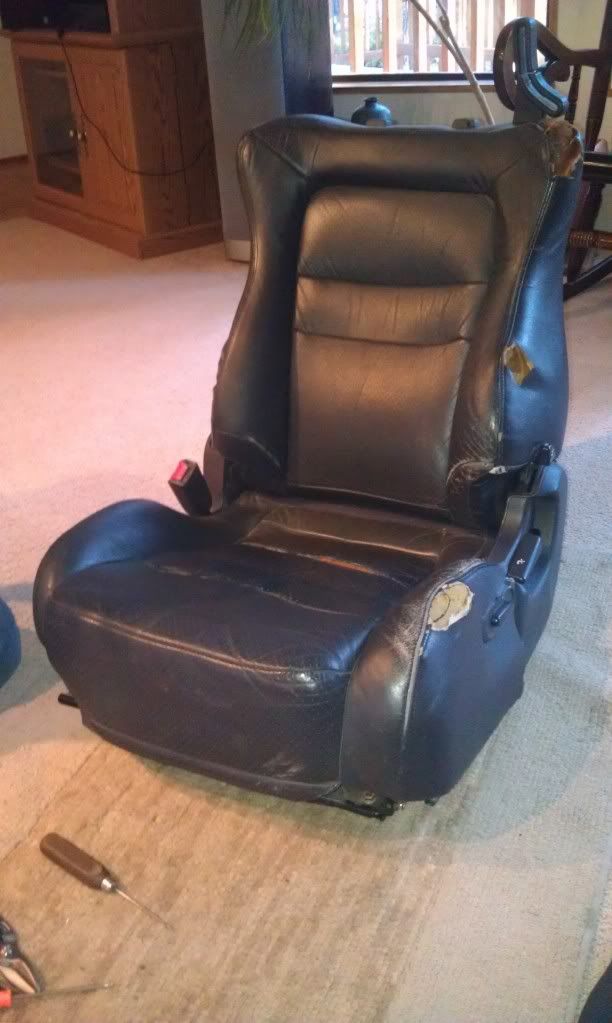
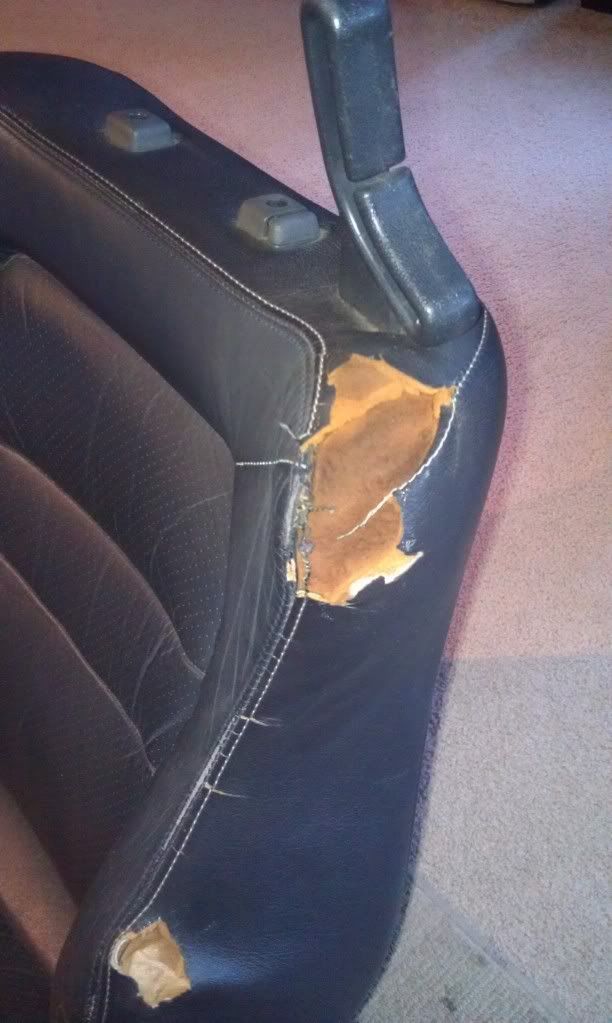
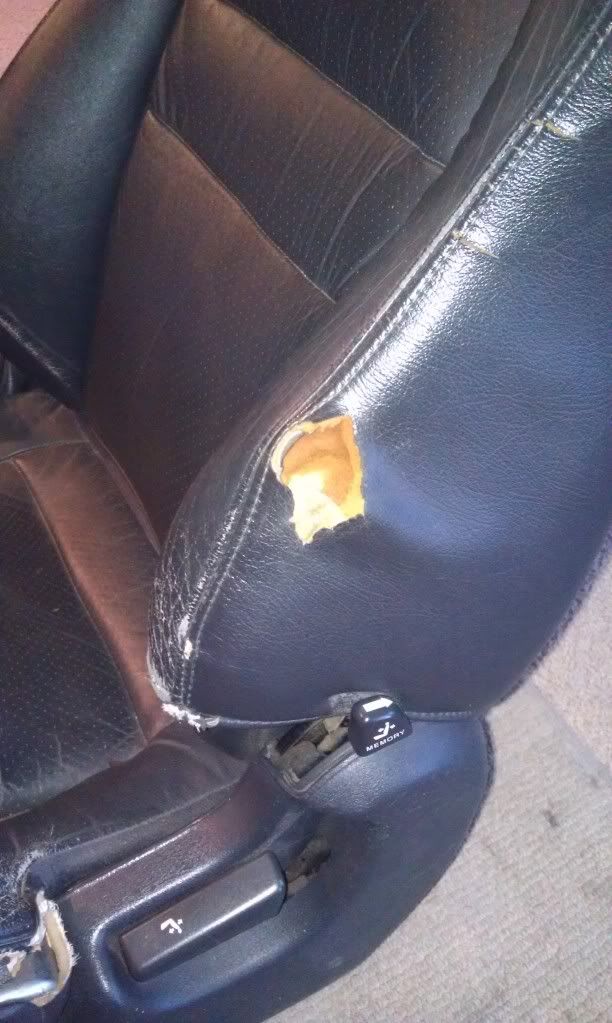
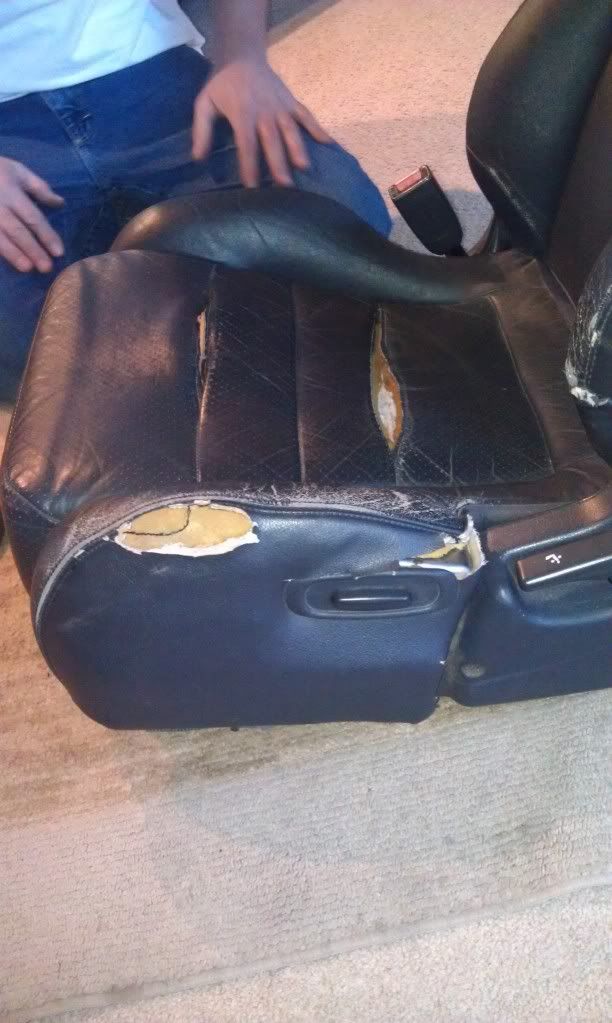
Now that you've got all your supplies sitting in front of you, and you've got your raggedy ol' seats starin' ya down, lookin like that haggard chick at the bar that you shouldn't have taken home...kinda like this:
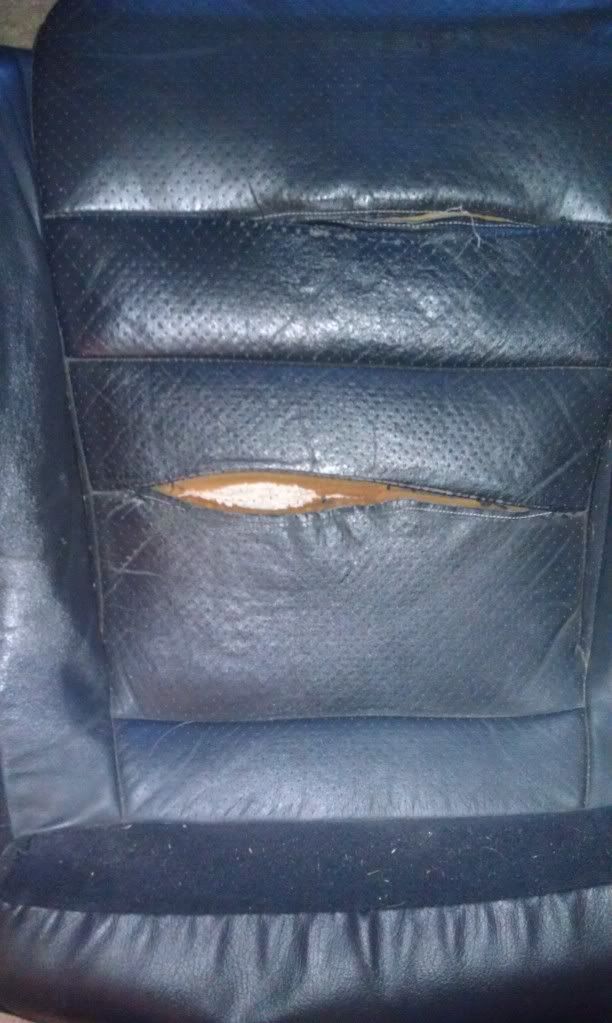
It's time to dig in, we're gonna start off with the front seats first...I didn't get a picture of the bottom of the front seat, but this is where we're going to start, if you look at the underside of the bottom of the seat, there's four bolts I believe 12mm, that need to be removed, once removed, the base will be able to be removed from the frame of the seat, here's a picture of the base once it's removed, just for bolt location reference:
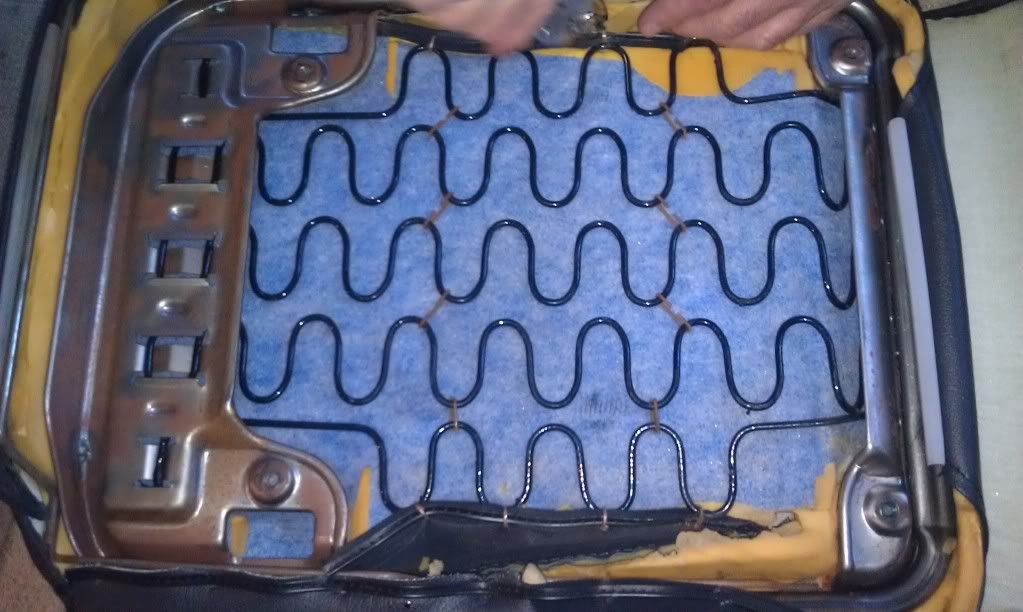
Once removed, your first step is going to be cutting the old rings off, using your tin snips, have at it, follow the trail of rings, it's easy to recognize which ones are holding down the old covers, just take note as best as possible where their locations are because you'll want to put rings in the same spots when reinstalling:
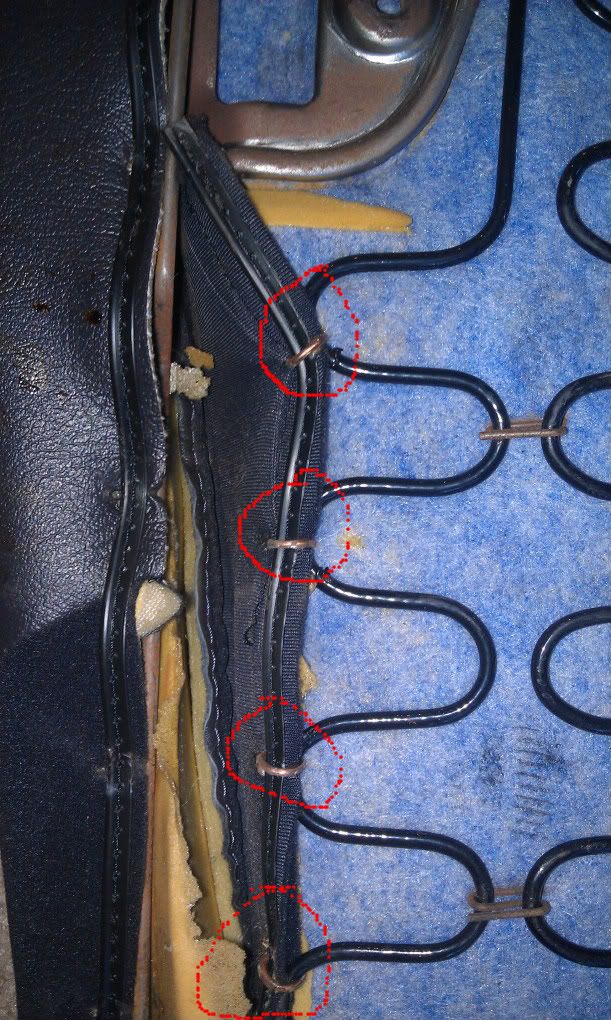
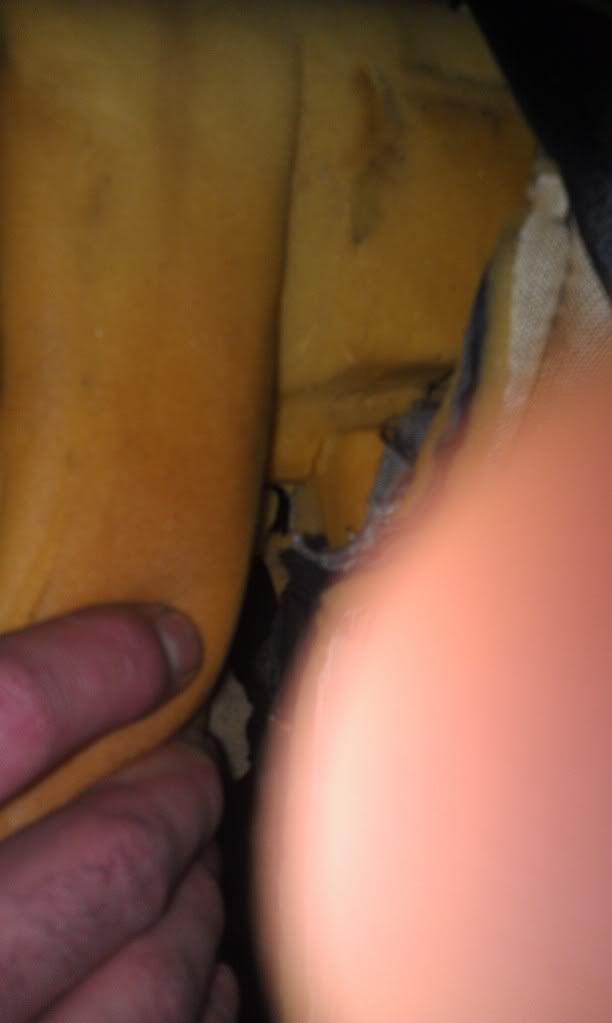
Once all are removed from the bottom, the cover should be able to be pulled up and around to the top where we'll need to remove more rings, these ones aren't as noticable, and you'll want to be carefull not to force anything, if the cover isn't willingly coming off, you've missed a ring and if you force it, you'll tear the wire inside the foam and you'll have other issues to tend to, so don't do that! The rings are located at the seams, both vertical and horizontal so make sure you get all of them, some are burried in the foam and hard to see, but typically easy to find as the foam has spots where the rings would be, though I found a few that were pretty far off from the designated location...there's a metal wire in the seat cover itself that the rings go around, along with a metal wire in the foam the ring goes around to pull everything together.
Horizontal
Vertical
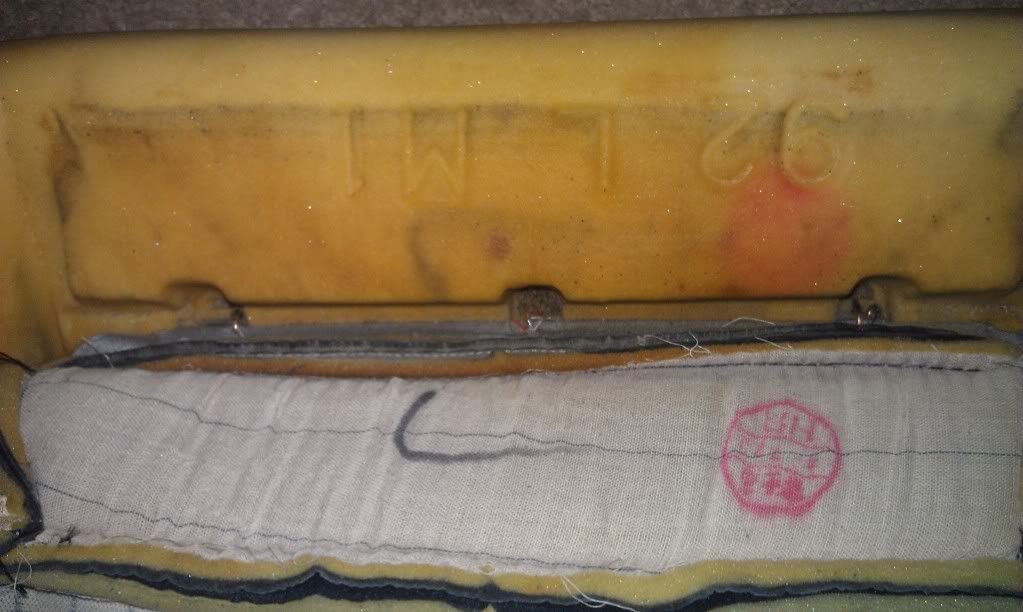
You'll have to remove some from the sides then move to the next seem/row that runs horizontally and repeat until you've worked your way to all the rings enabling the removal of the cover. Once removed, it's time to intsall the new cover, you'll need to remove the wire from the old cover and install them into the new cover, they're all different lengths, depending on location, so be sure you have them all in the correct location, also, the wire in the old seat covers on mine were rusty and seemingly glued in and would NOT come out, I ended up using a razor blade and cut them out of the fabric. They're indeed, NOT glued in, just from age and moisture, they were rusted in, so to speak...
Continued here http://www.3sgto.org/f2/how-mitoskas...vers-8055.html
 Sections